
Nothing beats the flavor of homegrown garlic in your cooking. Whether you're an apartment dweller without outdoor space or simply want fresh garlic available during winter months, indoor cultivation offers a practical solution. This comprehensive guide reveals exactly how to grow garlic indoors successfully, with science-backed methods that produce robust bulbs and flavorful greens.
Why Grow Garlic Indoors?
Indoor garlic cultivation solves several common gardening challenges. Unlike outdoor growing which is limited to specific seasons, indoor garlic provides year-round harvests regardless of climate. You maintain complete control over growing conditions, eliminating concerns about pests, unpredictable weather, or soil-borne diseases. Plus, homegrown garlic typically contains 30-50% more allicin (the compound responsible for garlic's health benefits) than store-bought varieties, according to research from the University of California's Agriculture and Natural Resources department.
Essential Materials Checklist
Before starting your indoor garlic project, gather these basic supplies:
- Organic garlic cloves (not grocery store varieties treated with growth inhibitors)
- 6-8 inch deep containers with drainage holes
- Well-draining potting mix (avoid garden soil)
- Grow lights (if natural light is insufficient)
- Watering can with narrow spout
- Small trowel or spoon
| Container Type | Best For | Drainage Rating | Space Efficiency |
|---|---|---|---|
| Ceramic pots | Beginners, decorative spaces | ★★★★☆ | ★★★☆☆ |
| Plastic nursery pots | Maximizing yield, multiple plants | ★★★★★ | ★★★★☆ |
| Self-watering containers | Busy growers, consistent moisture | ★★★☆☆ | ★★★☆☆ |
| Recycled containers | Budget growers, sustainability | ★★☆☆☆ | ★★★★★ |
Step-by-Step Indoor Garlic Growing Process
Selecting the Right Garlic Cloves
Choose organic garlic bulbs from your local farmers' market or specialty grocery store. Grocery store garlic often contains growth inhibitors that prevent sprouting. Hardneck varieties like 'Music' or 'German Extra Hardy' perform better indoors than softneck types. Separate the bulb into individual cloves 24 hours before planting, keeping the papery skin intact. Select the largest, healthiest cloves for planting—these will produce the most vigorous plants.
Planting Your Garlic Cloves
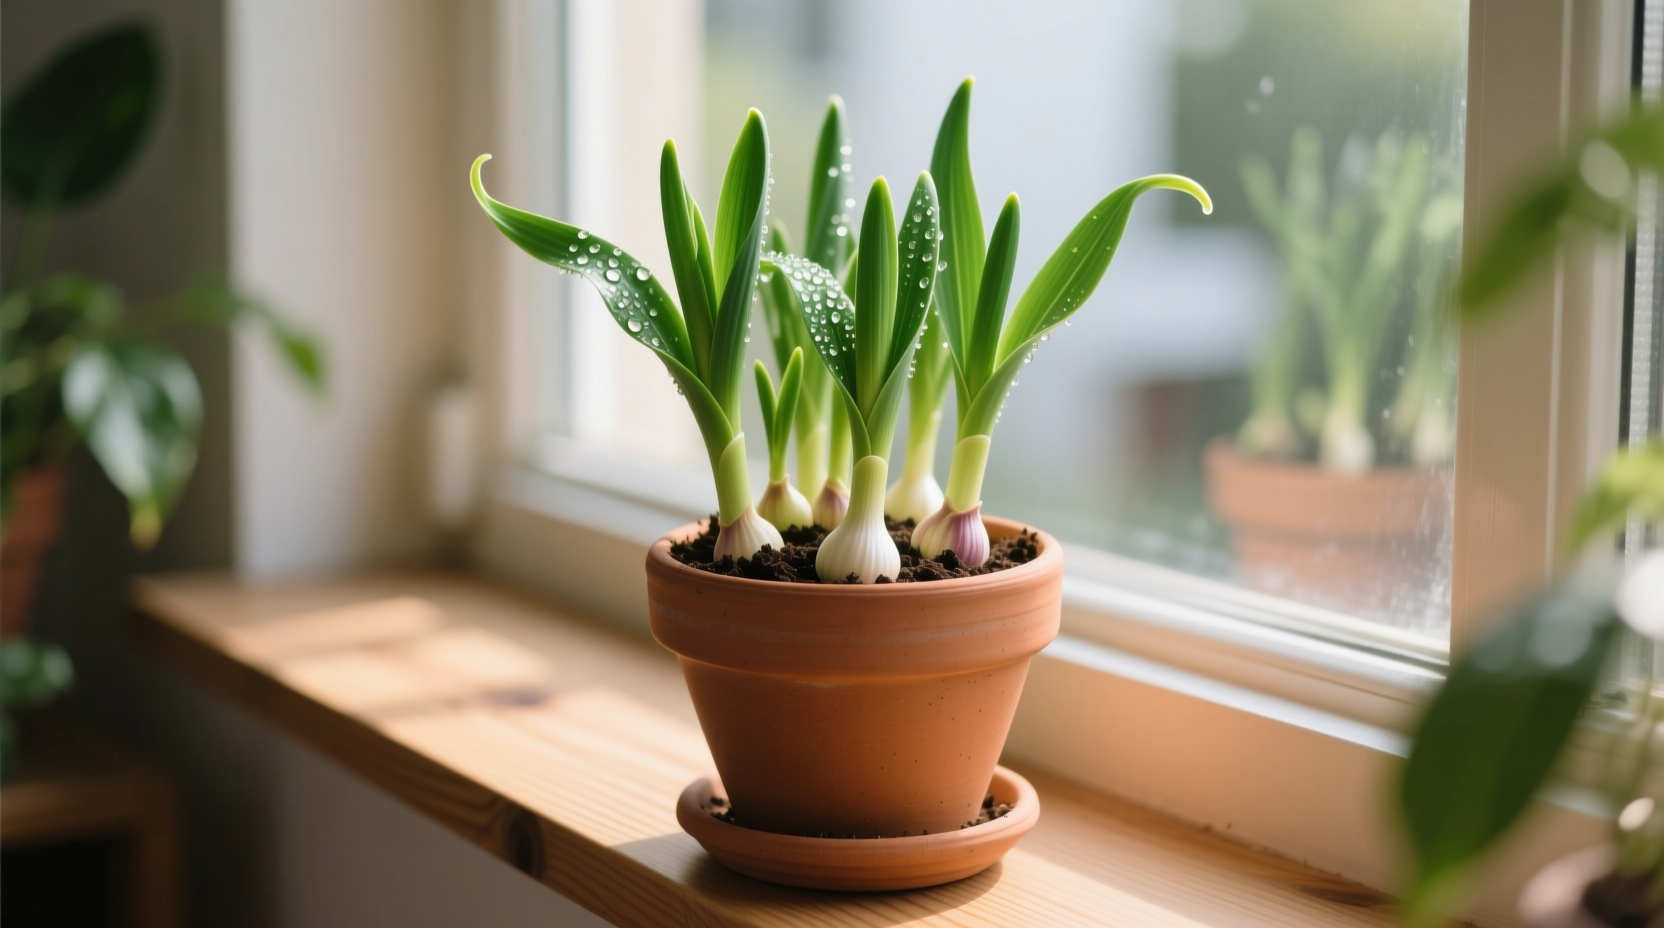
Fill your container with 2-3 inches of potting mix. Place cloves pointy-end up, spacing them 3-4 inches apart with the tips just below the soil surface. Cover with another inch of soil and water thoroughly until it drains from the bottom. The ideal planting depth is 1.5-2 times the clove's height. For example, a 1-inch clove should be planted 1.5-2 inches deep. This depth prevents premature sprouting while allowing proper root development.
Providing Optimal Light Conditions
Garlic requires 6-8 hours of direct sunlight daily. Place containers in a south-facing window if possible. During winter months or in rooms with limited natural light, supplement with LED grow lights positioned 6-12 inches above the plants for 12-14 hours daily. The University of Minnesota Extension recommends maintaining a light intensity of 200-400 µmol/m²/s for optimal garlic growth indoors. Rotate containers weekly to ensure even growth and prevent plants from leaning toward the light source.
Watering and Temperature Requirements
Keep soil consistently moist but never soggy. Water when the top inch of soil feels dry—typically every 3-5 days. Overwatering causes root rot, the most common cause of failure in indoor garlic growing. Maintain temperatures between 60-70°F (15-21°C) during the day and slightly cooler at night. Avoid placing containers near heating vents or drafty windows. Garlic enters dormancy below 40°F (4°C), so consistent moderate temperatures are crucial for continuous growth.
Indoor Garlic Growth Timeline
Understanding the growth stages helps you provide appropriate care at each phase:
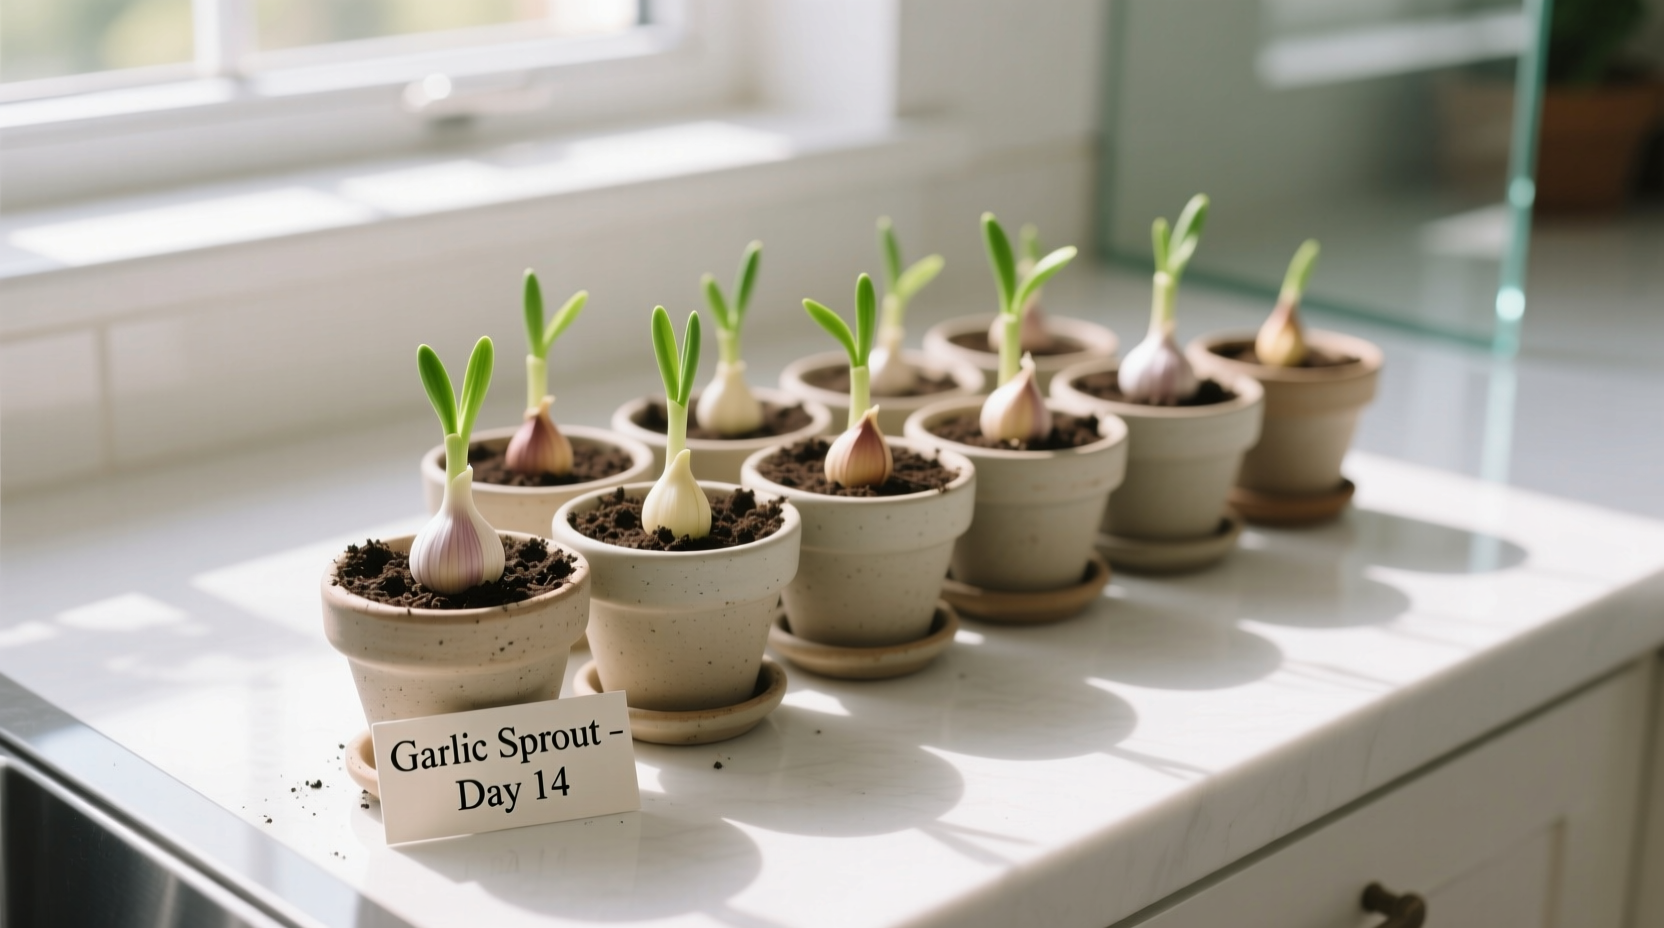
- Days 1-10: Root development begins; no visible growth above soil
- Days 10-30: Green shoots emerge; focus on establishing strong root system
- Months 1-3: Rapid leaf growth; increase light exposure to 14 hours daily
- Months 3-6: Bulb formation begins; reduce nitrogen fertilizer
- Months 6-8: Bulb maturation; gradually reduce watering before harvest
Harvesting Your Indoor Garlic
Harvest when the lower third of leaves turn yellow or brown, typically 6-8 months after planting. Stop watering 1-2 weeks before harvest to allow bulbs to dry slightly. Gently loosen soil around plants with a fork and lift bulbs from the container. Brush off excess soil but avoid washing—moisture promotes mold during curing. Cure bulbs in a warm, dry, well-ventilated area for 2-3 weeks before storage. Properly cured garlic stores for 3-6 months in a cool, dark place with good air circulation.
Troubleshooting Common Indoor Growing Issues
Yellowing leaves: Usually indicates overwatering. Allow soil to dry more between waterings and ensure proper drainage.
Thin, weak growth: Sign of insufficient light. Increase light exposure duration or intensity.
No bulb formation: Often caused by planting cloves too shallow or inconsistent temperatures. Maintain stable conditions throughout growth cycle.
Mold on soil surface: Results from excessive humidity. Improve air circulation with a small fan and reduce watering frequency.
Maximizing Your Indoor Garlic Yield
For continuous harvests, implement a succession planting schedule. Plant new cloves every 4-6 weeks to maintain a steady supply of garlic greens and mature bulbs. When harvesting, leave 1-2 cloves in the container to regrow—these second-generation plants produce smaller but still flavorful bulbs. Consider growing garlic in multiple containers with different varieties to extend your harvest window and enjoy diverse flavor profiles throughout the year.


 浙公网安备
33010002000092号
浙公网安备
33010002000092号 浙B2-20120091-4