
Why Fermented Garlic Belongs in Your Pantry
Transforming ordinary garlic into a probiotic powerhouse takes minimal effort but delivers maximum benefits. Fermented garlic develops a complex umami flavor while preserving garlic's natural health properties. Unlike raw garlic, which can cause digestive discomfort, the fermentation process breaks down harsh compounds while increasing bioavailability of beneficial compounds like allicin. Food scientists at the National Center for Home Food Preservation confirm that proper lacto-fermentation creates an environment where beneficial bacteria thrive while inhibiting harmful pathogens.
Your Fermentation Starter Kit: What You'll Need
Before beginning your garlic fermentation journey, gather these essential items. Having the right equipment ensures success and prevents common beginner mistakes that lead to failed batches.
| Essential Item | Why It Matters | Pro Tip |
|---|---|---|
| Fresh garlic bulbs | Older garlic may not ferment properly | Use organic garlic when possible to avoid growth inhibitors |
| Non-iodized salt | Iodine can inhibit fermentation | Pickling or sea salt works best |
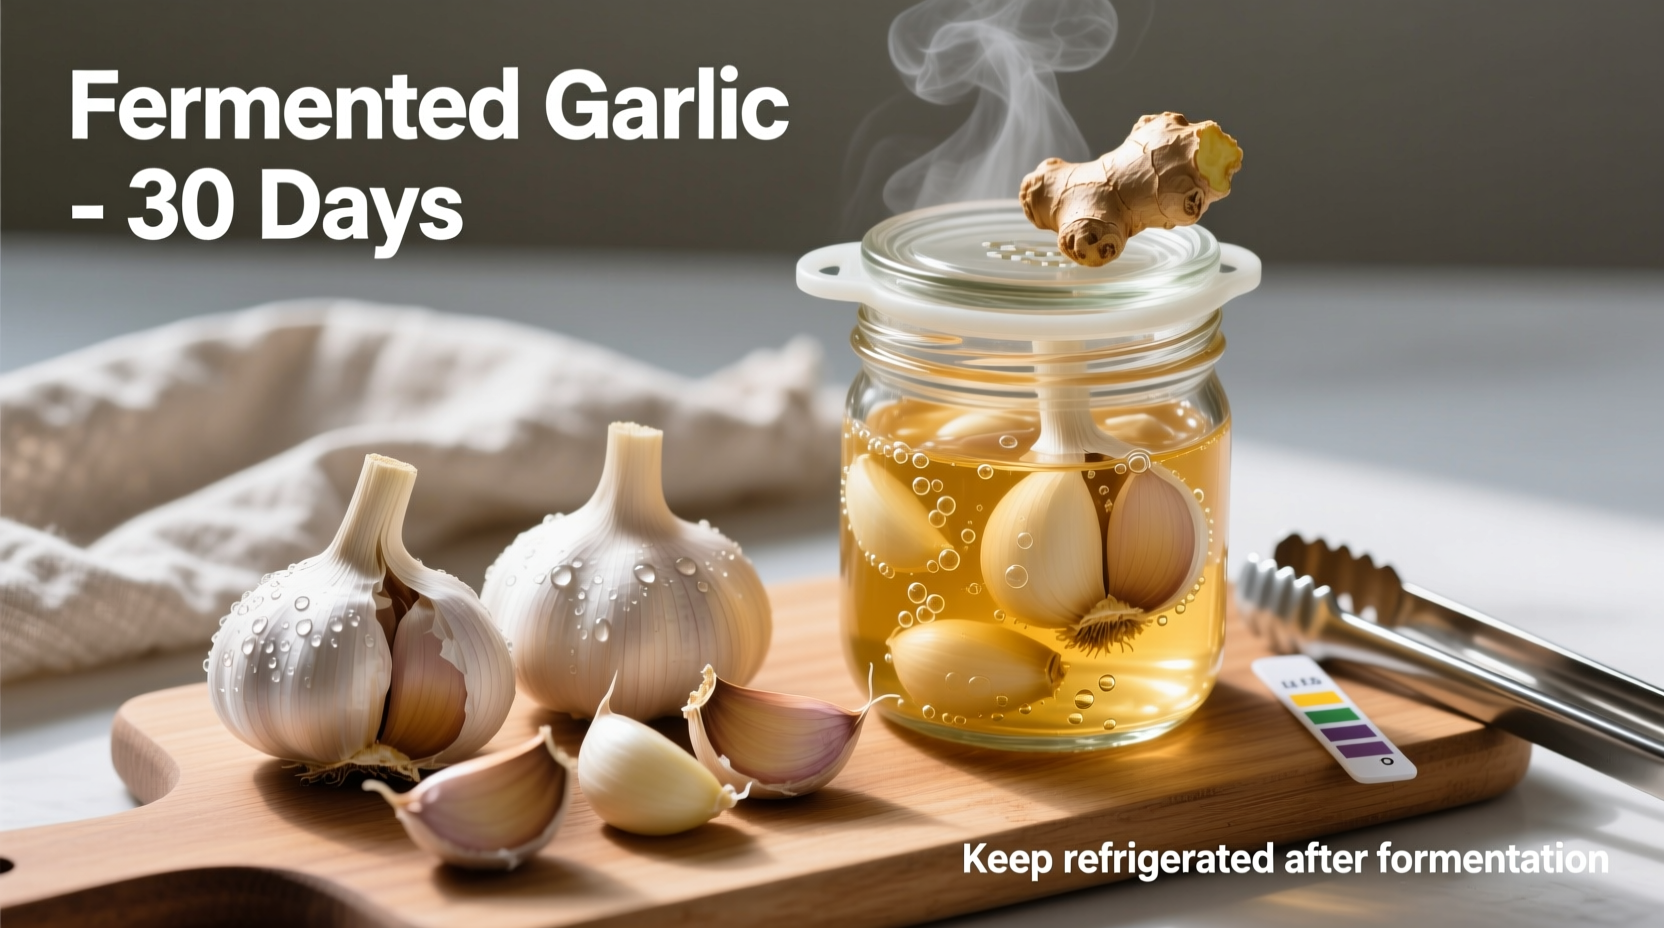
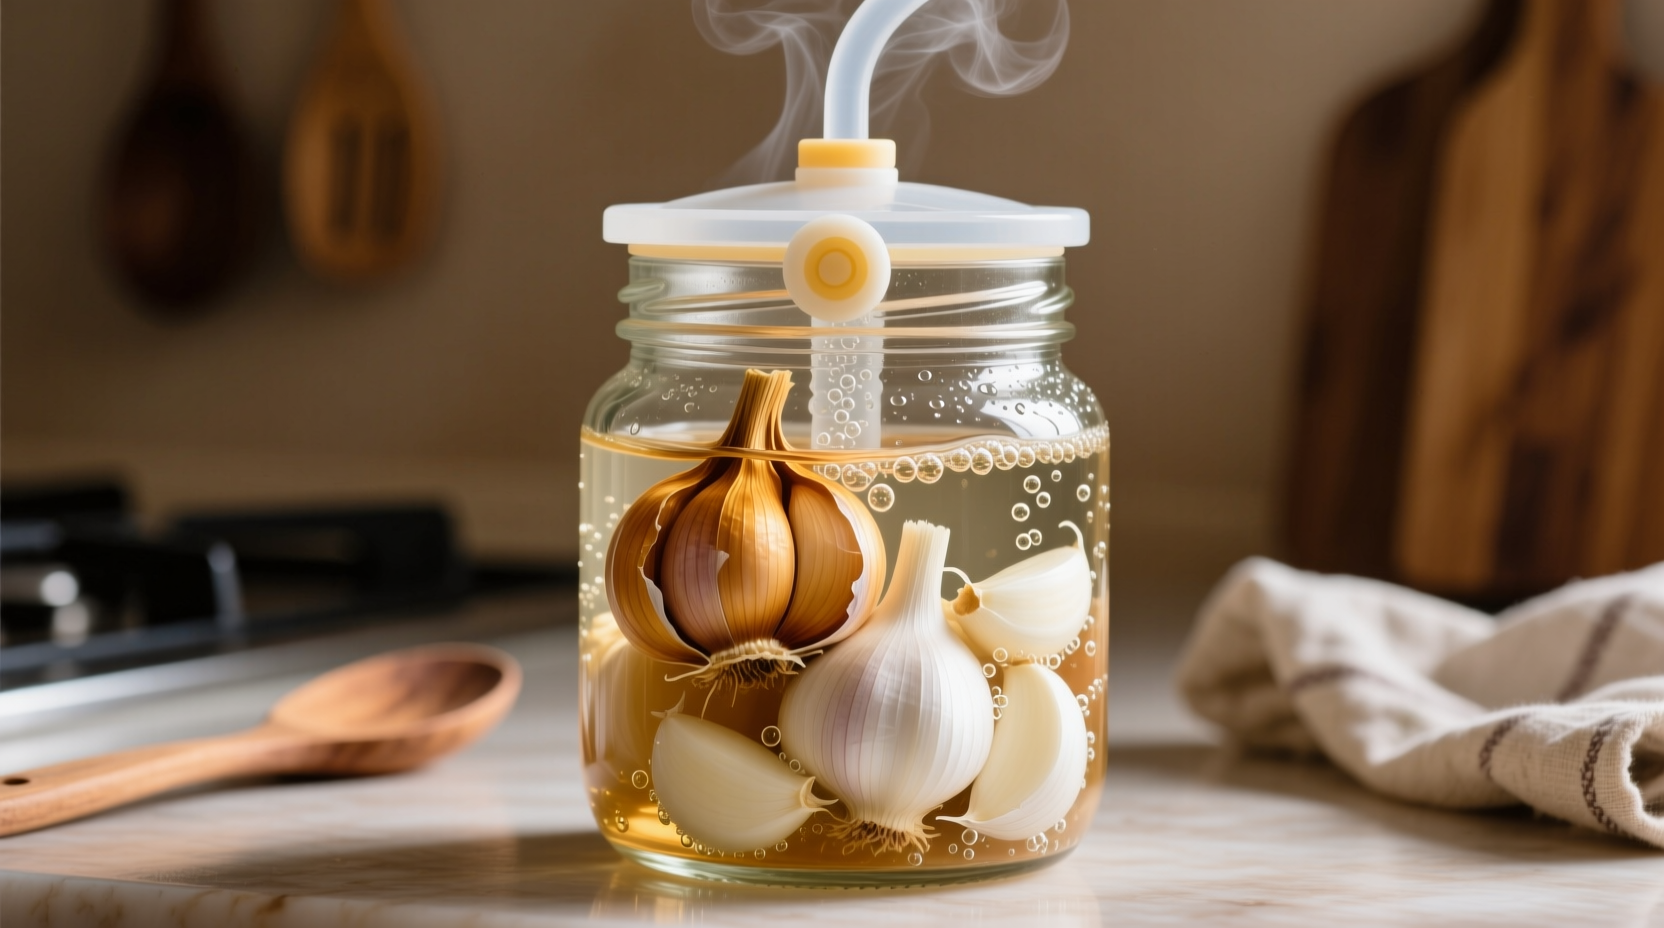
| Glass jar with airlock | Prevents mold while allowing gas escape | 32-ounce mason jar fits 1 bulb comfortably |
| Filtered water | Chlorine can disrupt fermentation | Spring water works if filtration unavailable |
The Science Behind Successful Garlic Fermentation
Understanding the biological process transforms you from a recipe follower to a fermentation expert. When you submerge garlic in a saltwater brine, you create conditions where Lactobacillus bacteria naturally present on the garlic multiply. These beneficial microbes convert garlic's natural sugars into lactic acid, which preserves the garlic while developing complex flavors. The USDA's Food Safety and Inspection Service confirms that proper fermentation creates an acidic environment (pH below 4.6) that prevents harmful bacteria growth.
Step-by-Step: Perfect Fermented Garlic Every Time
Step 1: Prepare Your Garlic
Separate cloves from the bulb but keep skins intact. Gently peel the outer papery layer while leaving the thin skin directly on the clove. This protects the garlic during fermentation while allowing flavors to develop. For best results, use cloves of similar size to ensure even fermentation.
Step 2: Create the Perfect Brine
Mix 1 tablespoon non-iodized salt per cup of filtered water. The ideal ratio is 2-3% salinity - enough to prevent spoilage but not so much that it inhibits beneficial bacteria. Dissolve salt completely before using. Higher salinity (up to 5%) works better in warmer environments above 75°F (24°C).
Step 3: Pack and Submerge
Place garlic cloves in your clean glass jar, leaving 1-2 inches of headspace. Pour brine over cloves until completely submerged. Use a fermentation weight or small zip-top bag filled with extra brine to keep garlic below the liquid surface. Exposure to air causes mold growth - the single most common reason for failed batches.
Step 4: Monitor the Fermentation Timeline
Store your jar at room temperature (65-75°F or 18-24°C) away from direct sunlight. Active fermentation typically shows bubbles within 24-48 hours. The complete process takes 3-4 weeks for optimal flavor development. Here's what happens at each stage:
| Time Period | What's Happening | What to Check |
|---|---|---|
| Days 1-3 | Initial bacterial activity begins | Look for small bubbles forming |
| Days 4-10 | Active fermentation with visible bubbling | Ensure garlic remains submerged |
| Days 11-21 | Flavor development accelerates | Taste test for desired tanginess |
| Day 21+ | Peak flavor and probiotic content | Transfer to refrigerator for storage |
When Fermentation Goes Wrong: Troubleshooting Guide
Even experienced fermenters encounter issues. Understanding context boundaries helps you identify when to salvage versus discard a batch:
- White film on surface: Usually harmless kahm yeast - skim off and ensure garlic remains submerged
- Cloudy brine: Normal during active fermentation - becomes clear as process completes
- Soft or slimy garlic: Indicates spoilage - discard entire batch immediately
- No bubbles after 72 hours: Check temperature - move to warmer location if needed
The Oregon State University Extension Service emphasizes that any batch with pink, orange, or black discoloration should be discarded immediately as these indicate harmful mold growth.
Storing and Using Your Fermented Garlic
Once fermentation completes (typically 3-4 weeks), transfer your jar to the refrigerator. Properly stored fermented garlic maintains quality for 6-12 months. The brine becomes a valuable flavor enhancer - use it in dressings, marinades, or sauces. For best results:
- Keep garlic submerged in brine during storage
- Use clean utensils when removing cloves
- Consume within 1 year for optimal flavor and benefits
- Add fermented garlic near the end of cooking to preserve probiotics
Fermented garlic works beautifully in salad dressings, aiolis, roasted vegetable dishes, and as a topping for grilled meats. The milder flavor compared to raw garlic makes it perfect for dishes where you want garlic presence without overpowering heat.


 浙公网安备
33010002000092号
浙公网安备
33010002000092号 浙B2-20120091-4