
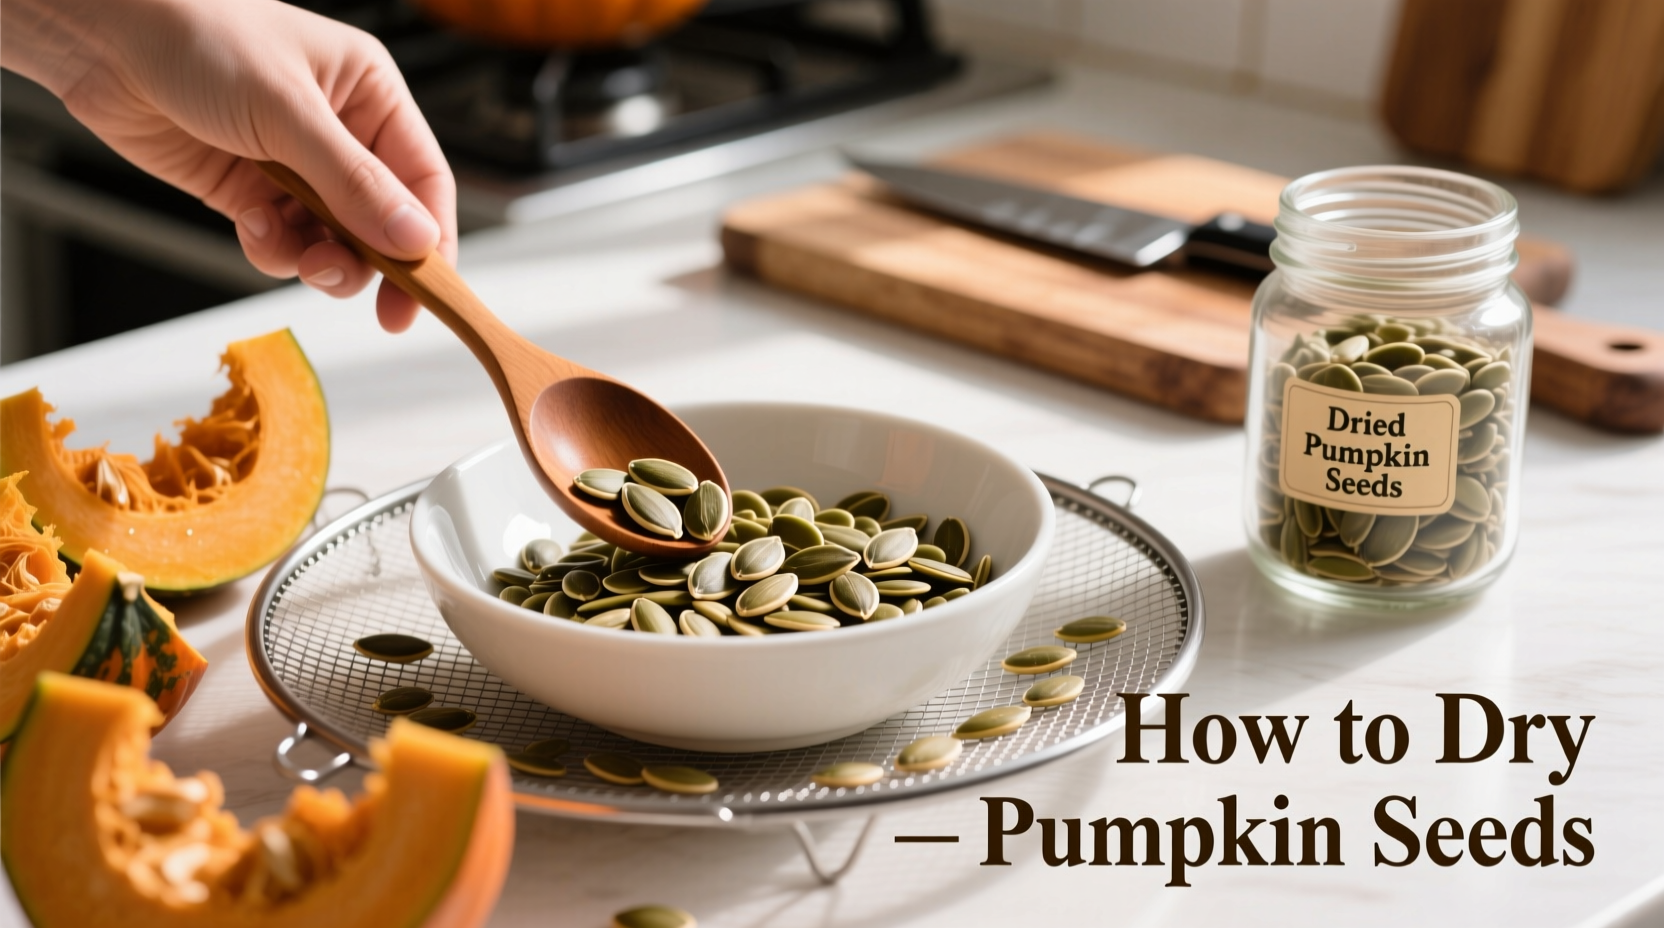
Drying pumpkin seeds is simple: clean seeds thoroughly, spread in single layer, and dry for 8-12 hours using oven (low heat), air drying (3-7 days), or food dehydrator (6-8 hours at 115°F). Properly dried seeds snap when bent and store for 1-2 years in airtight containers.
Transform your pumpkin carving leftovers into delicious snacks or next season's garden treasures with these professional drying techniques. Whether you're saving seeds for planting or creating a nutritious snack, proper drying ensures maximum flavor, longevity, and viability. This comprehensive guide reveals the exact methods professional chefs and gardeners use to preserve pumpkin seeds at their peak quality.
Why Proper Seed Drying Matters
Drying pumpkin seeds correctly serves two primary purposes: creating a delicious, nutrient-dense snack and preserving seeds for future planting. According to the USDA Agricultural Research Service, properly dried seeds maintain 95% viability for planting and prevent mold growth that compromises both edibility and germination rates. The drying process concentrates natural oils and sugars, enhancing flavor while removing moisture that causes spoilage.
Essential Tools You'll Need
Before starting, gather these basic supplies:
- Sharp knife for pumpkin cutting
- Soup spoon or ice cream scoop for seed extraction
- Large colander for rinsing
- Clean kitchen towels or paper towels
- Baking sheets (for oven method)
- Mesh dehydrator trays (if using dehydrator)
- Airtight storage containers
Step-by-Step Seed Preparation
Successful drying begins with proper seed preparation:
- Extract seeds from your pumpkin using a spoon, separating from pulp
- Rinse thoroughly under cold water in a colander, removing all stringy fibers
- Soak in salt water (1 tablespoon salt per 4 cups water) for 10 minutes to loosen remaining pulp
- Dry completely by spreading on clean towels and patting gently
- Inspect carefully and remove any discolored or damaged seeds
Skipping the salt soak step often leaves residual pulp that causes uneven drying and potential spoilage. Cornell University's College of Agriculture and Life Sciences confirms this simple step significantly improves both shelf life and germination rates.
| Drying Method | Temperature | Drying Time | Best For |
|---|---|---|---|
| Oven Drying | 170°F (77°C) | 8-12 hours | Quick snack preparation |
| Dehydrator | 115°F (46°C) | 6-8 hours | Maximum nutrient retention |
| Air Drying | Room temperature | 3-7 days | Planting seeds preservation |
Drying Methods Compared: Which Works Best?
Choose the drying method that matches your intended seed use. Each technique has specific advantages depending on whether you're drying pumpkin seeds for eating or planting.
Oven Drying Method
Ideal for creating delicious roasted pumpkin seeds:
- Preheat oven to lowest setting (170°F/77°C)
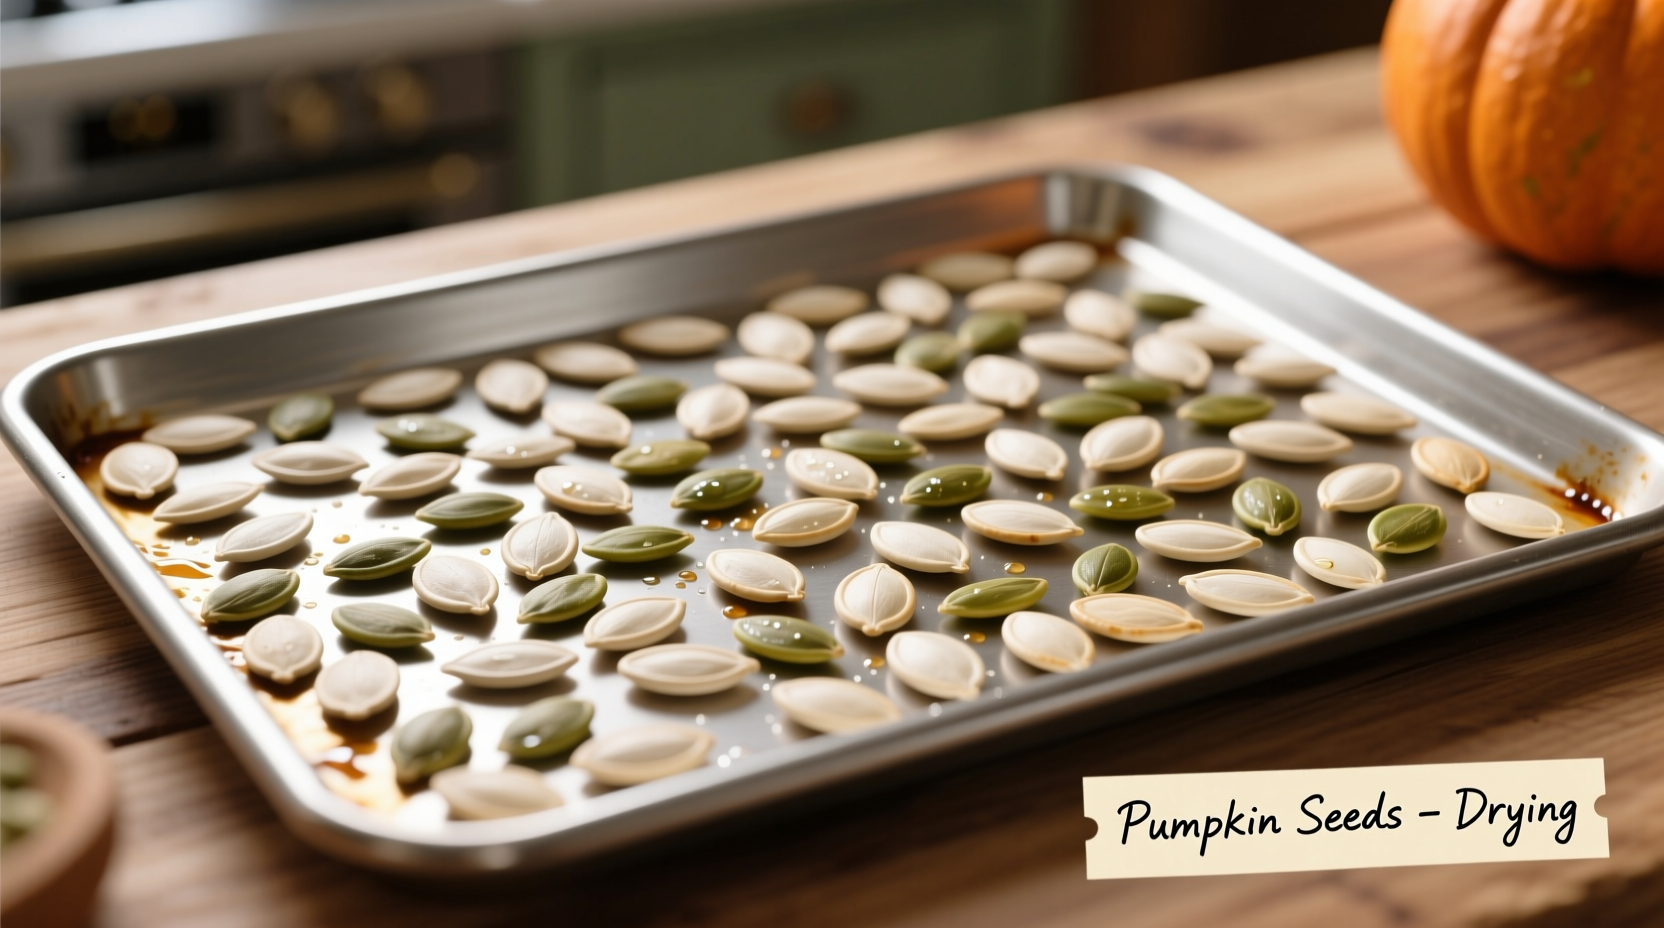
- Spread seeds in single layer on parchment-lined baking sheet
- Dry for 8-12 hours, stirring every 2 hours
- Test for dryness: seeds should snap when bent
Professional tip: For enhanced flavor, toss seeds with 1 teaspoon oil and seasonings before drying. The University of California's Agricultural and Natural Resources department recommends keeping oven temperatures below 180°F to preserve nutritional content.
Dehydrator Method
Best for nutrient preservation and consistent results:
- Arrange seeds in single layer on mesh trays
- Set dehydrator to 115°F (46°C)
- Dry for 6-8 hours
- Check hourly after 6 hours for desired crispness
Food dehydrators maintain consistent low temperatures that preserve enzymes and nutrients while ensuring thorough drying. This method works particularly well when learning how to dry pumpkin seeds for long-term storage.
Air Drying Method
Perfect for seeds intended for planting:
- Spread seeds on paper towels or screen
- Place in well-ventilated area away from direct sunlight
- Turn seeds twice daily for even drying
- Continue for 3-7 days until completely dry
Air drying preserves seed viability better than heat methods. The Royal Horticultural Society notes that air-dried seeds maintain higher germination rates for planting purposes compared to oven-dried seeds.
Drying Process Timeline
Understanding the seed drying timeline prevents premature storage that leads to mold:
- 0-2 hours: Surface moisture evaporates, seeds feel cool to touch
- 2-4 hours: Seeds begin shrinking slightly, edges curl
- 4-6 hours: Seeds become brittle at edges, lose pliable quality
- 6-8 hours: Fully dry seeds snap cleanly when bent (test multiple seeds)
Patience is crucial—rushing the drying process by increasing temperature often creates seeds that appear dry on the surface but retain moisture inside, leading to spoilage during storage.
Storage Techniques for Maximum Longevity
Proper storage determines whether your dried pumpkin seeds last weeks or years:
- For eating: Store in airtight glass containers with oxygen absorbers at room temperature for 2-3 months, or freeze for up to 2 years
- For planting: Keep in paper envelopes inside sealed containers with silica gel packets in refrigerator (40°F/4°C)
- Moisture test: Place seed in sealed bag for 24 hours—condensation indicates insufficient drying
The National Center for Home Food Preservation recommends storing edible seeds below 60°F (15°C) with less than 10% moisture content for optimal shelf life. For planting seeds, the International Seed Testing Association specifies 35-40°F (2-4°C) as ideal storage temperature.
Creative Uses for Dried Pumpkin Seeds
Don't limit yourself to basic roasting—explore these professional applications:
- Seed butter: Blend dried seeds with oil for pumpkin seed butter alternative to peanut butter
- Baking ingredient: Add to breads, muffins, or granola for nutritional boost
- Planting schedule: Label and date seeds for spring planting (lasts 4-6 years when properly stored)
- Craft projects: Use for mosaics, jewelry, or children's art activities
Troubleshooting Common Drying Issues
Address these frequent problems when learning how to dry pumpkin seeds properly:
- Mold development: Caused by insufficient drying—always test multiple seeds for complete dryness
- Burning edges: Oven temperature too high—use thermometer to verify actual temperature
- Uneven drying: Seeds layered too thickly—always use single layer with space between seeds
- Soft texture: Humidity too high—use dehumidifier or extend drying time
When drying pumpkin seeds for planting, avoid any oil or seasoning that might inhibit germination. The American Horticultural Society reports that even small amounts of oil can reduce seed viability by up to 30%.


 浙公网安备
33010002000092号
浙公网安备
33010002000092号 浙B2-20120091-4