
Drying chilis preserves their intense flavor and heat while extending shelf life significantly. Whether you've harvested your own garden bounty or bought a surplus at the market, learning how to dry chilis properly ensures you'll have fiery flavor on hand year-round. This comprehensive guide covers three reliable methods with professional tips you won't find elsewhere.
Why Dry Your Own Chilis?
Homemade dried chilis outperform store-bought versions in both flavor intensity and cost efficiency. When you dry chilis yourself, you control the process from harvest to storage, capturing peak freshness. Dried chilis serve multiple culinary purposes—they can be crumbled for immediate use, ground into custom spice blends, or rehydrated for sauces and stews. Understanding how to dry chilis properly prevents common mistakes like mold growth or flavor degradation that ruin your harvest.
Preparing Chilis for Drying
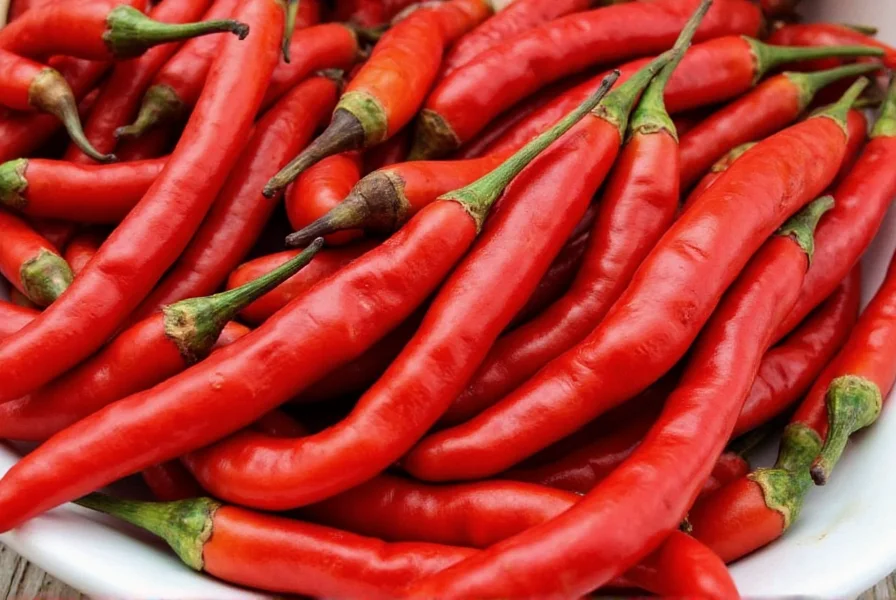
Start with fresh, firm chilis free from blemishes or soft spots. Wash thoroughly and pat completely dry—any moisture remaining on the surface can lead to mold during the drying process. For larger varieties like poblanos or bell peppers, slice lengthwise to expose the interior flesh. Small chilis like Thai bird peppers or cayennes can be dried whole. Never remove seeds before drying, as they help maintain structural integrity during the process.
Three Reliable Methods for Drying Chilis
Each drying technique offers distinct advantages depending on your climate, equipment, and time constraints. Choose the method that best suits your situation:
| Drying Method | Time Required | Temperature | Best For |
|---|---|---|---|
| Food Dehydrator | 12-24 hours | 125°F (52°C) | All chili types, especially humid climates |
| Oven Drying | 8-12 hours | 150-170°F (65-77°C) | Small batches, immediate use |
| Air Drying | 3-4 weeks | Ambient | Dry climates, traditional method |
Using a Food Dehydrator (Most Consistent Results)
This method delivers professional-quality results with minimal effort. Arrange prepared chilis in a single layer on dehydrator trays without overlapping. Set temperature to 125°F (52°C) and dry for 12-24 hours, checking periodically after the 12-hour mark. Rotate trays occasionally for even drying. The dehydrator's consistent airflow prevents mold while preserving capsaicin levels. This approach works exceptionally well for how to dry chilis in humid environments where other methods might fail.
Oven Drying (Quick Home Method)
Preheat your oven to its lowest possible setting, ideally between 150-170°F (65-77°C). Place chilis on a wire rack over a baking sheet to allow air circulation. Prop the oven door open 2-3 inches using a wooden spoon to maintain proper airflow. Check every 2 hours and rotate the tray. Total drying time ranges from 8-12 hours depending on chili thickness. This technique offers the fastest how to dry chilis solution when you need results quickly, though it consumes more energy than other methods.
Air Drying (Traditional Technique)
For this natural approach, thread a needle with strong cotton string and carefully pierce through the chili stems, creating a ristra (traditional hanging bundle). Hang in a warm, dry, well-ventilated area away from direct sunlight. In ideal conditions (70-80°F with low humidity), complete drying takes 3-4 weeks. This method requires the driest environment of all techniques—attempting how to dry chilis using air drying in humid climates often leads to mold. Check regularly for any signs of spoilage.
Testing for Complete Dryness
Properly dried chilis should snap cleanly when bent, not bend or feel leathery. They'll lose 80-90% of their original weight and feel lightweight and brittle. The interior flesh should show no signs of moisture when broken open. Under-dried chilis risk mold development during storage, while over-dried chilis become excessively brittle and lose flavor compounds. Mastering how to dry chilis to the perfect moisture level ensures optimal shelf life and flavor retention.
Storing Dried Chilis Properly
After cooling completely, store dried chilis in airtight glass jars or vacuum-sealed bags. Include a food-safe desiccant packet to absorb any residual moisture. Keep containers in a cool, dark pantry—light and heat accelerate flavor degradation. Properly stored dried chilis maintain peak quality for 6-12 months. For extended storage up to two years, freeze them in moisture-proof containers. Never store dried chilis near heat sources like stoves or ovens, as this significantly shortens their shelf life.
Troubleshooting Common Drying Problems
Mold development: Indicates insufficient airflow or too-high humidity. Discard affected chilis immediately and increase ventilation for remaining batch.
Leathery texture: Chilis aren't fully dry. Return to dehydrator or oven for additional drying time.
Faded color: Usually caused by excessive heat or light exposure during drying. Reduce temperature and protect from direct light.
Bitter flavor: Results from over-drying. Monitor chilis closely during final drying stages.
Using Your Dried Chilis
Reconstitute dried chilis by soaking in hot water for 15-20 minutes before using in sauces or stews. For grinding into powder, toast dried chilis in a dry skillet for 1-2 minutes to enhance flavor, then process in a spice grinder. Crumble whole dried chilis by hand for immediate use in dishes. Understanding how to dry chilis properly ensures you maximize their culinary potential in every application.
Frequently Asked Questions
Can you dry chilis in a microwave?
While technically possible, microwave drying chilis produces inconsistent results and often burns them. The rapid heating destroys flavor compounds and creates fire hazards with certain chili varieties. Food dehydrators or oven methods provide far better control for how to dry chilis safely and effectively.
How do you know when dried chilis have gone bad?
Spoiled dried chilis show visible mold, develop an off smell, or feel damp when touched. Properly stored dried chilis should remain brittle. If they've become leathery or flexible, moisture has compromised them. Discard any chilis showing these signs rather than attempting how to dry chilis a second time.
Should I remove seeds before drying chilis?
No, keep seeds intact during the drying process. Seeds help maintain the chili's structure and prevent excessive shriveling. Remove seeds after drying when preparing chilis for specific recipes. Removing seeds beforehand increases the risk of uneven drying and potential mold development in how to dry chilis properly.
Can you dry different chili varieties together?
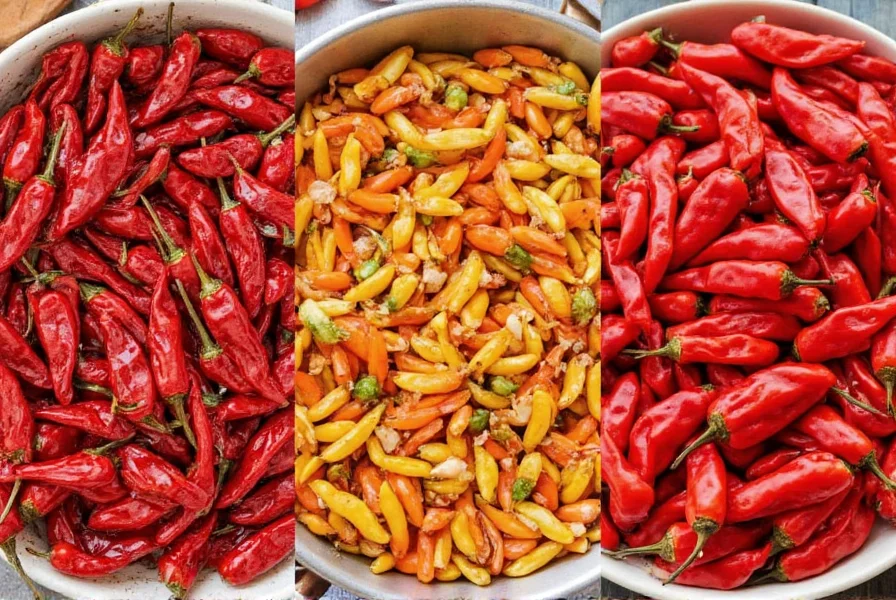
Yes, but separate them by size and moisture content. Large, fleshy chilis like poblanos require longer drying than thin-skinned varieties like Thai peppers. Mixing different types may result in some being under-dried while others become over-dried. When learning how to dry chilis, it's best to process similar varieties in the same batch for optimal results.
Do dried chilis get hotter over time?
No, dried chilis don't increase in heat level during storage. The perceived intensity change comes from water loss concentrating the capsaicin. Properly dried and stored chilis maintain consistent heat levels for 6-12 months. Exposure to light, heat, or moisture degrades capsaicin over time, gradually reducing heat intensity—another reason why knowing how to dry chilis correctly matters for long-term quality.


 浙公网安备
33010002000092号
浙公网安备
33010002000092号 浙B2-20120091-4