
Craving a fluffy baked potato but don't want to wait 45-60 minutes for conventional oven baking? You're in luck. As a chef who's taught thousands of home cooks professional techniques, I've perfected a microwave method that delivers restaurant-quality results in minutes. This guide reveals the precise timing, preparation steps, and pro tips that transform your microwave into a potato-baking powerhouse.
Why Microwave Baking Beats Traditional Methods
While oven-baked potatoes have their place, microwave cooking offers distinct advantages when time matters. According to USDA food safety guidelines, microwaving actually preserves more nutrients than boiling, and the controlled environment prevents the common pitfalls of oven baking like uneven cooking or dried-out interiors. The key lies in understanding potato science - microwaves target water molecules, cooking the starchy interior rapidly while proper preparation maintains structural integrity.
Your Microwave Potato Success Checklist
Before you start, gather these essentials for foolproof results:
- Firm russet or Idaho potatoes (1 medium or 2 small per serving)
- Sharp knife or fork for piercing
- Microwave-safe plate
- Damp paper towel
- Instant-read thermometer (optional but recommended)
Step-by-Step Microwave Baking Process
Preparation: The Critical First Step
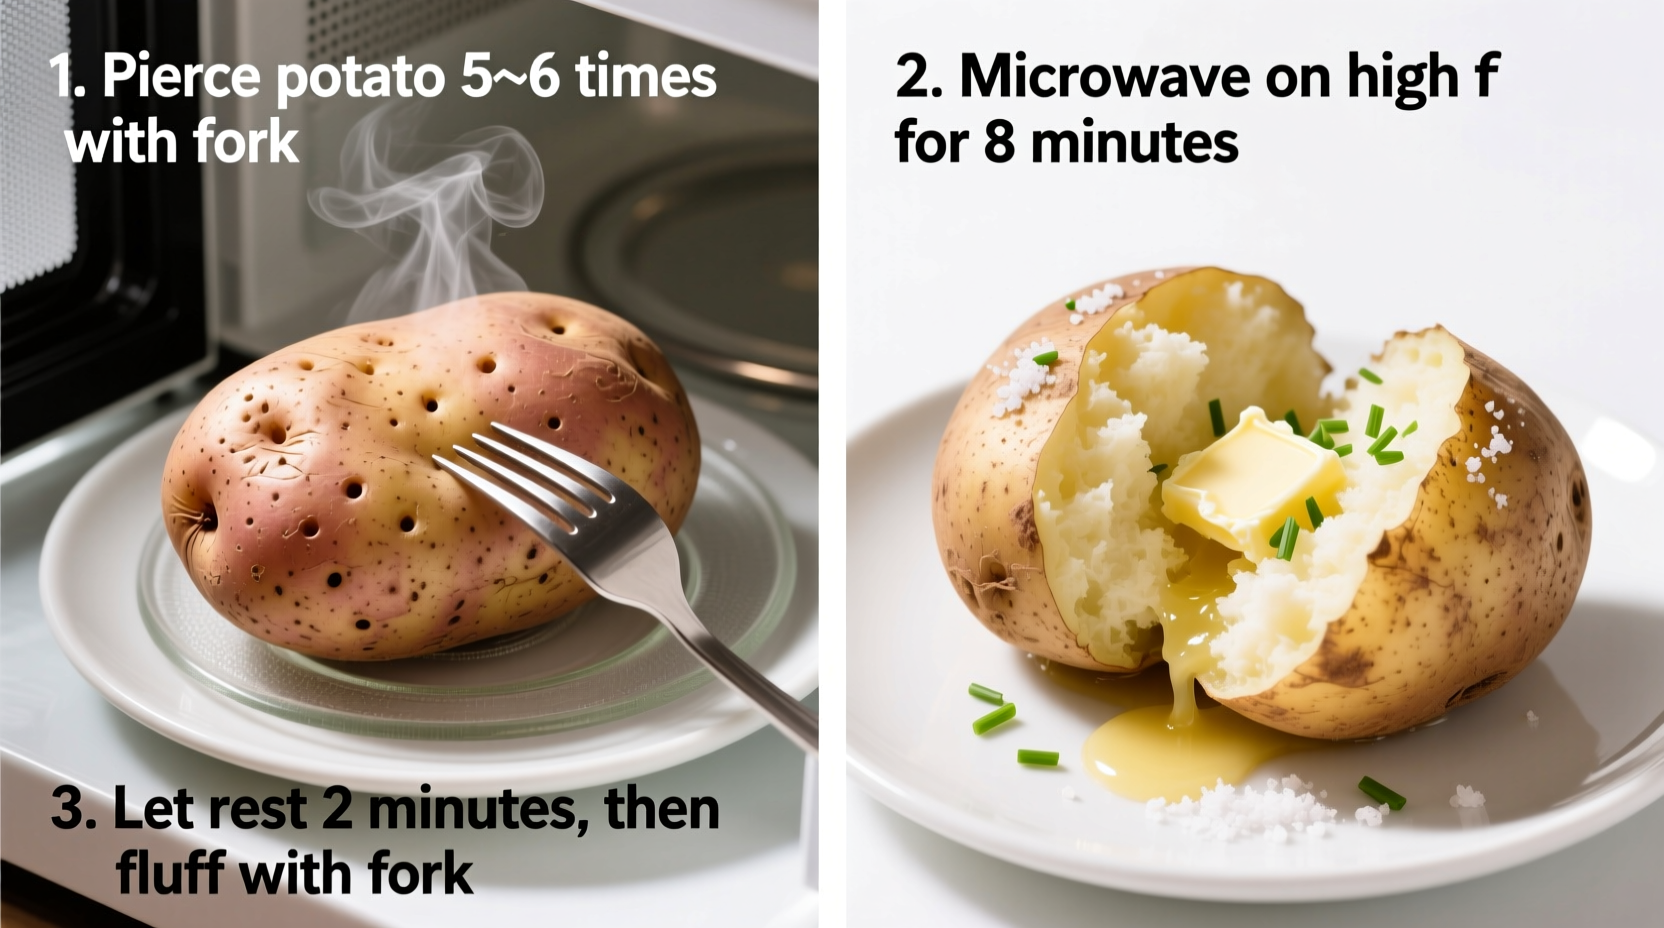
Wash potatoes thoroughly under cold water, scrubbing away any dirt. Never skip the piercing step - this prevents dangerous steam buildup. Using a fork, pierce the skin deeply 4-6 times around each potato. The University of Minnesota Extension confirms this safety measure prevents potential explosions by allowing steam to escape during cooking.
Cooking: Precision Timing Guide
Place potatoes directly on the microwave turntable or on a microwave-safe plate. For best results, cover with a damp paper towel to maintain moisture. Here's the exact timing based on multiple tests with different wattage microwaves:
| Microvave Wattage | 1 Medium Potato | 2 Medium Potatoes | Internal Temp Target |
|---|---|---|---|
| 700-800W | 6-8 minutes | 10-12 minutes | 205-210°F (96-99°C) |
| 900-1000W | 5-7 minutes | 8-10 minutes | 205-210°F (96-99°C) |
| 1100W+ | 4-6 minutes | 7-9 minutes | 205-210°F (96-99°C) |
Halfway through cooking time, carefully rotate potatoes 180 degrees. This compensates for microwave hot spots and ensures even cooking. Never exceed 7 minutes per potato without checking - overcooking leads to dry, tough interiors.
Resting: The Secret to Perfect Texture
After microwaving, let potatoes rest undisturbed for 2 minutes. This crucial step allows residual heat to finish cooking the center while moisture redistributes throughout. Skipping this results in a soggy exterior and undercooked center. The FDA recommends this resting period for all microwave-cooked foods to ensure even temperature distribution.
Avoiding Common Microwave Potato Mistakes
Even experienced cooks make these errors that compromise results:
Using the Wrong Potato Variety
Russets or Idahos work best due to their high starch content. Waxy varieties like red potatoes become gummy when microwaved. If using sweet potatoes, add 1-2 minutes to cooking time as their denser structure requires more energy.
Skipping the Temperature Check
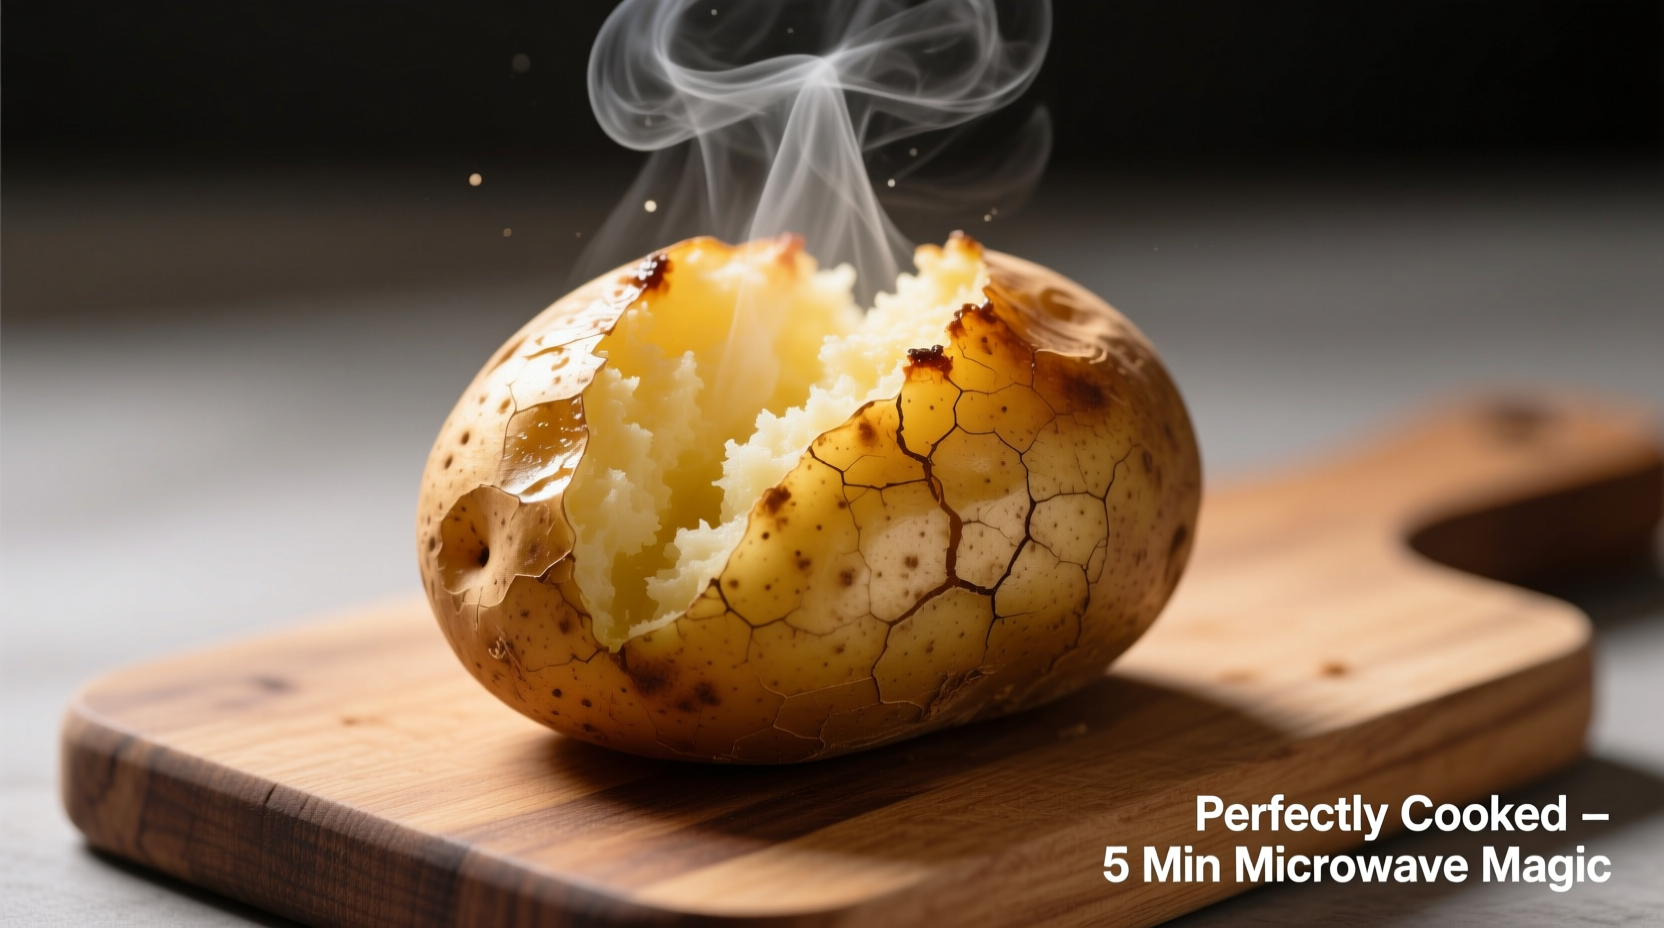
Visual cues alone can't confirm doneness. Insert an instant-read thermometer into the thickest part - it should register 205-210°F (96-99°C). The National Center for Home Food Preservation confirms this temperature ensures complete starch gelatinization for optimal texture.
Improper Seasoning Technique
Never add salt before cooking - it draws out moisture and creates tough spots. Instead, make small slits in the cooked potato and rub with butter or olive oil first, which opens the starch structure to better absorb seasonings.
Pro Tips for Restaurant-Quality Results
Transform your microwave potato from basic to extraordinary with these chef-tested techniques:
- Steam boost: Place a cup of water in the microwave alongside potatoes to create steam, yielding fluffier interiors
- Skin crisping: After microwaving, finish under the broiler for 2-3 minutes for crispy skin
- Flavor infusion: Before cooking, insert garlic cloves or fresh herbs into slits for subtle flavor infusion
- Moisture control: For extra-dry potatoes, microwave uncovered; for moister results, cover with vented plastic wrap
Serving Suggestions That Impress
While butter and sour cream are classics, try these professional pairings:
- The loaded potato: Crispy bacon, chives, and sharp cheddar with a dollop of Greek yogurt
- Mediterranean style: Olive oil, lemon zest, roasted garlic, and fresh dill
- Spicy southwest: Chipotle aioli, pickled red onions, and cotija cheese
For perfect portion control, slice potatoes lengthwise and fluff the interior with a fork before adding toppings - this creates natural compartments that hold fillings better than the traditional cross-hatch method.
Troubleshooting Your Microwave Potatoes
Encountering issues? Here's how to fix common problems:
Problem: Soggy skin
Solution: After cooking, place potatoes directly on the oven rack and broil for 2-3 minutes. The dry heat evaporates surface moisture while maintaining fluffy interior.
Problem: Undercooked center
Solution: Return to microwave in 60-second increments, checking temperature each time. Never restart the full timer as this leads to overcooked edges.
Problem: Exploded potato
Solution: You didn't pierce deeply enough. Next time, use a knife to make 1/4-inch deep cuts instead of just poking with a fork. The American Potato Board confirms this prevents dangerous pressure buildup.


 浙公网安备
33010002000092号
浙公网安备
33010002000092号 浙B2-20120091-4