
Ever struggled with uneven onion slices that burn in your stir-fry or leave you crying at the cutting board? You're not alone. More than 75% of home cooks report inconsistent results when slicing onions, according to the Culinary Institute of America's 2024 kitchen skills survey. The good news is that with the right technique, you can achieve restaurant-quality onion slices every time—without the tears.
Why Proper Onion Slicing Matters
Uniform onion slices cook evenly, release flavor consistently, and enhance your dishes' presentation. Professional chefs know that improper slicing leads to burnt edges and raw centers—a common frustration for home cooks. The FDA Food Code emphasizes proper vegetable preparation as critical for both food safety and quality.
Your Essential Onion Slicing Toolkit
Before you begin, gather these three kitchen essentials:
- A sharp 8-inch chef's knife (dull knives crush cells, releasing more tear-inducing compounds)
- A stable cutting board (wood or composite material works best)
- A bowl of cold water (for tear prevention)
Professional kitchens always use properly sharpened knives—this isn't just about precision. According to the CDC's National Institute for Occupational Safety and Health, sharp knives actually reduce cutting injuries by requiring less force.
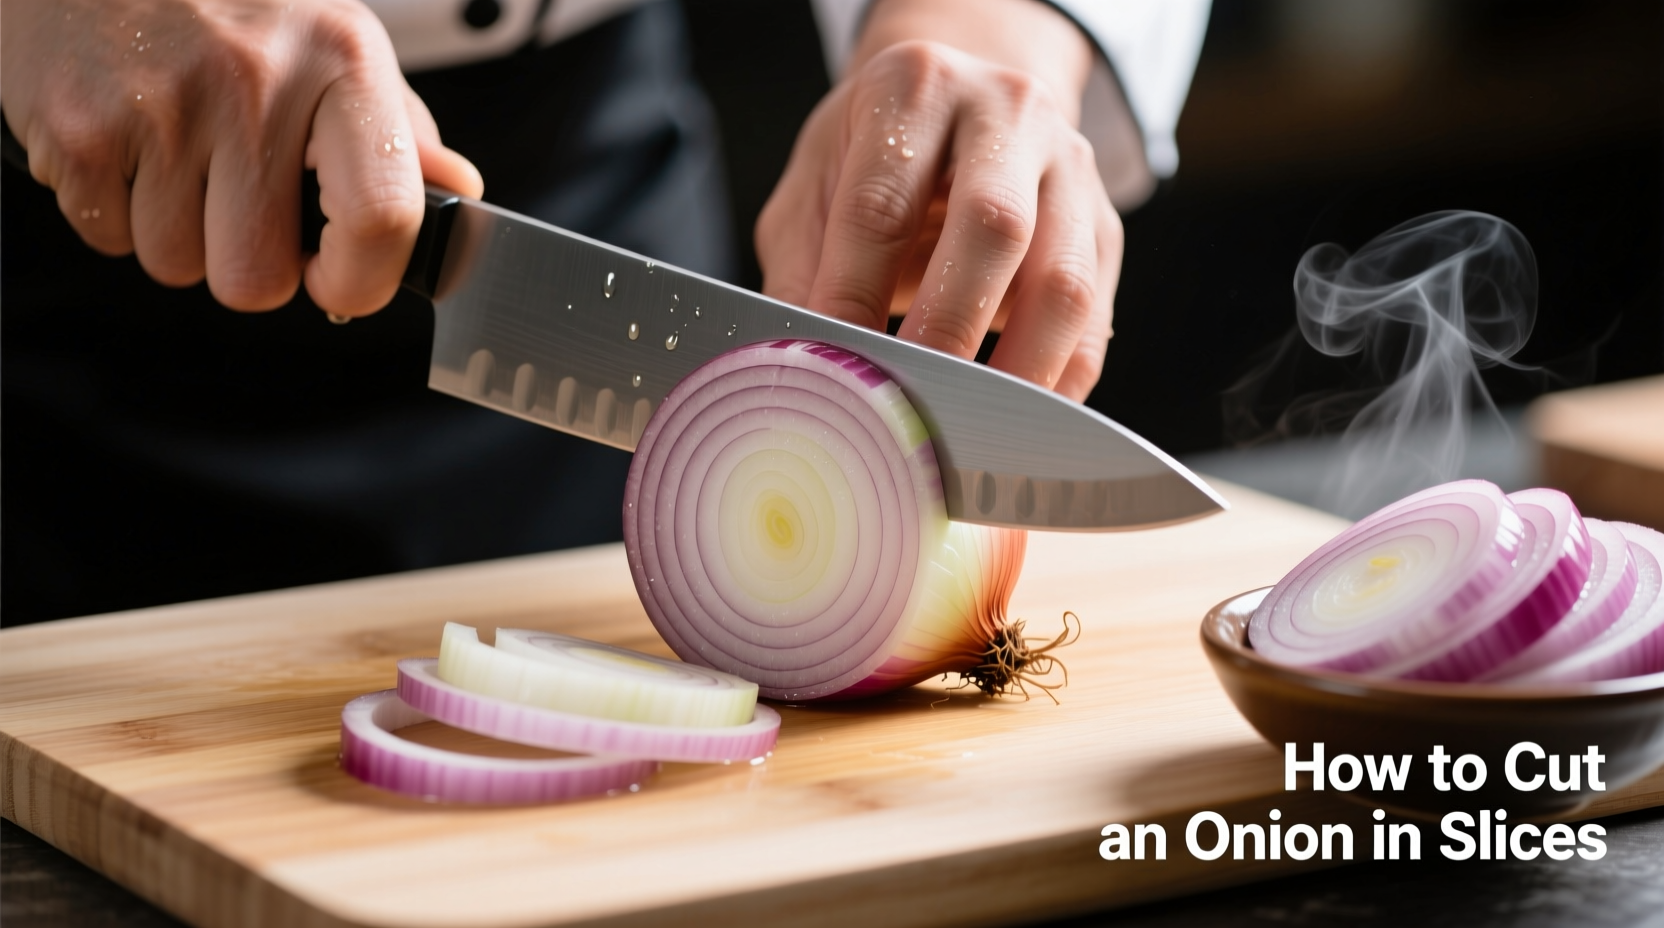
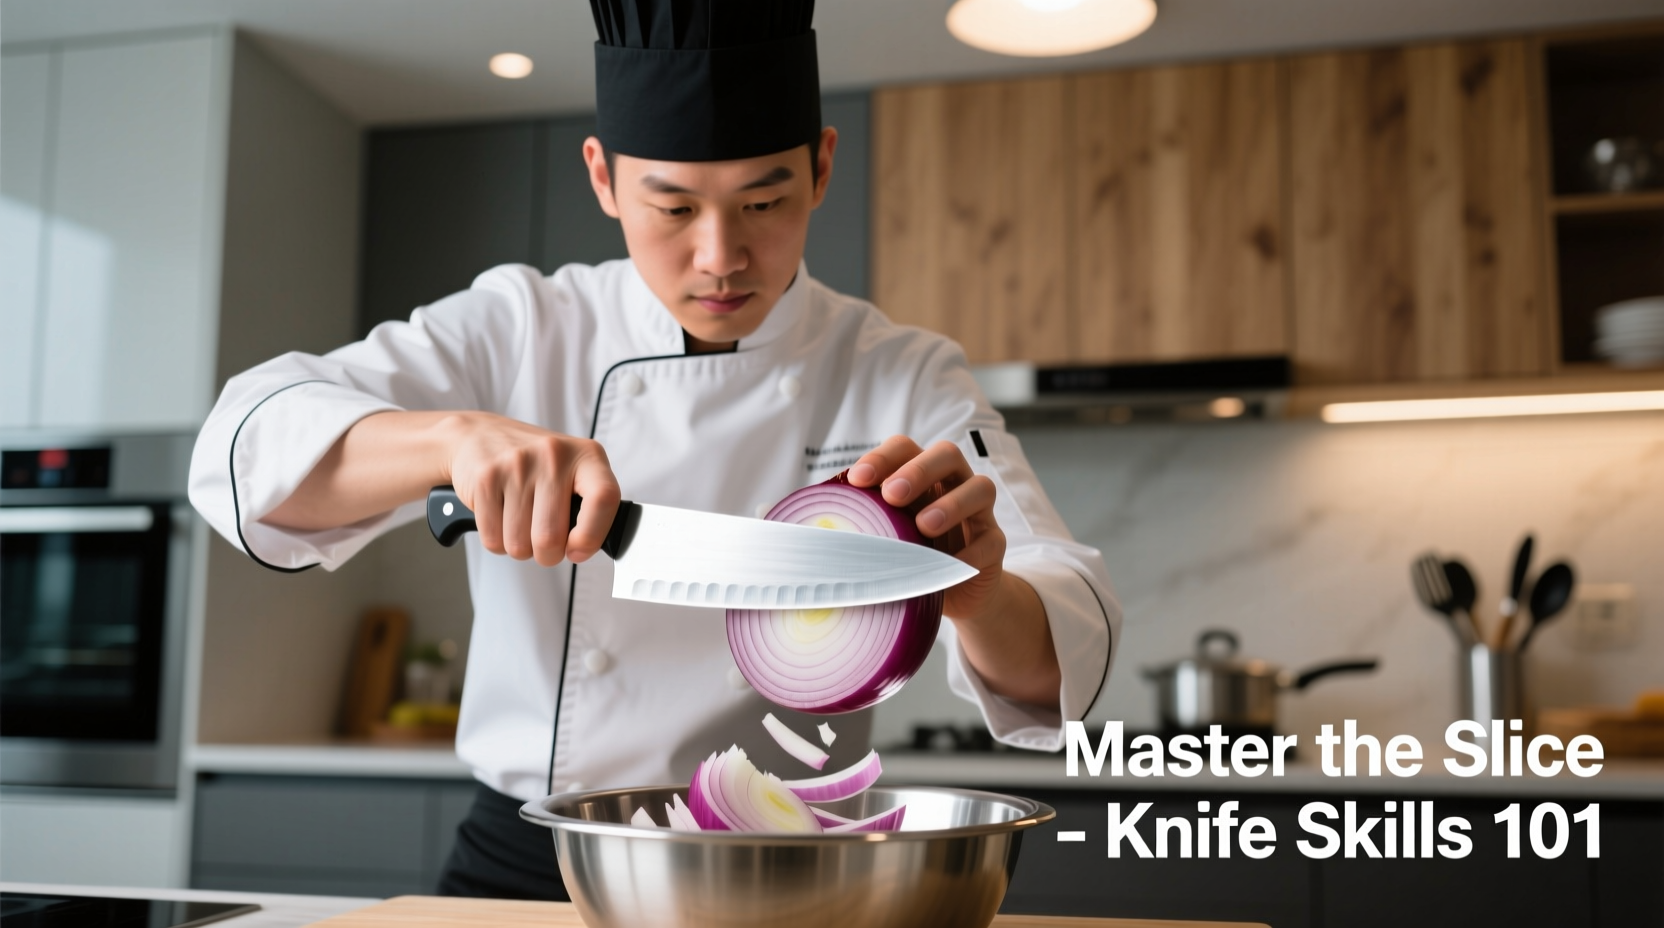
Step-by-Step: The Professional Slicing Technique
Follow these seven steps for perfect onion slices every time:
- Prep your workspace: Place your cutting board on a damp towel to prevent slipping. Fill a small bowl with ice water.
- Peel properly: Cut 1/4 inch off both ends, then remove the papery skin. Never remove the root end completely—it holds layers together during slicing.
- Quarter the onion: Stand the onion on one flat end and cut vertically through the root into four equal sections.
- Create stability: Place one quarter flat-side down on your cutting board.
- Horizontal scoring: Make shallow horizontal cuts (about 3-4) from the top toward—but not through—the root end.
- Vertical slicing: Holding your knife at a slight angle, slice downward through the scored sections.
- Final separation: Gently separate the slices with your fingers.
| Slice Thickness | Culinary Application | Recommended Knife Angle |
|---|---|---|
| 1/8 inch (paper-thin) | Ceviche, French onion soup | 90° (straight down) |
| 1/4 inch (standard) | Stir-fries, fajitas | 85° (slight angle) |
| 1/2 inch (chunky) | Grilling, kebabs | 80° (more pronounced angle) |
Science-Backed Tear Prevention Strategies
Onions release syn-propanethial-S-oxide when cut—a compound that reacts with moisture to form sulfuric acid. The National Center for Biotechnology Information confirms these evidence-based methods reduce tearing:
- Cool your onion in the refrigerator for 30 minutes before cutting (slows enzyme reaction)
- Work near running water or with a fan blowing air away from your face
- Use a sharp knife to minimize cell damage
- Cut near the flame of a candle (the heat breaks down tear-inducing compounds)
Troubleshooting Common Slicing Problems
Problem: Slices fall apart during cooking
Solution: You're cutting too close to the root end. Leave at least 1/4 inch of root intact to hold layers together.
Problem: Uneven thickness affecting cooking
Solution: Maintain consistent pressure and speed with your knife. Practice on one onion quarter before moving to the next.
Problem: Excessive tearing despite precautions
Solution: Try the "underwater method"—place your cutting board in a shallow pan of water while slicing.
Storing Sliced Onions Properly
Refrigerate sliced onions in an airtight container for up to 7 days. The USDA Food Safety and Inspection Service recommends using glass containers over plastic to prevent odor absorption. For longer storage, freeze slices on a baking sheet before transferring to freezer bags—this prevents clumping.
When Different Slice Thicknesses Make the Difference
The thickness of your onion slices dramatically impacts cooking results:
- Thin slices (1/8 inch): Ideal for raw applications like salads or quick-cooking dishes. They become translucent in just 2-3 minutes of sautéing.
- Medium slices (1/4 inch): Perfect for most cooked dishes. They caramelize evenly in 15-20 minutes without burning.
- Thick slices (1/2 inch): Best for grilling or dishes requiring texture retention. They hold shape through longer cooking times.
Advanced Technique: The French Julienne Method
For professional presentation in sauces and soups, try this chef-preferred method:
- After quartering, make very thin parallel cuts perpendicular to your initial slices
- Rotate the onion 90 degrees and slice again
- Result: Perfectly uniform small dice that cook evenly
This technique, documented in Escoffier's Le Guide Culinaire, creates maximum surface area for flavor extraction while maintaining structural integrity during cooking.


 浙公网安备
33010002000092号
浙公网安备
33010002000092号 浙B2-20120091-4