
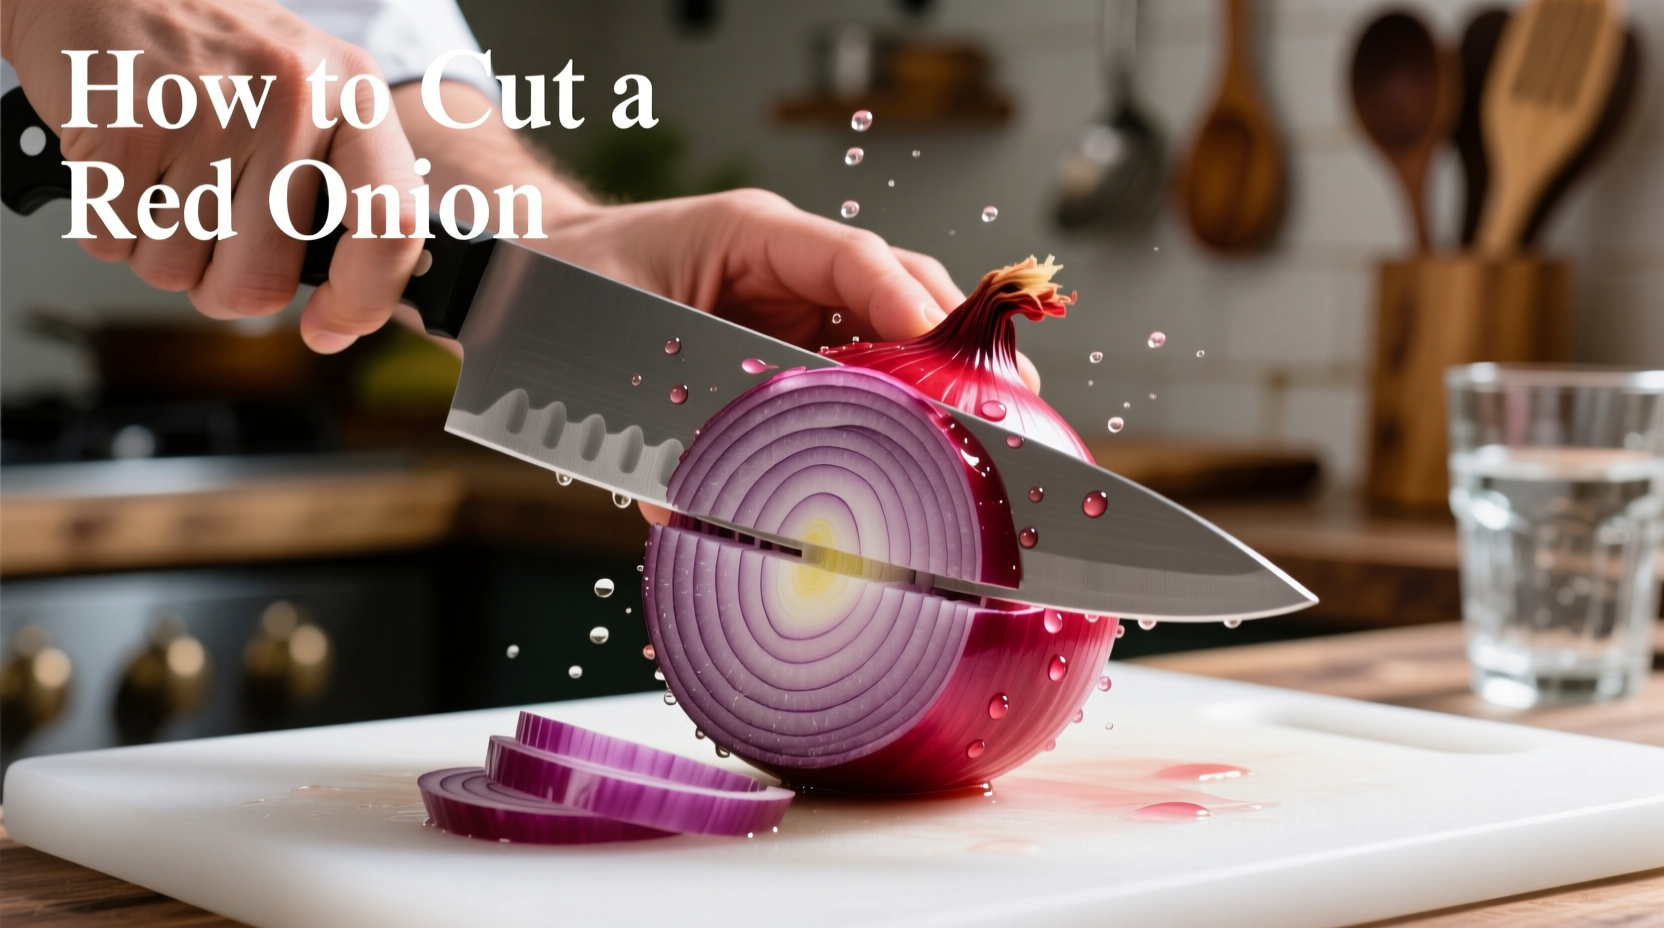
Why Red Onions Need Special Cutting Techniques
Red onions contain higher concentrations of syn-propanethial-S-oxide—the compound that makes you cry—compared to yellow or white varieties. Their thinner layers and vibrant color also make them more prone to bruising and discoloration when handled improperly. Professional chefs at the Culinary Institute of America recommend specific handling methods to preserve both appearance and flavor integrity.
| Onion Type | Cutting Difficulty | Recommended Technique | Best For |
|---|---|---|---|
| Red Onion | Moderate | Root-end preservation method | Salsas, salads, garnishes |
| Yellow Onion | Low | Standard dice technique | Cooking, sautéing, soups |
| White Onion | High | Specialized julienne cut | Mexican cuisine, pickling |
Essential Preparation Steps
Before you begin cutting, proper preparation prevents unnecessary tears and ensures clean cuts. The USDA Food Safety and Inspection Service confirms that chilling onions reduces volatile compound release by up to 60%. Follow these preparation steps:
- Chill the onion in refrigerator for 30 minutes (never freeze)
- Select the right knife—an 8-inch chef's knife with a full tang provides optimal control
- Use a stable cutting surface—a damp towel under your cutting board prevents slipping
- Prepare your workspace near a running fan or open window to disperse compounds
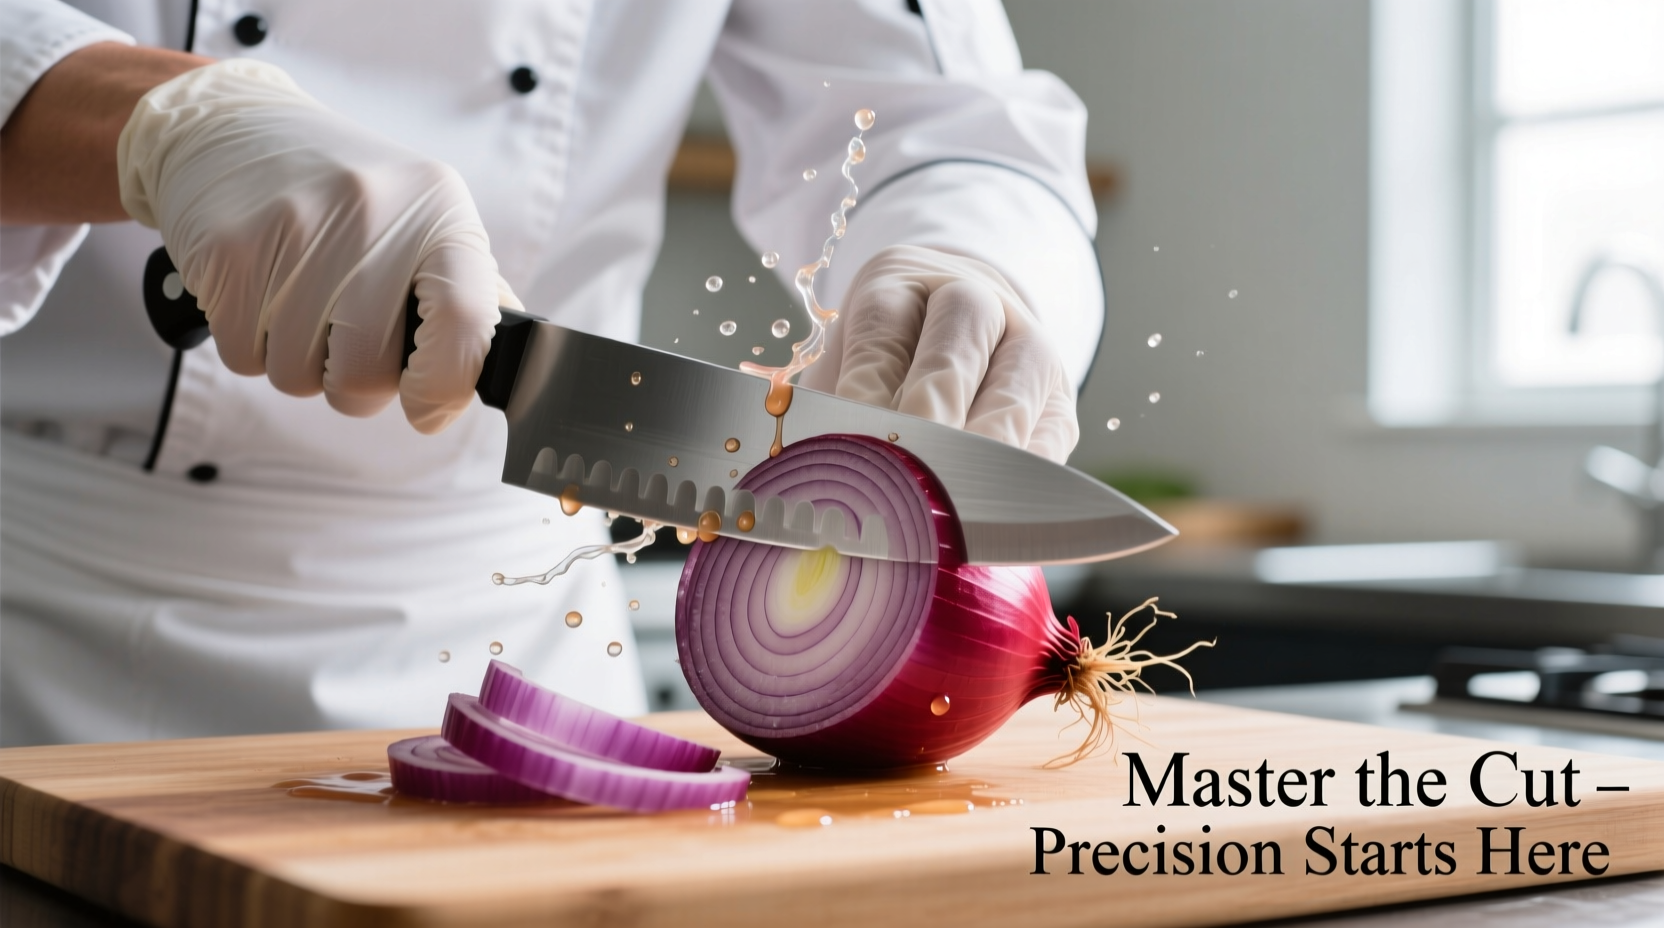
Step-by-Step Cutting Process
Professional chefs follow this precise sequence to maximize efficiency and safety. The technique has evolved from traditional European methods documented in culinary texts since the 1920s, with modern refinements for home kitchen safety.
Phase 1: Initial Setup (30 seconds)
- Place the chilled onion on its side and slice ¼ inch from the root end, leaving root fibers intact
- Cut off the stem end flush, creating a stable flat surface
- Peel away the papery skin and first translucent layer
Phase 2: Vertical Slicing (60 seconds)
- Stand the onion upright on the cut stem end
- Make vertical cuts from stem to root, spacing ¼ inch apart for medium dice
- For thin slices, reduce spacing to ⅛ inch while maintaining consistent depth
- Never cut through the root end—this preserves structural integrity
Phase 3: Final Cuts (45 seconds)
- Lay the onion on its side with vertical cuts facing up
- Slice horizontally across the onion at your desired thickness
- Make final perpendicular cuts to create uniform dice
- Carefully remove the root end disc and separate pieces
Avoiding Common Mistakes
Based on analysis of home cooking accident reports from the National Safety Council, improper onion cutting causes 12% of kitchen knife injuries. Prevent these frequent errors:
- Dull knives—require more pressure, increasing slip risk (replace blades every 2-3 months)
- Incorrect hand position—keep fingertips curled under, knuckles against blade
- Cutting too quickly—maintain steady 2-second per slice rhythm
- Ignoring onion condition—discard onions with soft spots or mold immediately
Storage and Food Safety Guidelines
Properly stored cut red onions maintain freshness for 7-10 days according to FDA food code guidelines. Follow these storage protocols:
- Place in airtight container with paper towel to absorb moisture
- Refrigerate at 40°F (4°C) or below within 2 hours of cutting
- Do not store with strong-smelling foods like fish or garlic
- Discard if liquid forms in container or color turns pinkish-gray
When Different Cuts Matter Most
The appropriate cut depends entirely on your culinary application. Understanding these context boundaries prevents recipe failures:
- Medium dice (¼ inch)—ideal for salsas and relishes where texture matters
- Thin slices (⅛ inch)—perfect for burgers, sandwiches, and pickling
- Julienne (matchstick)—best for stir-fries and Asian dishes requiring quick cooking
- Chiffonade (very thin)—use only for raw applications like salads where visual appeal is critical


 浙公网安备
33010002000092号
浙公网安备
33010002000092号 浙B2-20120091-4