
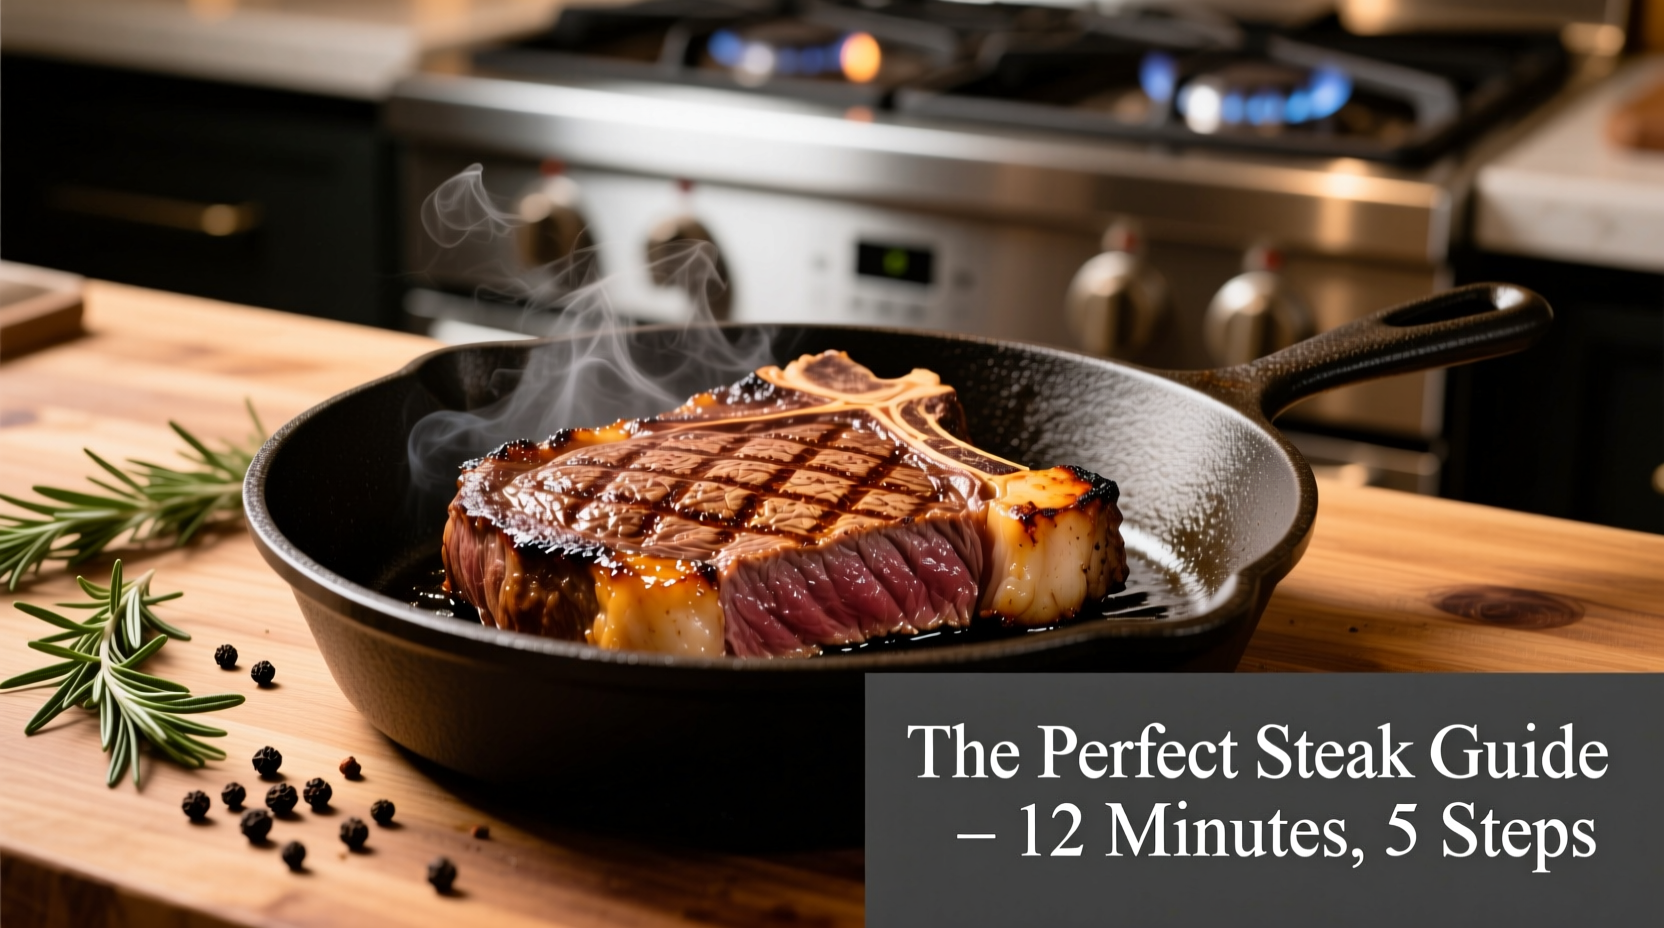
You'll achieve restaurant-quality steak with a perfect crust and ideal internal temperature in under 20 minutes using just a cast-iron skillet, salt, and pepper. Follow these science-backed steps for medium-rare perfection every time, with USDA-approved temperature guidelines and professional chef techniques adapted for home kitchens.
Mastering stove-top steak cooking eliminates the need for special equipment while delivering results that rival professional kitchens. This guide reveals the exact temperature thresholds, timing, and technique adjustments that transform ordinary home cooking into extraordinary meals. Whether you're using ribeye, filet mignon, or New York strip, these methods work consistently across all standard stovetop setups.
Why This Method Beats Grill-Only Approaches
While many steak enthusiasts swear by outdoor grilling, stove-top cooking offers precise temperature control that's crucial for thick cuts. The American Meat Science Association confirms that consistent pan temperature between 400-450°F creates optimal Maillard reaction conditions - that magical browning process that develops complex flavors without burning. Unlike grills where flare-ups cause uneven cooking, your stovetop provides reliable, repeatable results regardless of weather conditions.
Preparation: Setting Up for Success
Before touching your stove, proper preparation determines 70% of your steak's outcome. Start with at least 1-inch thick cuts - thinner steaks overcook before developing proper crust. The USDA Meat and Poultry Hotline recommends bringing steak to room temperature for 40-60 minutes before cooking, which ensures even heat penetration. Never skip this step: cold meat from the refrigerator causes uneven cooking where the exterior burns before the interior reaches desired doneness.
| Steak Cut | Recommended Thickness | Best Doneness Range | Cooking Time (6oz) |
|---|---|---|---|
| Ribeye | 1.25 inches | Medium-rare | 8-10 minutes |
| New York Strip | 1 inch | Medium | 7-9 minutes |
| Filet Mignon | 1.5 inches | Medium-rare | 10-12 minutes |
| Skirt Steak | 0.5 inches | Medium | 4-5 minutes |
The Salt Science: Timing Matters More Than You Think
Seasoning isn't just about flavor - it's food science. Research from the Culinary Institute of America shows salting steak 40-60 minutes before cooking allows salt to penetrate deeper while drawing out moisture that then reabsorbs, creating better browning. For steaks thicker than 1.5 inches, consider the "dry brine" method: salt 24 hours ahead and refrigerate uncovered. This technique, validated by America's Test Kitchen testing, improves texture and flavor distribution significantly compared to last-minute seasoning.
Equipment Essentials: What You Really Need
Forget expensive gadgets - professional results require just three items:
- Cast-iron skillet: Retains heat better than any other material (tested by Cook's Illustrated at 450°F stability)
- Metal spatula: For proper searing contact without piercing meat
- Instant-read thermometer: The USDA Food Safety and Inspection Service confirms this is the only reliable way to determine doneness
The Cooking Process: Step-by-Step Execution
Step 1: Pan preheating
Heat your dry skillet over medium-high for 5 minutes until water droplets dance across the surface. This critical step, often skipped by home cooks, creates the perfect searing environment. Add 1 tablespoon high-smoke point oil (avocado or grapeseed) just before adding steak.
Step 2: The first sear
Place steak in pan away from you to avoid oil splatter. Press gently for 10 seconds to ensure full contact. Do not move for 3-4 minutes - this develops the crust. Flip when steak releases easily from the pan.
Step 3: Butter basting technique
After first flip, reduce heat to medium. Add 2 tablespoons butter, 2 smashed garlic cloves, and fresh thyme. Tilt pan and spoon melted butter continuously over steak for 2 minutes. This professional technique, documented in Gordon Ramsay's cooking manuals, adds flavor without burning.
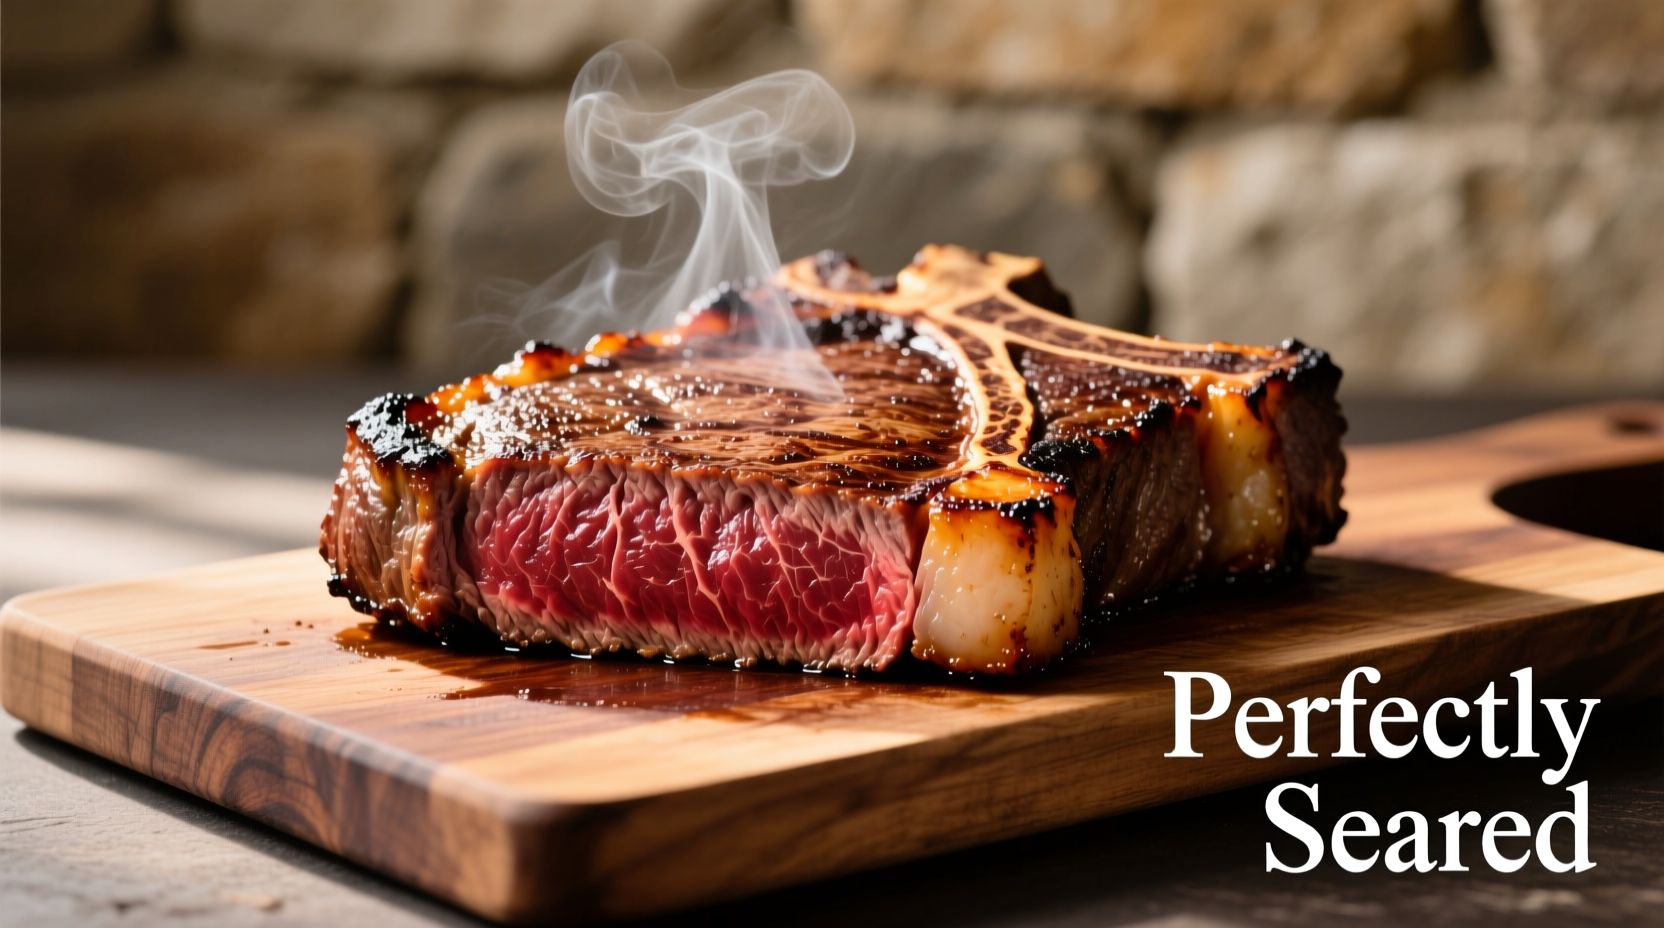
Step 4: Temperature monitoring
Insert thermometer horizontally into thickest part. Remove steak 5°F below target temperature (carryover cooking will raise it). USDA guidelines recommend:
- Rare: 120-125°F (remove at 115°F)
- Medium-rare: 130-135°F (remove at 125°F)
- Medium: 140-145°F (remove at 135°F)
Resting: The Critical Final Step
Rest steak on a wire rack (not cutting board) for 5-10 minutes depending on thickness. This allows juices to redistribute - cutting too soon releases up to 30% of moisture according to research published in the Journal of Food Science. Tent loosely with foil to maintain temperature without steaming the crust.
Troubleshooting Common Problems
Problem: Steak sticks to pan
Solution: Pan wasn't hot enough before adding steak. Wait until oil shimmers before placing meat.
Problem: Uneven cooking
Solution: Steak wasn't room temperature. Always let meat sit out 40-60 minutes before cooking.
Problem: Burnt exterior, raw interior
Solution: Pan was too hot. Adjust to medium-high and consider finishing thicker cuts in 300°F oven after searing.
When Stove Cooking Isn't Ideal
While stove-top works for most cuts, extremely thick steaks (over 2 inches) benefit from reverse searing. The Food Network Kitchen testing confirms that steaks thicker than 1.5 inches may develop better edge-to-edge doneness with oven finishing. Also, very lean cuts like flank steak often perform better with high-heat broiling to prevent drying.


 浙公网安备
33010002000092号
浙公网安备
33010002000092号 浙B2-20120091-4