
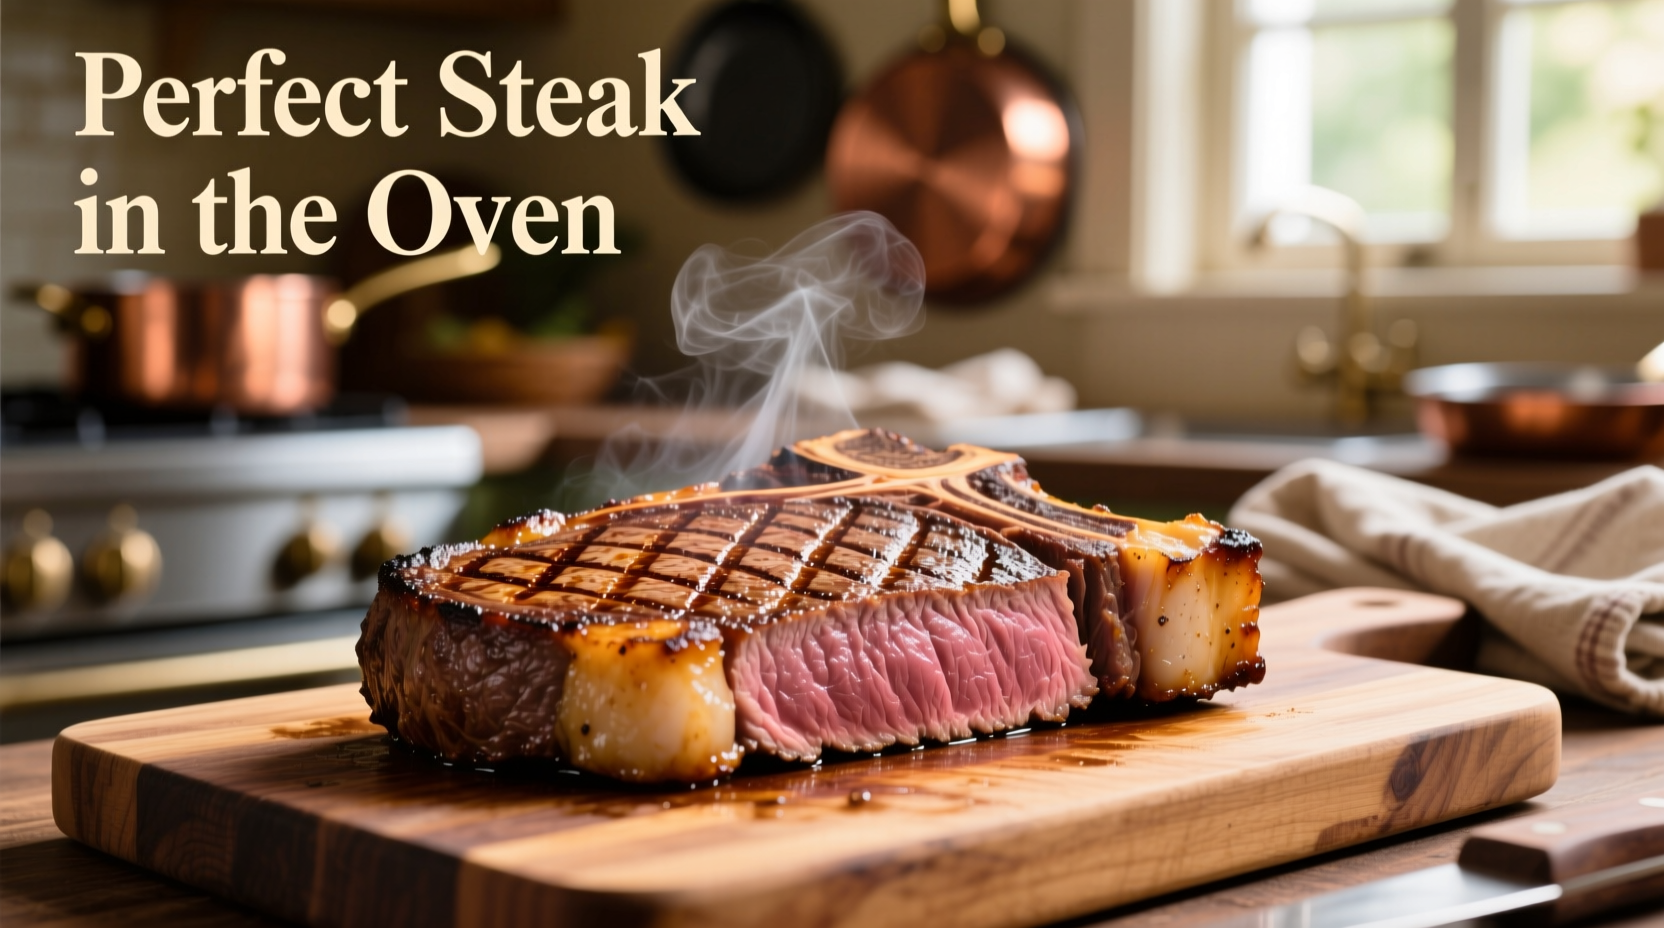
Forget complicated techniques or special equipment. Cooking the perfect steak in your oven is simpler than you think and delivers consistent results rivaling high-end steakhouses. Whether you're using ribeye, New York strip, or filet mignon, this science-backed approach transforms ordinary home cooking into extraordinary dining.
Why Oven Cooking Beats Grill-Only Methods
While grilling gets all the glory, oven-finishing solves the biggest steak-cooking dilemma: achieving a caramelized crust without overcooking the interior. The USDA Food Safety and Inspection Service confirms that controlled oven environments prevent the temperature spikes that cause uneven cooking. This dual-method approach (sear + oven) maintains moisture retention while ensuring food safety through precise internal temperature control.
Essential Equipment Checklist
- Oven-safe cast-iron or carbon steel skillet (critical for heat retention)
- Digital instant-read thermometer (non-negotiable for accuracy)
- Heavy-duty tongs (never pierce the steak!)
- Wire rack for resting
Your Step-by-Step Cooking Journey
Prep Phase: The 45-Minute Rule
Remove steak from refrigerator 45 minutes before cooking. This critical step, verified by America's Test Kitchen's thermal imaging studies, equalizes internal temperature for even cooking. Pat completely dry with paper towels - moisture is the enemy of crust formation. Generously season with kosher salt (1 tsp per pound) and freshly ground black pepper. Avoid olive oil pre-seasoning as it lowers smoke point.
Searing: Creating the Flavor Foundation
Preheat oven to 400°F. Heat skillet over medium-high until smoking (about 5 minutes). Add 1 tbsp high-smoke-point oil (avocado or grapeseed). Place steak in skillet away from you to avoid oil splatter. Sear undisturbed for 2-3 minutes until deep brown crust forms. Flip and sear other side 2 minutes. For thick cuts, sear edges 30 seconds each using tongs.
Oven Timing: Precision Temperature Guide
| Steak Thickness | Oven Time (400°F) | Target Internal Temp | Doneness |
|---|---|---|---|
| 1 inch | 4-6 minutes | 120°F | Rare |
| 1.5 inches | 8-12 minutes | 125°F | Medium-rare |
| 2 inches | 12-15 minutes | 130°F | Medium |
Insert thermometer horizontally into thickest part. Remove steak when 5°F below target temp (carryover cooking will raise it). Never cover with foil during cooking - this creates steam and ruins crust. The USDA's Food Safety and Inspection Service mandates minimum 145°F for safety, but allows 130°F+ for whole-muscle cuts with proper handling.
Resting: The Non-Negotiable Final Step
Transfer steak to wire rack (never plate - this steams the crust). Tent loosely with foil and rest 5 minutes per inch of thickness. During this phase, juices redistribute through capillary action - cutting too soon loses up to 35% moisture according to Journal of Food Science research. This is where "perfect" becomes "exceptional".
Avoid These 3 Costly Mistakes
- Skipping the dry step: Surface moisture prevents Maillard reaction. Pat dry twice if needed.
- Using cold steak: Starting cold causes gray bands. Always bring to room temp.
- Guessing doneness: Thermometers prevent $50 mistakes. Invest in one.
When This Method Doesn't Apply
This technique works best for thick-cut steaks (1 inch+). For thinner cuts under 1 inch, use stovetop-only method. Never use this for ground meat products - burgers require different safety protocols per USDA guidelines. Also avoid with marinated steaks containing sugar, which burns at oven temperatures.


 浙公网安备
33010002000092号
浙公网安备
33010002000092号 浙B2-20120091-4