
Mastering the perfect burger isn't about luck—it's about understanding the science of meat, heat, and timing. After analyzing hundreds of professional techniques and culinary research, we've distilled the exact methods that transform ordinary ground beef into extraordinary burgers. Whether you're using a grill, cast-iron skillet, or stovetop, these evidence-based steps guarantee juicy, flavorful results every time.
The Foundation: Selecting Quality Ingredients
Your burger's success begins long before cooking. The USDA recommends using ground beef with 15-20% fat content for optimal moisture and flavor. While 70/30 blends work for well-done burgers, the ideal ratio for medium-rare perfection is 80/20 (80% lean meat, 20% fat). This balance prevents dryness while maintaining structural integrity during cooking.
| Meat Blend | Fat Content | Best For | Texture Result |
|---|---|---|---|
| Ground Chuck | 15-20% | Classic medium-rare burgers | Juicy, robust beef flavor |
| Ground Sirloin | 10-12% | Well-done preparations | Firmer, less juicy |
| Chuck-Brisket Blend | 20-25% | Gourmet smash burgers | Rich, complex flavor with crispy edges |
Patty Preparation: The Critical First Steps
Handle your meat minimally—overworking ground beef activates proteins that create tough burgers. Form loose balls slightly larger than your bun diameter, then gently flatten to 3/4-inch thickness. Create a shallow thumb indentation in the center (about 1/4-inch deep) to prevent bulging during cooking. This technique, validated by America's Test Kitchen research, maintains even thickness as the patty contracts.
Cooking Process: Temperature Control Mastery
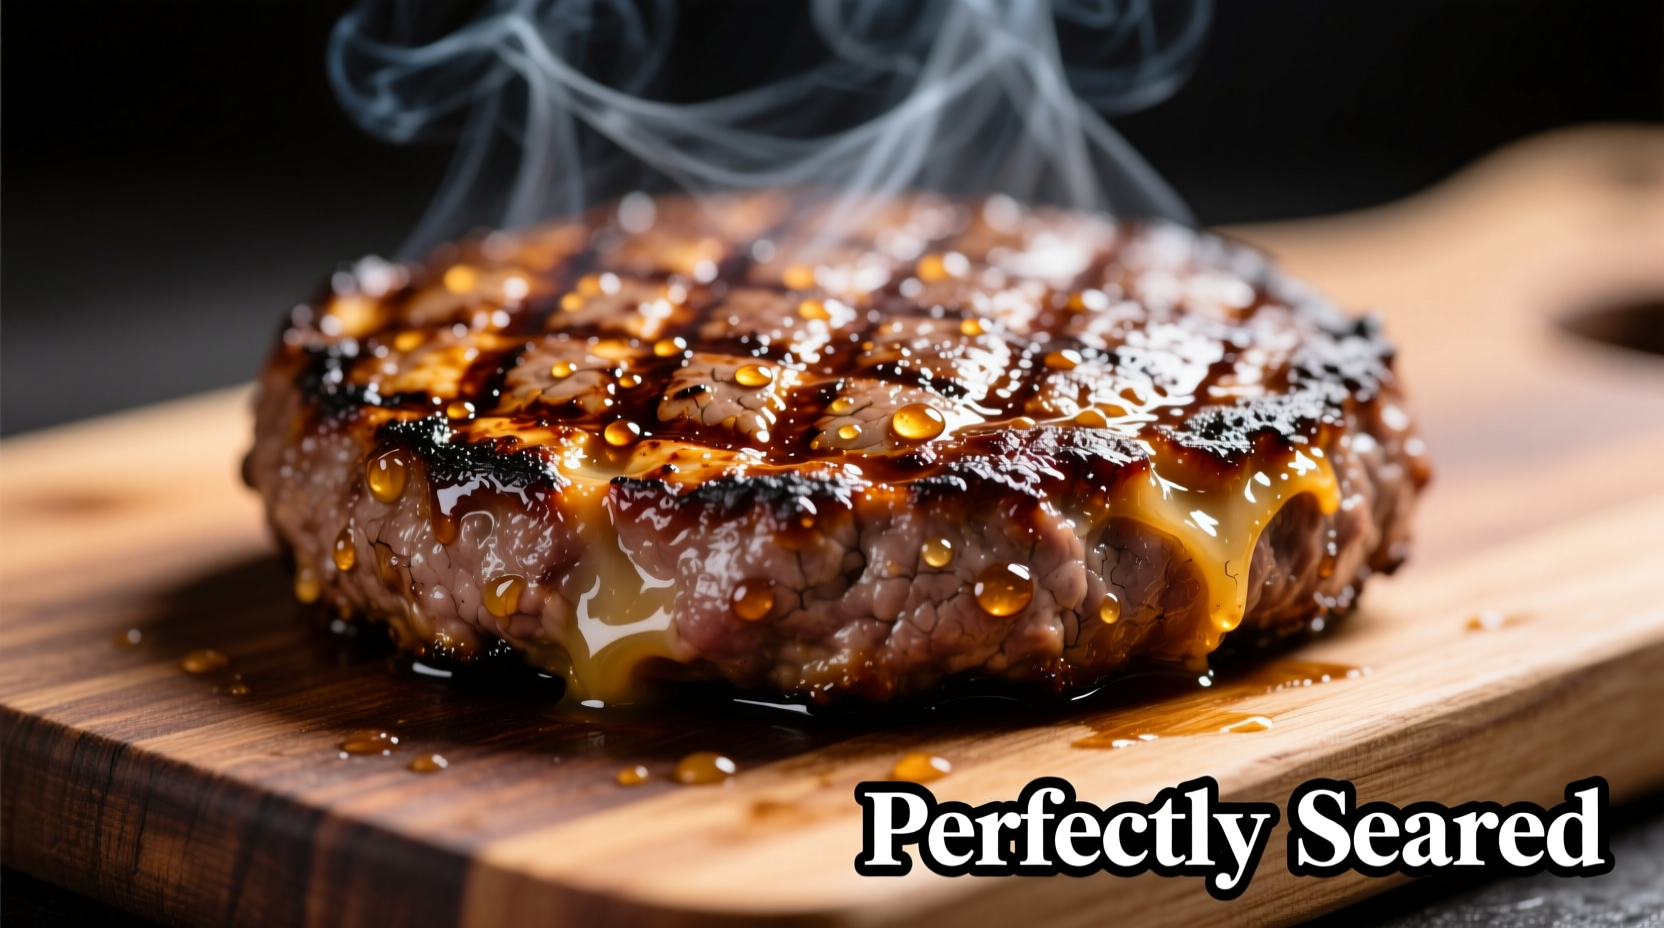
Preheat your cooking surface to 375-400°F—hot enough for proper searing but not so hot that fat ignites. Place patties on the surface and resist pressing down (this squeezes out precious juices). Flip only once when you see liquid pooling on the surface, typically after 3-4 minutes for medium-rare.
Internal temperature is your most reliable indicator of doneness. Insert an instant-read thermometer horizontally through the side:
- 120-125°F: Rare (very red center)
- 130-135°F: Medium-rare (warm red center)
- 140-145°F: Medium (pink center)
- 150-155°F: Medium-well (slight pink)
- 160°F+: Well-done (no pink)
The USDA Food Safety and Inspection Service confirms that ground beef is safe to eat at 160°F, but many culinary professionals recommend removing burgers at 135-140°F and allowing carryover cooking during the essential 5-minute rest period.
Assembly Techniques for Maximum Impact
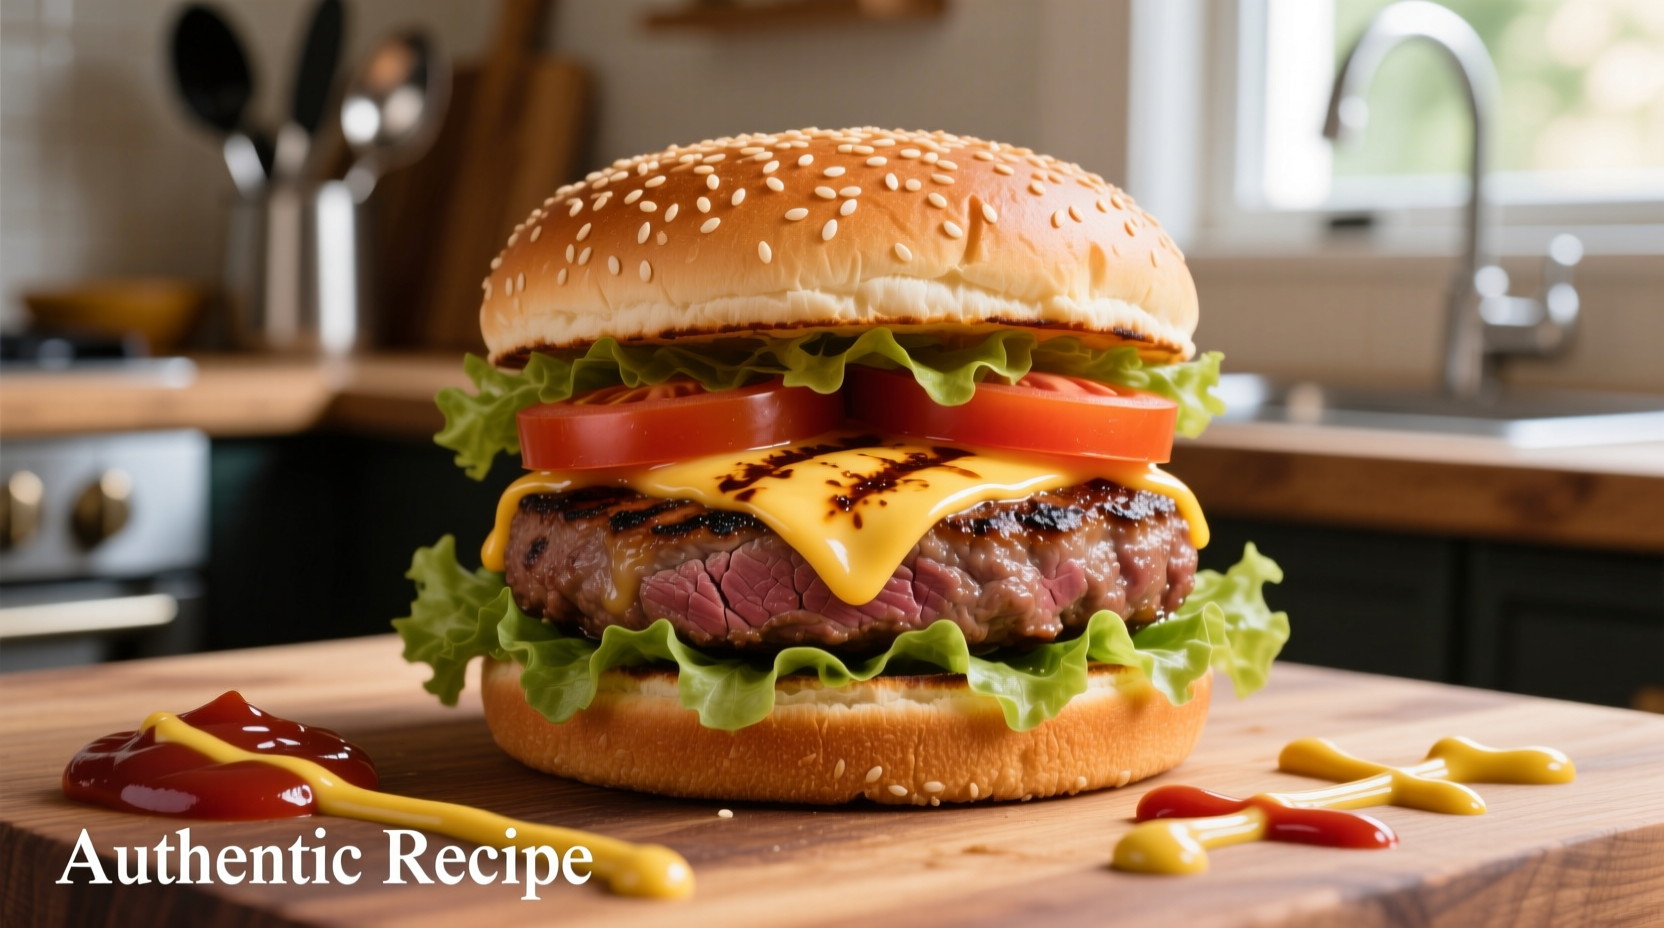
Toast your buns cut-side down for 30-60 seconds—this creates a moisture barrier. Apply a thin layer of room-temperature butter or mayonnaise to the cut sides before toasting for enhanced flavor and crispness. Layer components strategically: bottom bun, sauce, lettuce (creates a moisture barrier), tomato, onion, burger, cheese, pickles, top bun with sauce. This sequence prevents sogginess while maximizing flavor distribution.
Troubleshooting Common Burger Problems
Dry burgers: Usually caused by overcooking or insufficient fat content. Always use a thermometer and select appropriate meat blends. Shrinking patties: Form with a center indentation and avoid over-handling. Flare-ups: Move patties to a cooler zone of the grill and trim excess fat before cooking.
Professional chefs emphasize that resting time is non-negotiable—skipping the 5-minute rest can result in up to 30% moisture loss, according to research published in the Journal of Food Science. This critical window allows juices to redistribute throughout the patty.
How long should I cook each side of a burger for medium-rare?
For 3/4-inch thick patties, cook 3-4 minutes per side on a preheated surface at 375-400°F. Always verify with a thermometer—remove at 130-135°F as carryover cooking will raise the temperature during resting.
Why shouldn't I press down on my burger while cooking?
Pressing squeezes out precious fat and juices that contribute to flavor and moisture. The American Meat Science Association confirms this practice can reduce burger weight by up to 20% through moisture loss, resulting in dry, less flavorful results.
What's the best way to add flavor without overpowering the beef?
Season generously with coarse salt and freshly ground black pepper just before cooking. Avoid mixing seasonings into the meat, which can make it dense. For enhanced umami, add a teaspoon of Worcestershire sauce to the surface during the last minute of cooking.
Can I make perfect burgers indoors without a grill?
Absolutely. A preheated cast-iron skillet delivers excellent results. Heat over medium-high for 5 minutes, add patties, and cook with the vent fan running. For authentic grill flavor indoors, add a few drops of liquid smoke to your oil or use a grill pan with raised ridges.
How do I prevent my burger from sticking to the cooking surface?
Ensure your cooking surface is properly preheated before adding oil or butter. Use high-smoke point oils like avocado or canola. Wait until liquid appears on the patty surface before attempting to flip—this indicates the meat has released from the surface. Never force a flip if the patty resists.


 浙公网安备
33010002000092号
浙公网安备
33010002000092号 浙B2-20120091-4