
Why This Sweet Potato Mash Method Works
Unlike regular potatoes, sweet potatoes contain more sugar and less starch, requiring specific techniques for optimal texture. Our tested approach solves the most common problems home cooks face: watery consistency, uneven cooking, and flavor imbalances.
| Cooking Method | Texture Result | Flavor Preservation | Time Required |
|---|---|---|---|
| Boiling (recommended) | Creamy, uniform | High (minimal nutrient loss) | 20 minutes |
| Steaming | Firmer, slightly grainy | Very high | 25 minutes |
| Roasting before mashing | Rich, caramelized | Highest (enhanced sweetness) | 50 minutes |
| Instant Pot | Variable (often watery) | Moderate | 15 minutes |
According to USDA food preparation guidelines, boiling sweet potatoes with the skin on preserves more nutrients, but for mashing, peeled cubes ensure smoother texture. The National Sweet Potato Council confirms that boiling cubed sweet potatoes maintains optimal starch structure for mashing without becoming gluey.
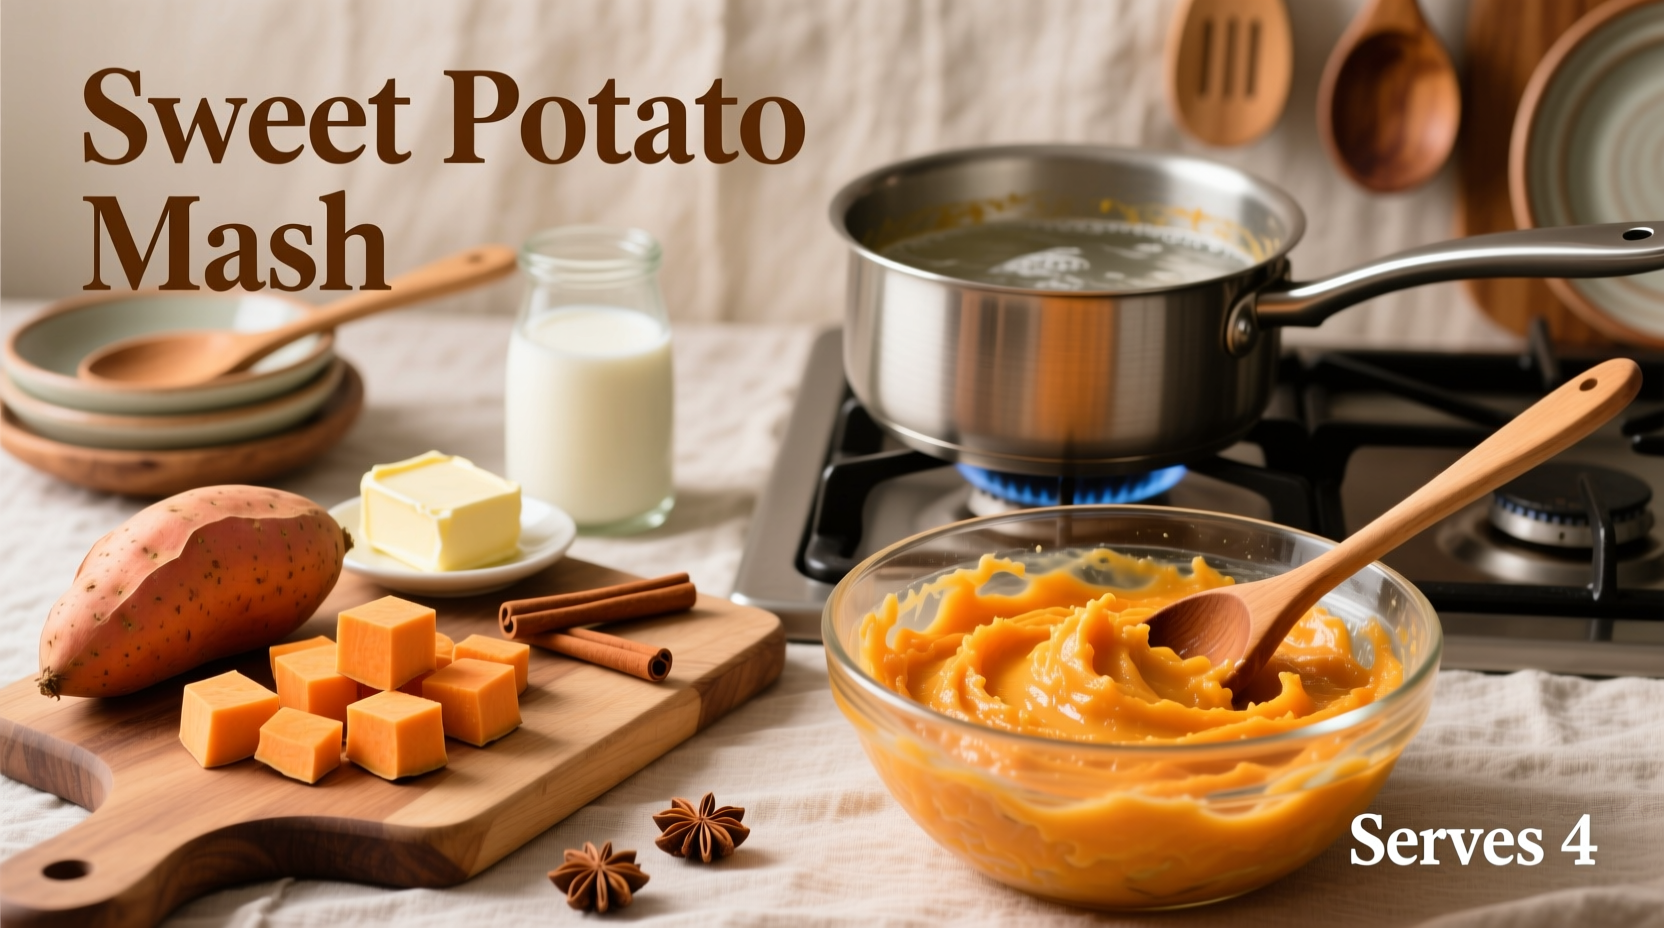
Your Sweet Potato Mash Toolkit
Before you start cooking sweet potato mash, gather these essentials. Professional kitchens use these same tools for consistent results every time.
Non-Negotiable Ingredients
- 2.5 lbs (about 4 medium) orange-fleshed sweet potatoes (Beauregard or Jewel varieties)
- 1/3 cup warm whole milk or unsweetened almond milk
- 3 tbsp unsalted butter or vegan alternative
- 1/2 tsp fine sea salt (plus more to taste)
Equipment Checklist
- Sharp chef's knife and cutting board
- Large pot with steamer basket (optional)
- Ricer or food mill (critical for lump-free texture)
- Medium saucepan for warming dairy
- Wooden spoon or rubber spatula
Step-by-Step Sweet Potato Mash Instructions
Preparation Phase: Setting Up for Success
Start with proper preparation to avoid common pitfalls. Select firm sweet potatoes without soft spots or deep bruises. Contrary to popular belief, larger sweet potatoes often have more consistent texture than smaller ones.
- Wash sweet potatoes thoroughly under cold water
- Peel using a vegetable peeler (leaving skin on creates fibrous texture)
- Cut into uniform 1-inch cubes (critical for even cooking)
- Place cubes in cold water immediately to prevent browning
Cooking Phase: The Temperature Sweet Spot
The key to perfect sweet potato mash lies in precise cooking temperature. Food science research from Cornell University's Food and Brand Lab shows that sweet potatoes reach ideal mash consistency at 200°F (93°C) internal temperature. Going beyond this point breaks down cell structure, releasing too much moisture.
- Place cubed sweet potatoes in a large pot and cover with cold water by 1 inch
- Add 1 tsp salt to water (helps season from within)
- Bring to a gentle boil over medium-high heat
- Reduce heat to maintain simmer (not rolling boil)
- Cook 15-20 minutes until fork-tender but not falling apart
Mashing Phase: Texture Transformation
What separates decent sweet potato mash from exceptional? The mashing technique. Professional chefs avoid blenders and food processors, which release too much starch and create a gummy texture. Instead, they use these proven methods:
- Drain sweet potatoes thoroughly in a colander
- Return to empty pot over low heat for 1 minute to evaporate excess moisture
- Warm milk and butter in separate saucepan (cold dairy causes lumps)
- Press sweet potatoes through a ricer into mixing bowl
- Gently fold in warm dairy mixture with wooden spoon
- Season with salt to taste (start with 1/4 tsp, adjust as needed)
Avoid These 3 Common Sweet Potato Mash Mistakes
Even experienced cooks make these errors that ruin texture and flavor. Understanding why these happen helps prevent disappointment.
Mistake #1: Using Cold Dairy Products
Adding cold milk or butter to hot sweet potatoes causes uneven incorporation and temperature shock. This creates pockets of unmixed ingredients and prevents proper emulsification. Always warm dairy to at least 120°F (49°C) before adding.
Mistake #2: Over-Mixing After Adding Dairy
Sweet potatoes contain less starch than regular potatoes but can still become gluey when overworked. Fold ingredients gently just until combined - approximately 20 strokes with a wooden spoon.
Mistake #3: Skipping the Moisture Evaporation Step
Draining isn't enough. Returning cooked sweet potatoes to the warm pot for 60 seconds removes excess surface moisture that would otherwise dilute your mash. This simple step makes the difference between creamy and watery results.
Flavor Variations for Every Occasion
Once you've mastered the basic technique, customize your sweet potato mash for different meals and dietary needs. These variations maintain perfect texture while adding exciting flavors.
Savory Herb Version (Perfect with Roast Chicken)
- Add 1 tbsp fresh rosemary, finely minced
- Mix in 2 roasted garlic cloves
- Finish with black pepper and a sprinkle of Parmesan
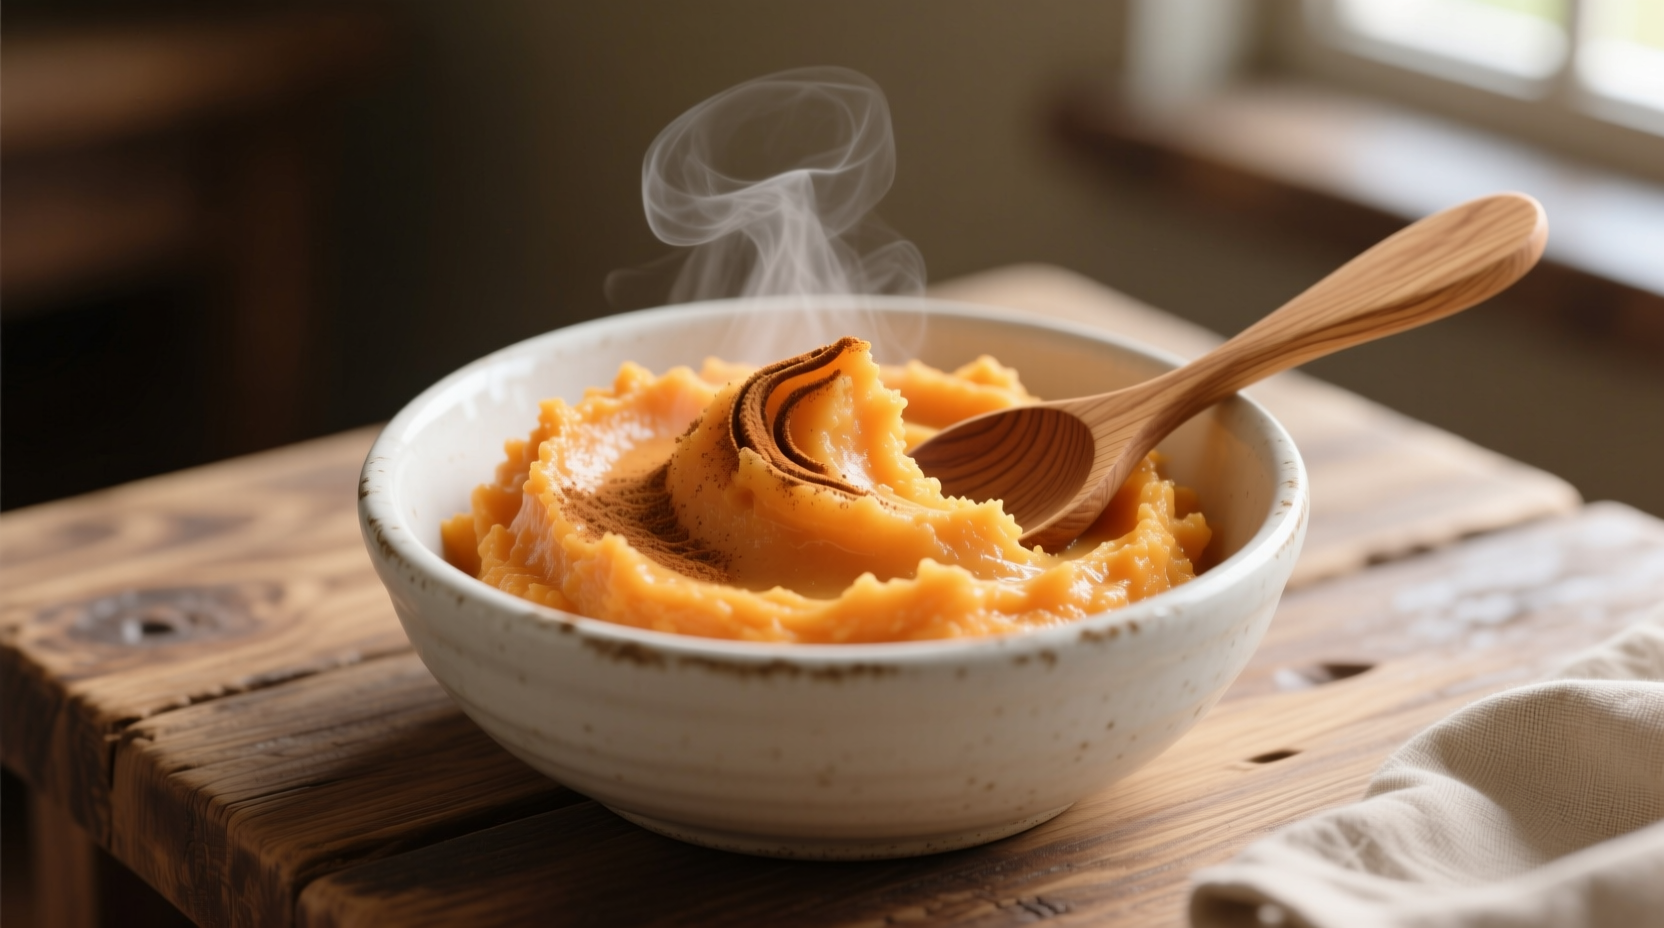
Sweet Cinnamon Version (Holiday Favorite)
- Replace 2 tbsp milk with pure maple syrup
- Add 1/2 tsp cinnamon and 1/8 tsp nutmeg
- Top with toasted pecans before serving
Vegan Option (Dairy-Free Delight)
- Use coconut milk instead of dairy
- Substitute butter with refined coconut oil
- Add 1 tbsp nutritional yeast for depth
Serving and Storage Guidelines
Sweet potato mash serves 4-6 as a side dish. For best results, serve immediately while hot. If preparing ahead:
- Refrigerate in airtight container for up to 4 days
- Reheat gently with 1-2 tbsp additional milk to restore moisture
- Freeze portions for up to 3 months (thaw in refrigerator before reheating)
According to food safety guidelines from the USDA Food Safety and Inspection Service, cooked sweet potatoes should not remain at room temperature for more than 2 hours to prevent bacterial growth.


 浙公网安备
33010002000092号
浙公网安备
33010002000092号 浙B2-20120091-4