
Why This Stovetop Method Works Every Time
String beans (also called green beans) transform from tough and fibrous to tender-crisp with proper stovetop cooking. The key lies in understanding the science behind vegetable preparation. When beans hit boiling water (212°F/100°C), heat breaks down pectin—the structural component in plant cell walls—without destroying their cellular integrity. This precise balance creates that desirable snap when bitten.
What You'll Need Before Starting
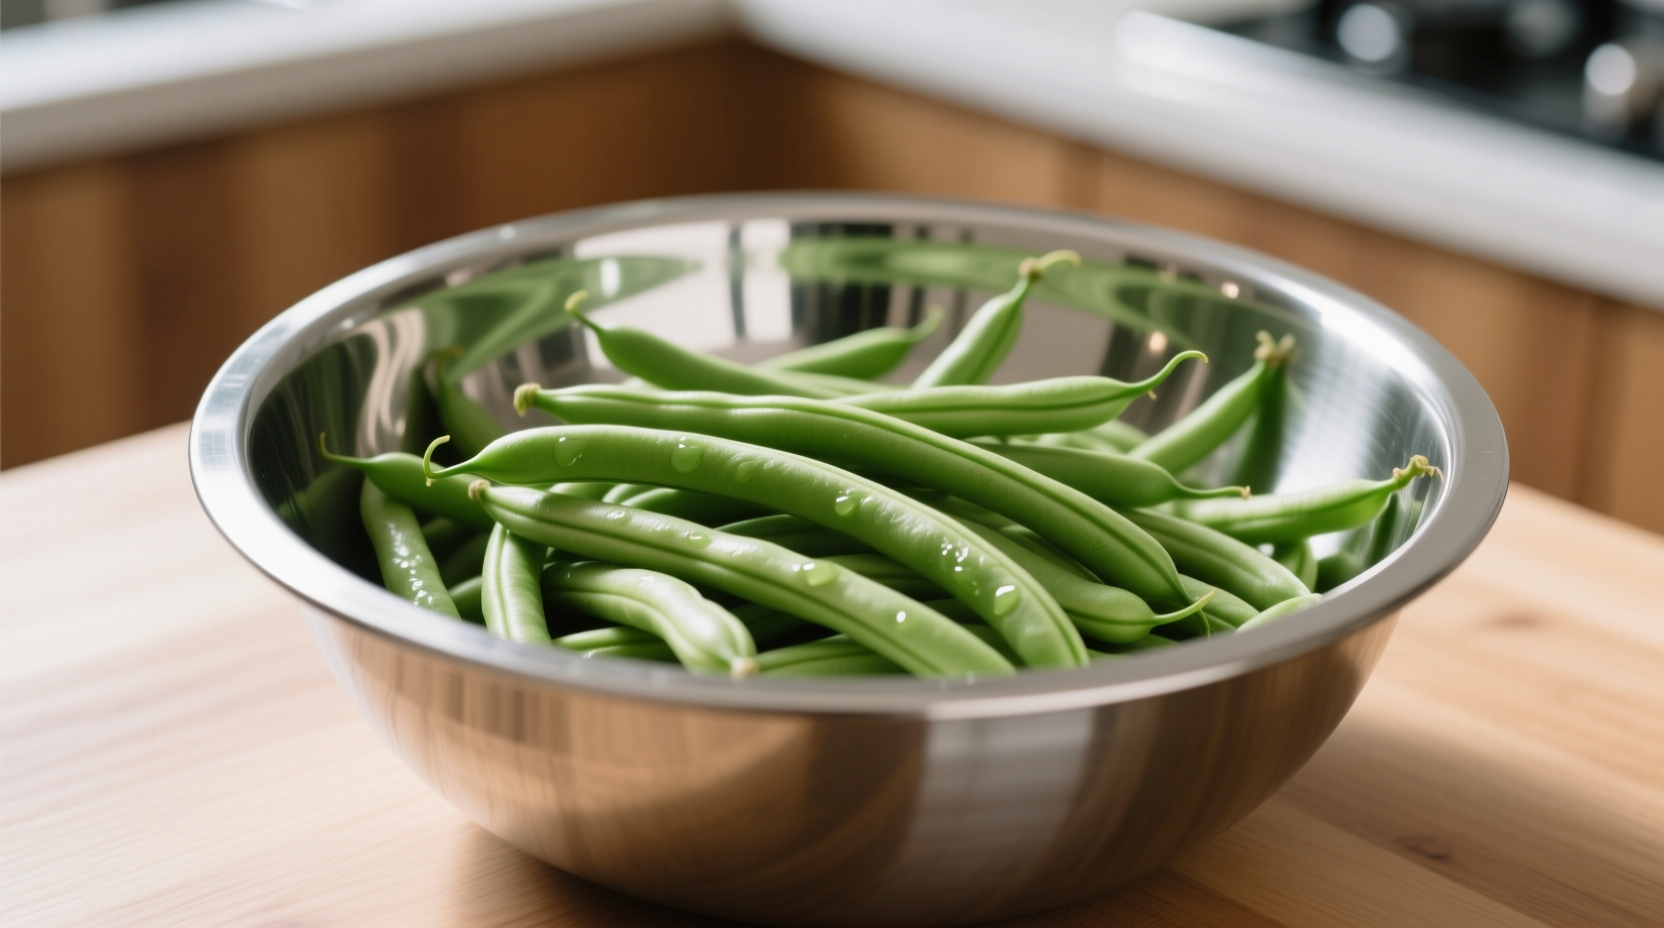
Success begins with proper preparation. Select bright green, firm beans without blemishes. Avoid limp or yellowing specimens as they indicate age and reduced nutrient content. The USDA Food Safety guidelines recommend washing produce under cool running water for 30 seconds to remove surface contaminants.
Trim both ends using a sharp knife or simply snap them off—the natural break point indicates where fibrous strings begin. For uniform cooking, cut longer beans into 2-inch pieces. Crucially, thoroughly dry beans after washing. Waterlogged beans steam rather than boil, resulting in uneven texture.
| Cooking Method | Texture Result | Nutrient Retention | Time Required |
|---|---|---|---|
| Boiling (covered) | Mushy, waterlogged | 30-40% loss of water-soluble vitamins | 8-10 minutes |
| Boiling (uncovered) | Crisp-tender, vibrant color | 85-90% vitamin retention | 6-8 minutes |
| Steaming | Firm, slightly chewy | 90-95% vitamin retention | 5-7 minutes |
The Perfect Cooking Process: Step by Step
Follow these professional chef techniques for consistently excellent results:
Step 1: Water Preparation
Use a large pot with 4 quarts of water per pound of beans. The American Heart Association confirms that adequate water volume prevents nutrient leaching. Add 1 tablespoon salt per quart—this isn't for flavor but to strengthen pectin bonds, preserving texture. Bring to a rolling boil before adding beans.
Step 2: Cooking Time Precision
Add beans and set timer immediately:
- Crisp-tender (ideal for salads): 4-5 minutes
- Classic side dish: 6-7 minutes
- Softer texture (for casseroles): 8-9 minutes
Test at minimum time by removing one bean, plunging into cold water, and tasting. Perfect beans should bend slightly before snapping with resistance. Overcooked beans lose structural integrity and turn olive green due to chlorophyll breakdown.
Step 3: The Critical Ice Bath
Immediately transfer cooked beans to ice water for exactly 1 minute. This stops residual cooking (called carryover cooking) that would continue softening beans. Drain thoroughly before final seasoning. This technique, used in professional kitchens worldwide, preserves both color and texture.
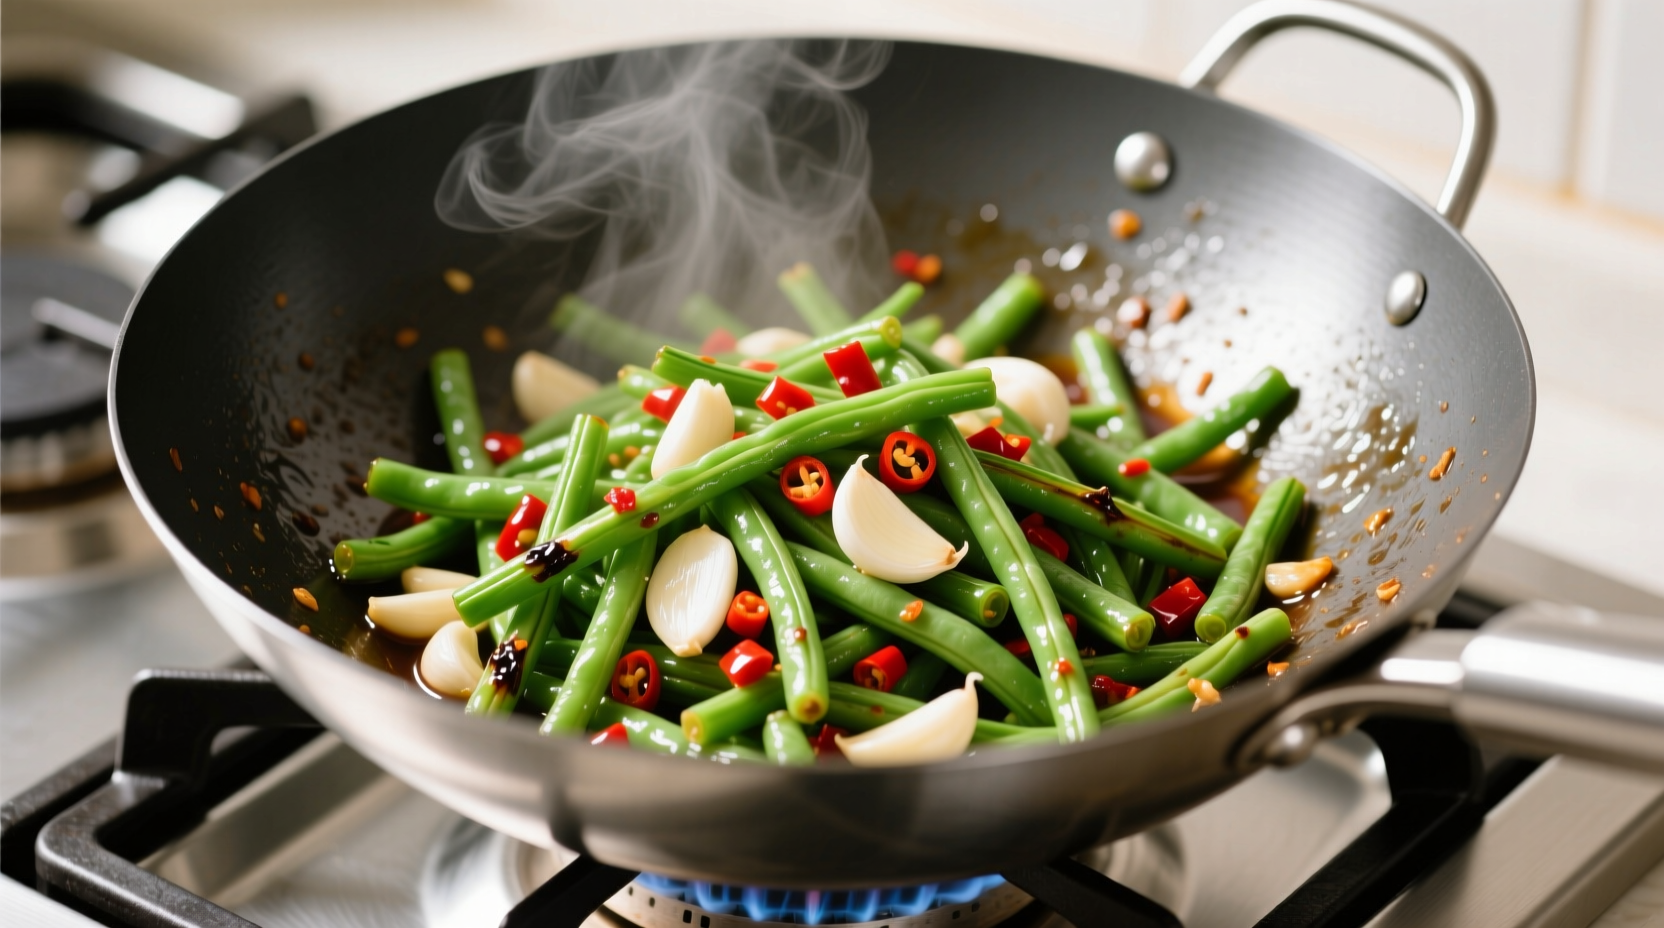
Flavor Enhancement Techniques
While basic salted beans are delicious, these chef-approved additions elevate your dish:
Timing Matters Most
Add ingredients at the right stage for maximum impact:
- During cooking: Whole garlic cloves, bay leaves, or lemon slices infuse subtle flavor without overpowering
- After cooking: Acidic elements like lemon juice or vinegar brighten flavors (add just before serving)
- Finishing touch: Toasted almonds or sesame seeds provide contrasting texture
Avoid adding salt directly to cooking water beyond initial seasoning—it can toughen beans. Instead, season after draining when beans better absorb flavors.
Avoid These Common Mistakes
Even experienced cooks make these errors that compromise results:
Overcrowding the Pot
Adding too many beans at once drops water temperature significantly, extending cooking time and creating uneven results. Cook in batches if necessary, maintaining rolling boil throughout.
Using Dull Knives for Trimming
Blunt blades crush rather than cut bean ends, damaging cellular structure and causing nutrient leakage during cooking. Keep your knife properly sharpened for clean cuts.
Skipping the Ice Bath
Without immediate cooling, beans continue cooking from residual heat. After 2 minutes out of water, internal temperature remains above 180°F—enough to overcook delicate vegetables. This single step makes the difference between vibrant green and dull olive-colored beans.
Nutrition Preservation Facts
String beans deliver maximum nutritional benefit when properly cooked. According to USDA FoodData Central, boiled green beans retain 85% of their vitamin C when cooked uncovered for 7 minutes versus 60% when steamed. The brief boiling process actually increases antioxidant availability by breaking down cell walls that trap nutrients.
For optimal nutrient retention, follow these evidence-based guidelines:
- Cut beans after cooking when preparing salads to minimize surface area exposure
- Add acidic elements like lemon juice after cooking to preserve chlorophyll
- Consume within 2 hours of preparation for maximum vitamin retention
Serving Suggestions and Storage
Serve immediately for best texture, or store properly for later use. Place cooled beans in airtight container with paper towel to absorb excess moisture. Refrigerate for up to 3 days. When reheating, briefly sauté in olive oil rather than microwaving to restore texture.
Pair with lemon-herb vinaigrette for summer meals, or toss with toasted pecans and balsamic reduction for fall dinners. The MyPlate dietary guidelines recommend including vegetables like string beans in half your plate for balanced nutrition.


 浙公网安备
33010002000092号
浙公网安备
33010002000092号 浙B2-20120091-4