
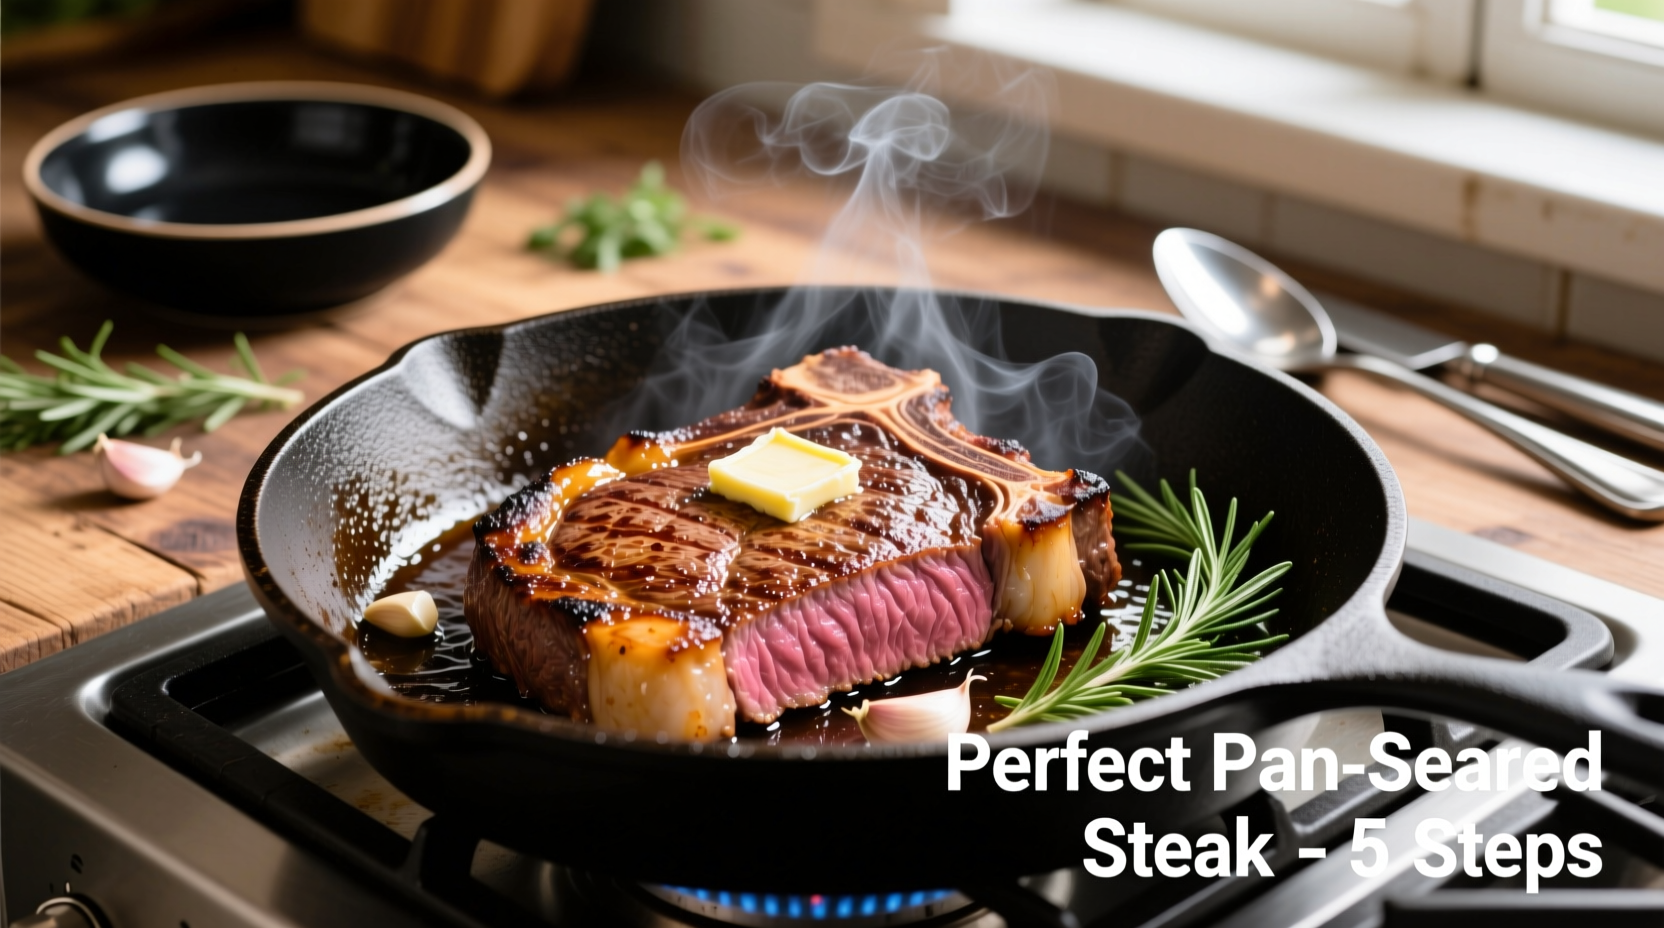
Master Pan-Seared Steak: Your Foolproof Guide to Perfect Results Every Time
Nothing disappoints more than a tough, unevenly cooked steak after carefully selecting a premium cut. Many home cooks struggle with gray bands, sticking meat, or inconsistent doneness when attempting pan-seared steak. This guide delivers the exact techniques professional chefs use to achieve a flawless crust and perfectly cooked interior—no special equipment required. Follow these science-backed steps to transform your weeknight dinner into a culinary triumph.
Why This Method Works: The Science of Perfect Pan Steak
Successful pan-seared steak hinges on three critical factors: surface temperature control, moisture management, and precise timing. When your pan reaches 400-450°F (the Maillard reaction zone), proteins and sugars on the steak's surface undergo complex chemical reactions creating that irresistible brown crust and rich flavor compounds. According to USDA Food Safety and Inspection Service guidelines, this high-heat sear also creates a protective barrier that helps retain juices during cooking.
| Doneness Level | Internal Temperature | Visual Cues |
|---|---|---|
| Rare | 120-125°F (49-52°C) | Bright red center, cool throughout |
| Medium Rare | 130-135°F (54-57°C) | Warm red center, soft texture |
| Medium | 140-145°F (60-63°C) | Warm pink center, slightly firm |
| Medium Well | 150-155°F (66-68°C) | Small pink center, firm texture |
| Well Done | 160°F+ (71°C+) | Little or no pink, very firm |
Step 1: Selecting and Preparing Your Steak
Choose a minimum 1.5-inch thick cut for optimal pan cooking—thinner steaks overcook before developing proper crust. Ribeye, strip steak, and filet mignon work best due to their marbling and thickness. The American Culinary Federation recommends allowing steak to reach room temperature (about 45-60 minutes out of refrigerator) for even cooking. Pat the surface completely dry with paper towels—moisture is the enemy of proper searing.
Season generously with coarse salt and freshly ground black pepper at least 45 minutes before cooking. This allows salt to penetrate the surface layer, enhancing flavor and improving texture through protein denaturation. For optimal results, avoid marinades or wet rubs that introduce additional moisture.
Step 2: Pan Selection and Heating
Cast iron or carbon steel pans deliver superior results due to their exceptional heat retention and distribution. Preheat your empty pan over medium-high heat for 5-7 minutes until smoking slightly. Test readiness by sprinkling a few drops of water—if they dance and evaporate instantly (the Leidenfrost effect), your pan is properly heated.
Add 1-2 tablespoons of high-smoke point oil (avocado, grapeseed, or clarified butter) and swirl to coat the surface. Avoid olive oil which burns at pan-searing temperatures. The oil should shimmer but not smoke excessively—this indicates the ideal 400-450°F temperature range for perfect searing.
Step 3: The Searing Process: Timing and Technique
Place the steak in the pan away from you to avoid oil splatter. Press gently for 10 seconds to ensure full surface contact, then release. Proper contact creates even browning—uneven contact leads to spotty searing. After 90 seconds, flip the steak using tongs (never pierce with a fork).
Flip every 90 seconds rather than once—this technique, validated by Modernist Cuisine research, promotes even cooking with minimal gray band development. For thicker cuts (over 1.75 inches), tilt the pan and spoon hot oil over the steak continuously during the final 2 minutes of cooking.
Step 4: Butter Basting for Flavor Enhancement
During the final 2-3 minutes of cooking, add 2 tablespoons of unsalted butter, 2 smashed garlic cloves, and fresh herbs (rosemary or thyme) to the pan. Tilt the pan and continuously spoon the melted butter over the steak. This technique, used in professional kitchens worldwide, infuses additional flavor while gently cooking the edges without over-browning the crust.
Monitor internal temperature with an instant-read thermometer inserted horizontally into the thickest part. Remove steak 5°F below your target temperature to account for carryover cooking during resting. This critical step prevents overcooking—steak continues to rise 5-10°F while resting.
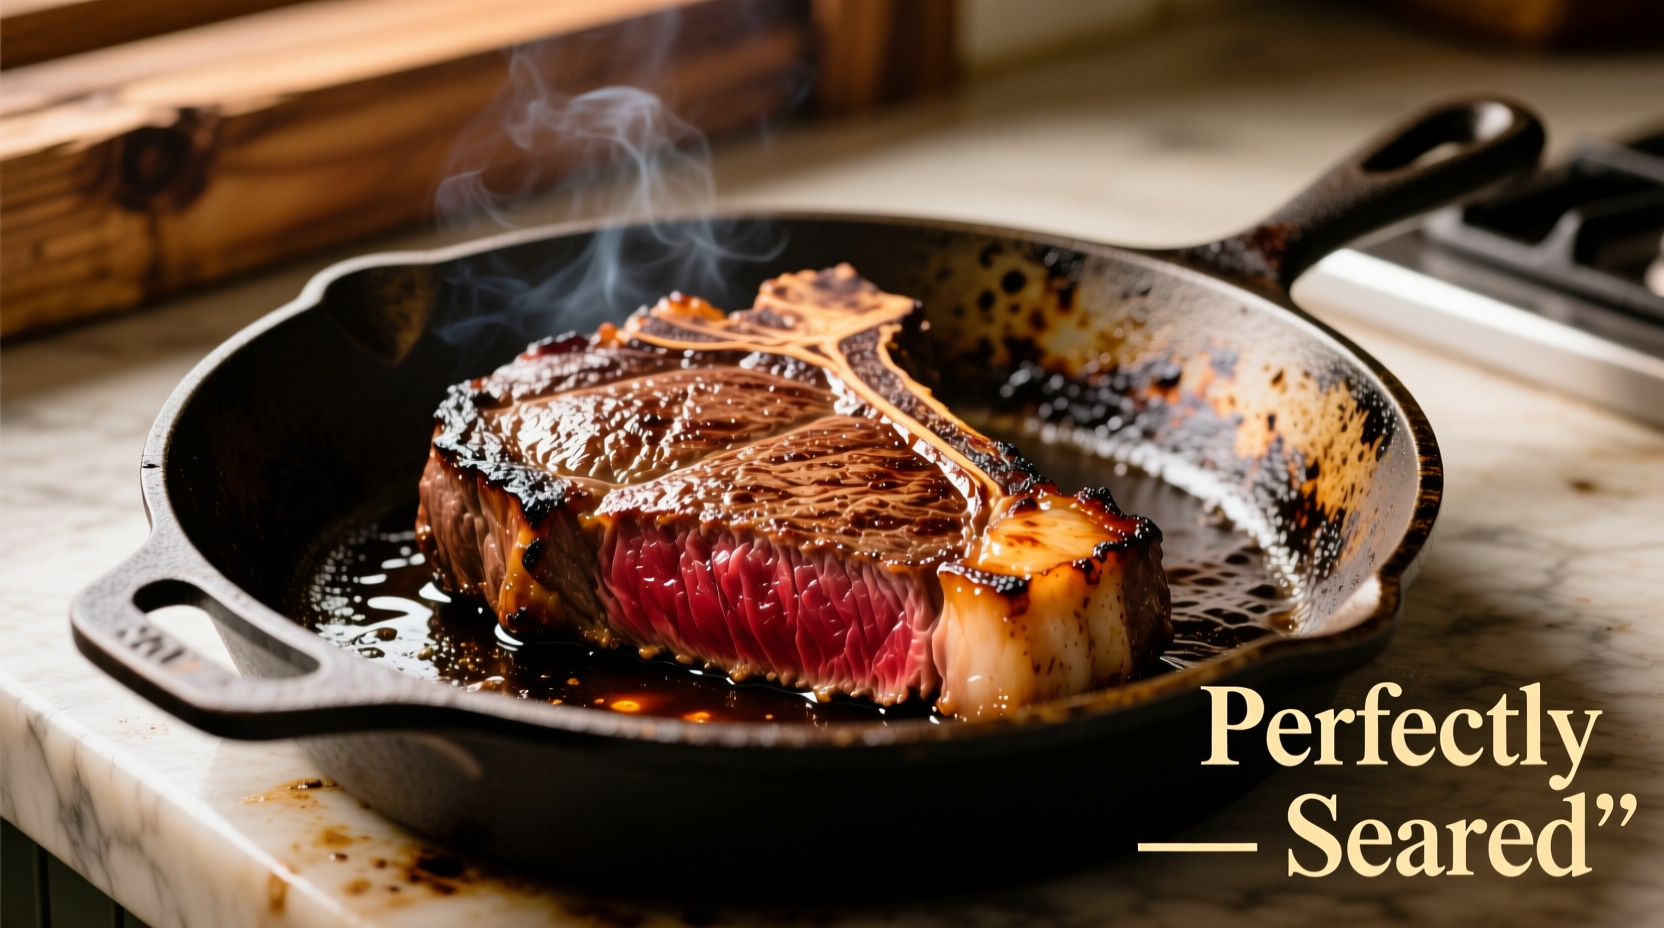
Step 5: Resting and Slicing for Maximum Juiciness
Transfer steak to a wire rack (not a plate) and rest for 5-10 minutes depending on thickness. Resting allows muscle fibers to relax and reabsorb juices—cutting too soon releases precious moisture onto your plate. The James Beard Foundation recommends resting time equal to approximately half the cooking time.
Slice against the grain using a sharp chef's knife. Cutting perpendicular to the muscle fibers shortens them, creating a more tender bite. For maximum flavor distribution, serve immediately after slicing.
Troubleshooting Common Pan Steak Problems
Problem: Steak sticks to the pan
Solution: Ensure proper pan temperature and dry steak surface. Wait until the steak releases naturally before attempting to flip—forcing it causes tearing.
Problem: Excessive smoke
Solution: Turn on exhaust fan, open windows, and consider using an oil with higher smoke point. Avocado oil (smoke point 520°F) performs better than canola (400°F) for high-heat searing.
Problem: Uneven cooking
Solution: Use the "flip frequently" technique and ensure steak is at room temperature before cooking. For thicker cuts, finish in a 400°F oven after initial sear.
Advanced Techniques for Culinary Excellence
For premium results, try the reverse sear method with thicker cuts (2 inches+): bake at 275°F until reaching 10-15°F below target temperature, then sear briefly in the hot pan. This technique, popularized by Chef Thomas Keller, ensures perfect edge-to-edge doneness with exceptional crust.
Experiment with finishing salts like Maldon sea salt added after cooking for textural contrast. The crystalline structure provides bursts of salinity without dissolving into the meat like fine salt.


 浙公网安备
33010002000092号
浙公网安备
33010002000092号 浙B2-20120091-4