
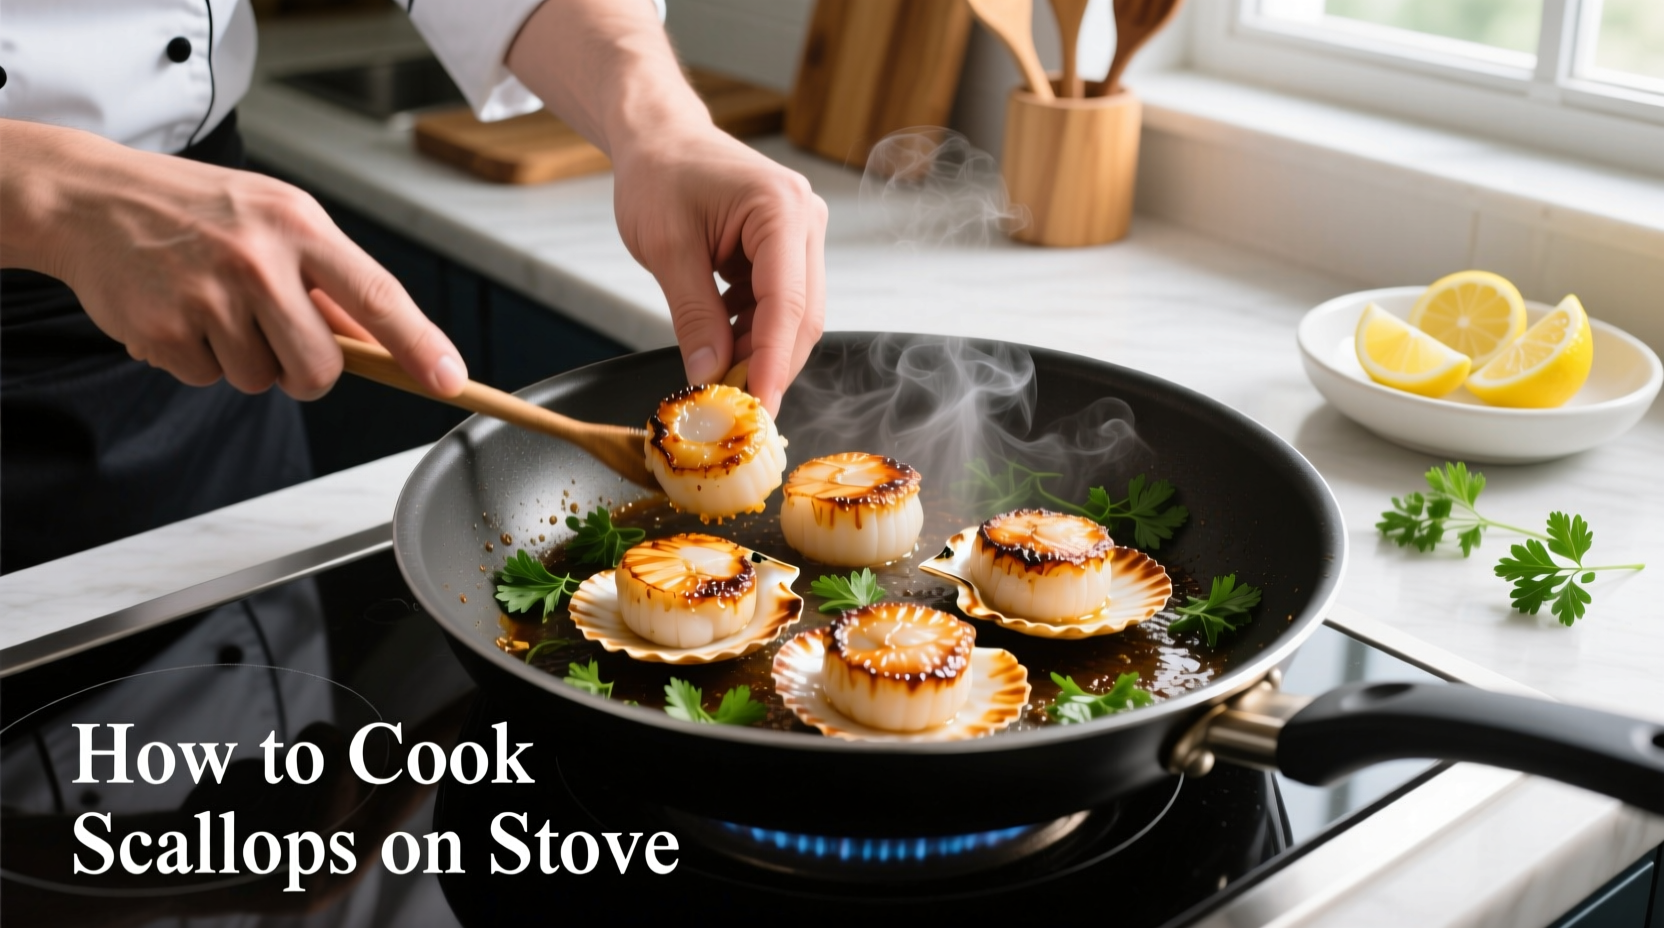
Why Stovetop Scallops Fail (And How to Avoid It)
Most home cooks struggle with rubbery, unevenly cooked scallops because they skip critical preparation steps. The science is simple: scallops contain 80% water. When wet scallops hit a hot pan, they steam instead of sear, creating a gray, rubbery texture. Professional chefs know that moisture control is the single most important factor for perfect stovetop scallops.
The Critical Prep Work (5 Minutes That Make All the Difference)
Before your burner even clicks, complete these essential steps:
1. Selecting the Right Scallops
Choose "dry-packed" sea scallops (not "wet-packed" treated with sodium tripolyphosphate). Wet-packed scallops:
- Release excess water during cooking
- Prevent proper browning
- Have a soapy aftertaste
| Dry-Packed Scallops | Wet-Packed Scallops |
|---|---|
| Natural ocean color (ivory) | Bright white appearance |
| Firm, slightly tacky texture | Slimy, slippery surface |
| Sea-sweet aroma | Chemical odor |
| Shrinks 10-15% when cooked | Shrinks 30-40% when cooked |
2. The 15-Minute Drying Process
Place scallops on a triple layer of paper towels, cover with more towels, and refrigerate for 15 minutes. This USDA-recommended step (from USDA Food Safety and Inspection Service) removes surface moisture that prevents proper searing. Never skip this step—even "dry-packed" scallops need final drying.
Equipment Essentials for Perfect Searing
Your pan choice dramatically impacts results. Here's what works best:
Pan Selection Guide
- Cast iron or carbon steel (best option): Retains heat evenly, creates superior crust
- Stainless steel (good alternative): Allows visual monitoring of fond development
- Avoid non-stick: Doesn't get hot enough for proper Maillard reaction
Oil Temperature Science
Heat your oil to 375°F (190°C)—the ideal temperature for the Maillard reaction. Test with a small breadcrumb: it should sizzle immediately but not smoke. Professional kitchens use this method because America's Test Kitchen research shows lower temperatures cause sticking, while higher temperatures burn the exterior before the interior cooks.
The 6-Minute Stovetop Method (Step-by-Step)
Phase 1: The Sear (3-4 minutes)
- Heat 1 tbsp oil (or clarified butter) in your pan over medium-high heat for 2 minutes
- Season scallops with salt ONLY (pepper burns at high heat)
- Place scallops in pan, flat side down, with space between them
- DO NOT MOVE THEM for 2-3 minutes until they release naturally
Phase 2: The Flip & Finish (2-3 minutes)
- Flip with tongs—should release easily when properly seared
- Cook 1-2 minutes until internal temperature reaches 115°F (46°C)
- Add 1 tbsp butter and aromatics (garlic, thyme) during last minute
- Remove immediately to prevent carryover cooking
Troubleshooting Common Problems
Why Your Scallops Stick
Three main causes:
- Pan not hot enough before adding scallops
- Moving scallops too soon (they'll release when ready)
- Moisture still present on surface
The Perfect Doneness Timeline
Scallops cook rapidly—timing is critical:
- 0-2 minutes: Initial sear, scallops stick to pan
- 2-3 minutes: Natural release point, golden crust forms
- 3-4 minutes: 50% opaque, ideal flip point
- 4-5 minutes: 75% opaque, butter added
- 5-6 minutes: 90% opaque, remove from heat
- 6-8 minutes: Resting period (carryover cooking completes)
Serving Like a Pro
Rest scallops for 2 minutes before serving. The internal temperature will rise to the perfect 125°F (52°C) for tender, juicy results. Serve immediately with:
- Lemon wedges (never pour—squeeze to taste)
- Simple pan sauce (deglaze with white wine, add butter)
- Microgreens for color contrast
When Stovetop Isn't Ideal
While stovetop works best for most home cooks, consider these limitations:
- Very small bay scallops: Better suited for quick sauté
- Large batches: Oven finishing prevents overcrowding
- Special diets: Poaching better for low-fat requirements


 浙公网安备
33010002000092号
浙公网安备
33010002000092号 浙B2-20120091-4