
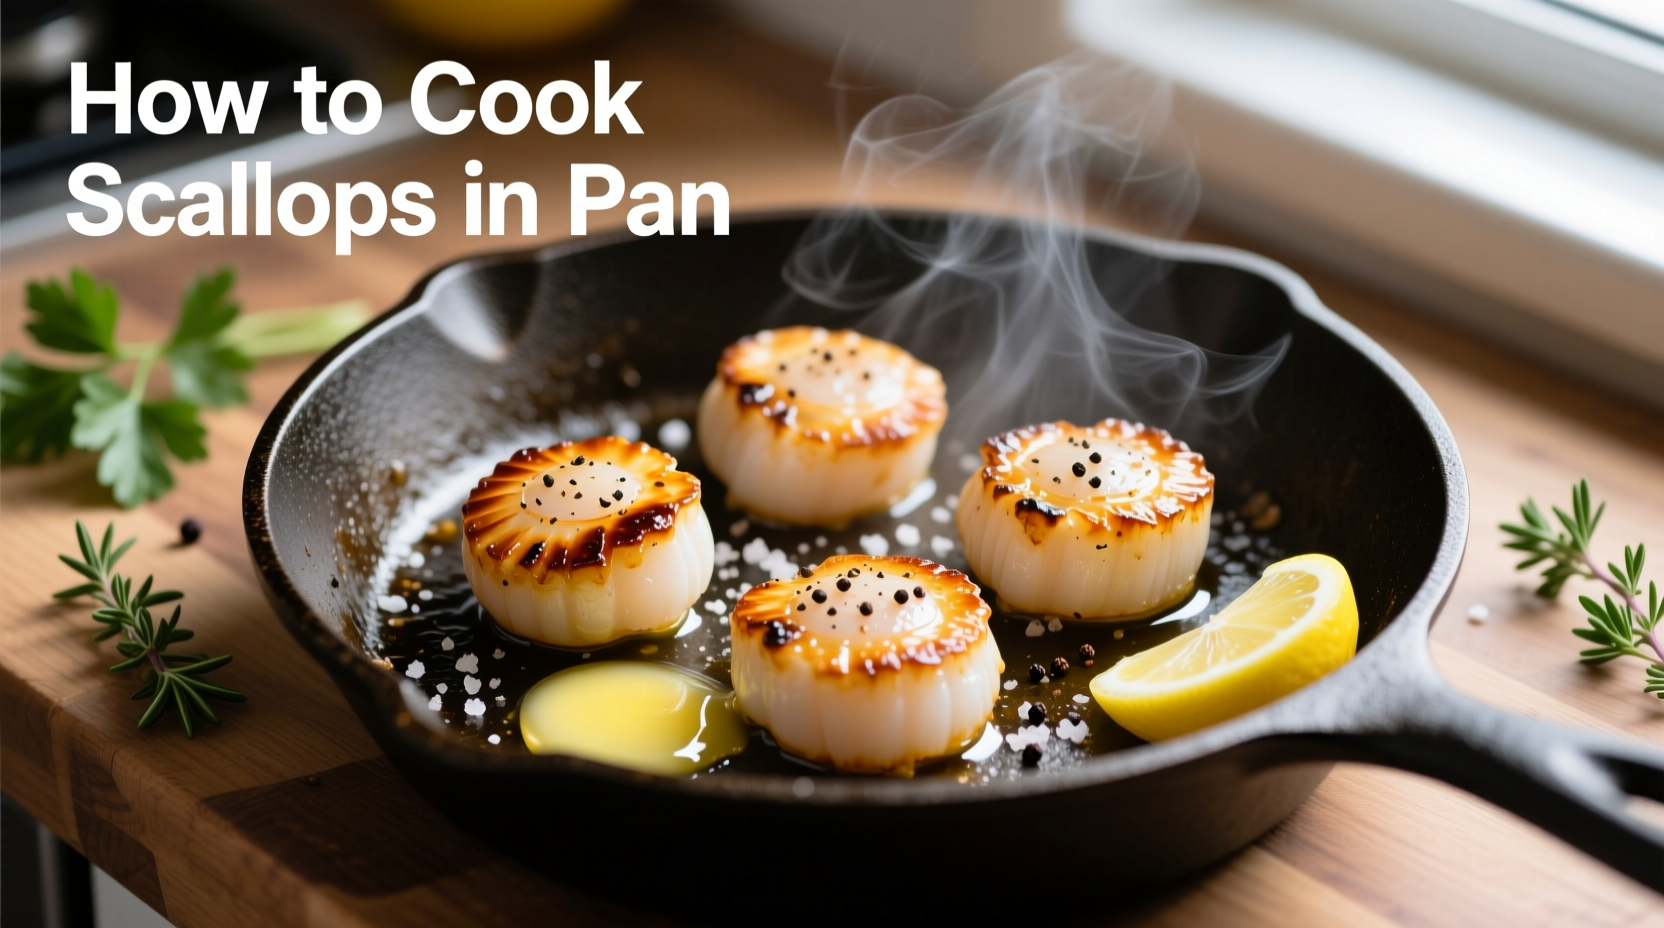
Nothing transforms a simple seafood dinner like perfectly seared scallops with a caramelized crust and tender interior. While they seem intimidating, achieving flawless pan-seared scallops is surprisingly straightforward when you understand the science behind the sear. This guide distills decades of professional kitchen experience into a foolproof method that works for home cooks of all skill levels.
Why Pan-Searing Works Best for Scallops
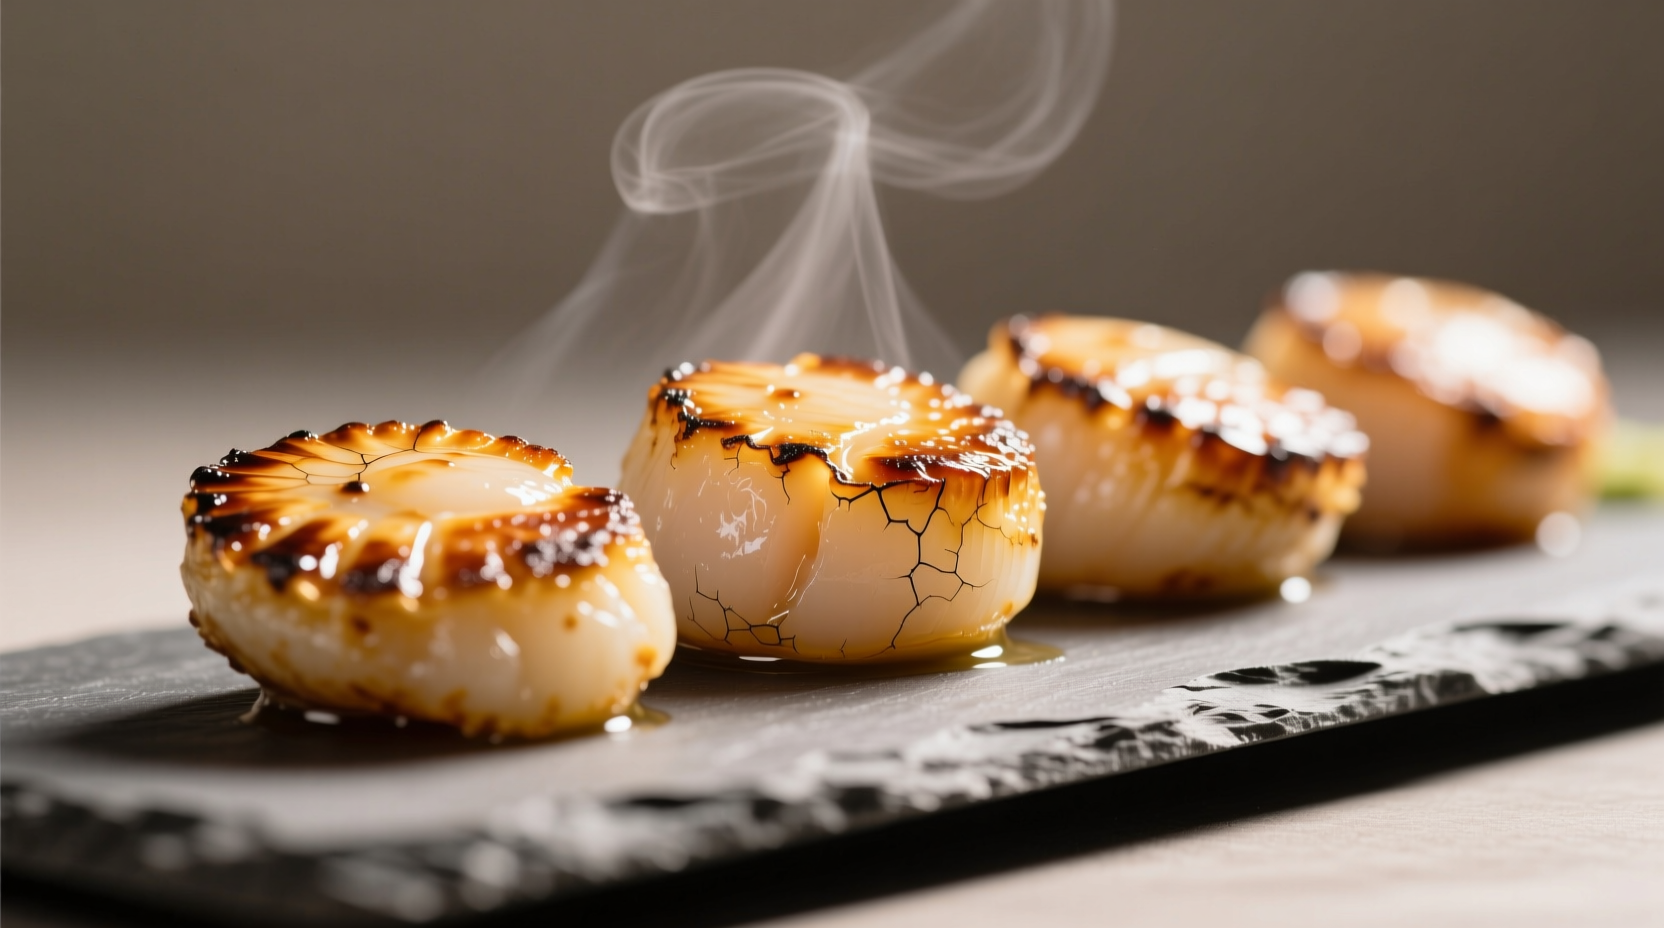
Unlike baking or grilling, pan-searing creates the ideal Maillard reaction - that chemical process responsible for the golden-brown crust and complex flavors. According to the FDA's seafood guidelines, scallops should reach 120°F internal temperature for medium-rare doneness, which pan-searing achieves precisely without drying out the delicate flesh.
The Essential Preparation Phase
Your scallops' journey to perfection begins long before they hit the pan. Most grocery store scallops are treated with sodium tripolyphosphate (STPP), which absorbs water and creates 'wet' scallops that steam rather than sear. For best results:
- Seek "dry-packed" or "chemical-free" scallops (typically found at fish markets)
- If using wet scallops, soak in cold water for 10 minutes, then pat thoroughly dry
- Refrigerate uncovered for 1-2 hours to draw out excess moisture
- Bring to room temperature 20 minutes before cooking
| Scallop Type | Moisture Content | Searing Result |
|---|---|---|
| Dry-packed | 75-80% | Perfect golden crust |
| Wet-packed | 85-90% | Steamed, pale appearance |
This moisture difference explains why many home cooks struggle with scallops sticking to the pan or failing to develop color. The University of California's Food Science Department confirms that surface moisture creates steam that prevents proper browning.
Your Equipment Checklist
Using the right tools makes all the difference:
- Pan type: Heavy-bottomed stainless steel or cast iron (avoid non-stick)
- Oil choice: High smoke point oils like avocado (520°F) or refined canola (400°F)
- Tools needed: Fish spatula, instant-read thermometer, paper towels
Stainless steel creates the ideal surface tension that releases scallops naturally once properly seared. As Chef Thomas Keller explains in Ad Hoc at Home, "The moment you place a scallop in the pan, it's bonding with the metal. Patience is required for the natural release."
The Foolproof Cooking Method
Follow these steps precisely for perfect results:
- Heat your pan over medium-high heat for 3-4 minutes until shimmering hot
- Add oil (just enough to coat the surface) and heat until thin wisps of smoke appear
- Season scallops lightly with sea salt (no pepper yet - it burns)
- Place scallops in pan with space between them (crowding causes steaming)
- Resist touching for exactly 2 minutes - this allows crust formation
- Test release by gently nudging; if stuck, wait 30 seconds more
- Flip once using fish spatula and cook 1-2 minutes more
- Finish with butter, lemon juice, and fresh herbs for 30 seconds
Troubleshooting Common Problems
Even with perfect technique, issues can arise. Here's how to fix them:
- Sticking to pan: Your pan wasn't hot enough or you moved scallops too soon
- No browning: Excess moisture on scallops or oil temperature too low
- Overcooked: Cooked beyond 125°F internal temperature (use thermometer)
- Uneven sear: Inconsistent pan temperature - rotate scallops slightly during cooking
Serving Suggestions and Variations
Perfectly seared scallops shine with simple accompaniments:
- Classic lemon-butter sauce with fresh parsley
- Pair with risotto or creamy polenta for texture contrast
- Add a touch of heat with chili flakes during the final butter finish
- For elegant presentation, serve on a bed of pea puree or wilted greens
Remember that scallops continue cooking after removal from heat (carryover cooking). Remove them from the pan when they feel slightly firm but still yielding in the center - about 115°F on an instant-read thermometer.


 浙公网安备
33010002000092号
浙公网安备
33010002000092号 浙B2-20120091-4