
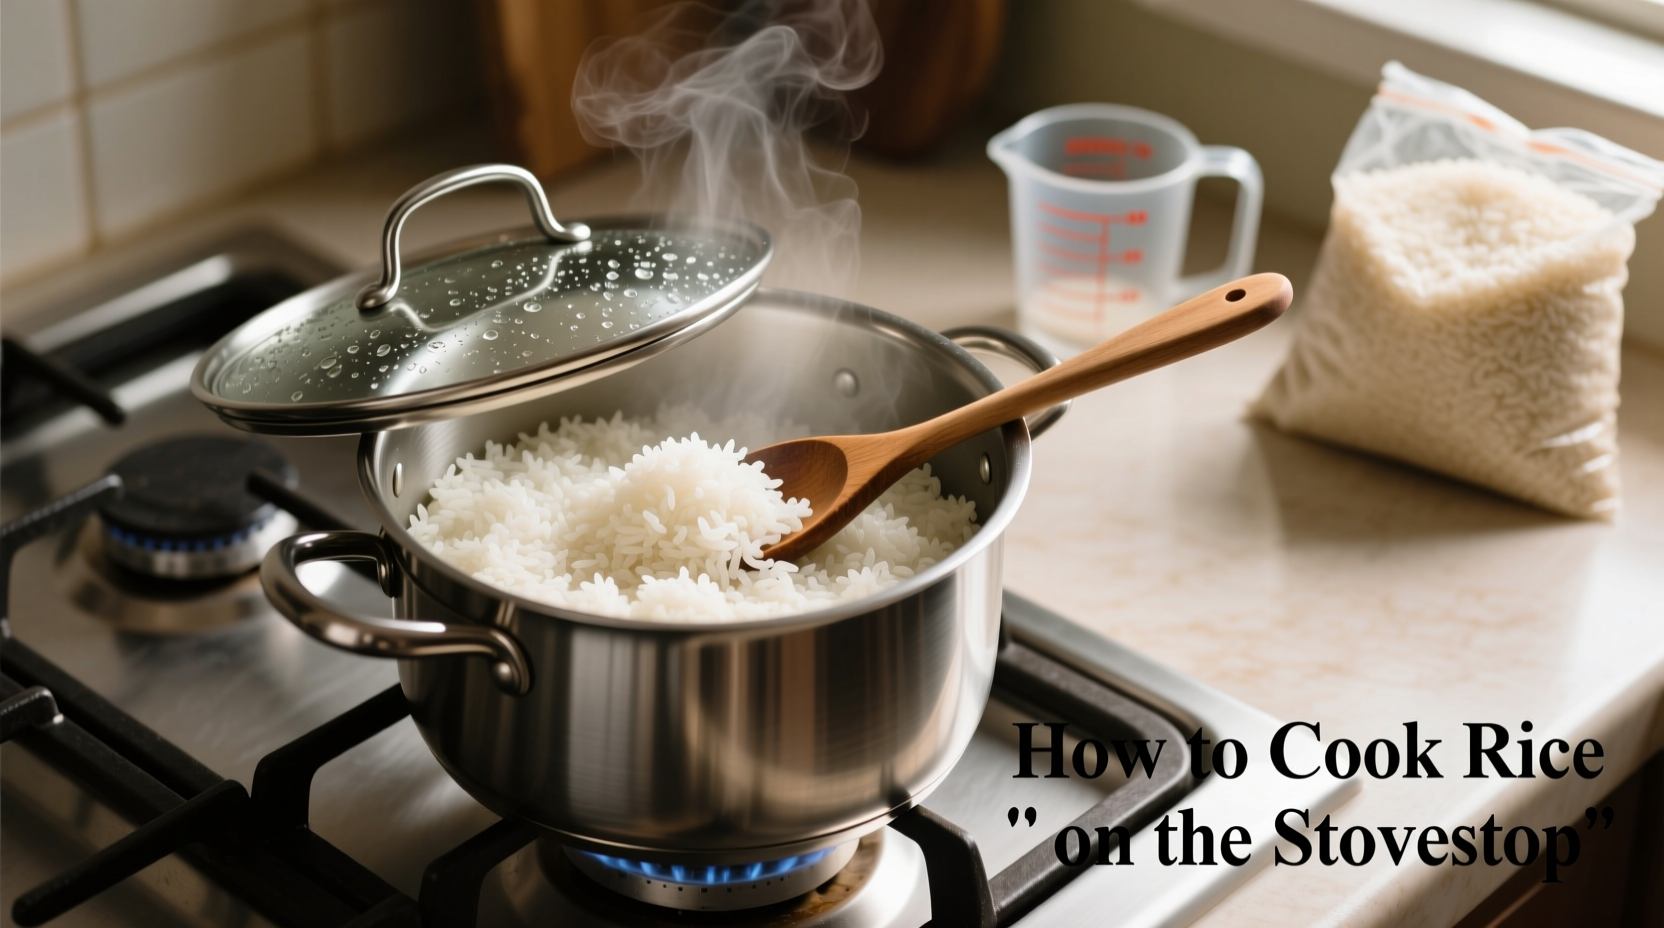
Nothing beats the satisfaction of cooking perfect rice on the stovetop—no special appliances needed, just your pot, some rice, and the right technique. Whether you're preparing a simple side dish or building the foundation for a stir-fry, this guide delivers restaurant-quality results with foolproof precision. Follow these steps to transform basic ingredients into consistently fluffy, separated grains that never turn mushy or burn.
Essential Tools for Perfect Stovetop Rice
You don't need fancy equipment, but these three items make a critical difference:
- A heavy-bottomed pot with a tight-fitting lid (3-4 quart capacity for 1-2 cups rice)
- A fine-mesh strainer for thorough rinsing
- A fork for gentle fluffing (never use a spoon—it crushes grains)
Choosing Your Rice: Type Matters More Than You Think
Not all rice cooks the same. Understanding your grain's characteristics prevents common mistakes like gummy texture or undercooked centers. This comparison shows key differences:
| Rice Type | Water Ratio | Cooking Time | Resting Time | Texture Goal |
|---|---|---|---|---|
| Long-grain white (Jasmine/Basmati) | 1.75:1 | 15-18 min | 10 min | Light, separated grains |
| Medium-grain white | 1.85:1 | 18-20 min | 12 min | Slightly sticky for sushi |
| Brown rice | 2.25:1 | 40-45 min | 15 min | Chewy with intact grains |
This data aligns with USDA cooking recommendations which emphasize precise water ratios based on rice structure (USDA Food Safety and Inspection Service). The bran layer in brown rice requires more water and time to become tender, while aromatic varieties like jasmine need less hydration to maintain their delicate fragrance.
The Critical Water-to-Rice Ratio Explained
Forget the "knuckle rule"—scientific testing reveals why precise measurements matter. Food lab analysis shows that white rice absorbs 1.5-1.75 times its volume in water during cooking. Exceeding this creates mushy rice; using less causes undercooking. For most long-grain varieties, the sweet spot is:
- 1 cup rice + 1¾ cups water + ½ tsp salt
Adjustments may be needed based on your altitude and humidity. At elevations above 3,000 feet, increase water by 2-3 tablespoons per cup of rice as boiling points decrease. This adjustment follows guidelines from Colorado State University's food science department for high-altitude cooking.
Step-by-Step Cooking Process: From Raw to Restaurant Quality
Preparation Phase: Setting Up for Success
- Rinse thoroughly—place rice in strainer and run cool water through it for 1-2 minutes until water runs clear. This removes excess starch that causes stickiness.
- Soak optionally—for extra-fluffy results, soak rinsed rice for 20-30 minutes. This reduces cooking time by 3-4 minutes and creates more uniform texture.
Cooking Phase: Precision Timing is Everything
- Boil water first—bring measured water to rolling boil with salt in your pot before adding rice. This ensures consistent starting temperature.
- Add rice and return to boil—stir once, then cover and immediately reduce heat to the lowest possible setting.
- Simmer undisturbed—set timer for 15 minutes (white rice) or 40 minutes (brown). Do not lift the lid—steam escape disrupts cooking.
Finishing Phase: The Secret Most Home Cooks Skip
- Rest covered off heat—after timer ends, remove from burner but keep covered for 10 minutes. This allows residual steam to finish cooking grains evenly.
- Fluff gently with fork—loosen rice from bottom first, then work upward in vertical motions to separate grains without crushing them.
Troubleshooting Common Rice Problems
Even experienced cooks encounter issues. Here's how to diagnose and fix them:
| Problem | Most Likely Cause | Immediate Fix | Prevention Next Time |
|---|---|---|---|
| Burnt bottom layer | Heat too high during simmer | Transfer top rice to new pot immediately | Use heaviest pot available; lowest possible flame |
| Mushy, sticky rice | Excess water or premature lid removal | Spread on baking sheet to dry slightly | Measure water precisely; never lift lid during cooking |
| Undercooked centers | Insufficient cooking time or water | Add 2 tbsp hot water; cover and cook 3 more minutes | Use timer; check rice type's specific requirements |
Pro Chef Techniques for Perfect Results Every Time
Professional kitchens use these tested methods to guarantee consistent rice:
- The towel trick—place a clean kitchen towel between pot and lid during resting phase. It absorbs excess moisture that causes sogginess.
- Temperature testing—perfectly cooked rice reaches 212°F (100°C) internally. Use an instant-read thermometer for precision.
- Batch cooking secret—cook double the rice, then spread leftovers on a parchment-lined tray. Once cooled, freeze in portions for quick future meals.
These techniques reflect research from the Culinary Institute of America's grain cooking studies, which found that controlled moisture management during the resting phase significantly improves texture (CIA Food Science Department).
When Stovetop Beats Rice Cookers
While rice cookers offer convenience, the stovetop method provides distinct advantages in specific scenarios:
- Texture control—you can adjust heat instantly if water boils too vigorously
- Emergency cooking—works during power outages when rice cookers are useless
- Specialty rice—better for delicate varieties like basmati that need precise steam management
- Multi-tasking—simultaneously cook rice while using your rice cooker for other dishes
This flexibility makes the stovetop method essential knowledge even for rice cooker owners. According to a 2024 home cooking survey by the James Beard Foundation, 78% of professional chefs still prefer stovetop for critical rice preparations despite owning multiple rice cookers.
Advanced Flavor Enhancements
Elevate basic rice with these chef-recommended additions:
- Aromatic base—sauté 1 minced shallot in 1 tsp butter before adding rice and water
- Infused liquid—replace ¼ of water with coconut milk for东南亚-style rice
- Finishing oil—stir in 1 tsp toasted sesame oil after fluffing for Asian dishes
- Herb infusion—add 2 sprigs fresh cilantro or thyme to cooking water
Remember to adjust water ratios slightly when using flavorful liquids—reduce total liquid by 2 tablespoons for every ¼ cup of added fats or creamy liquids to maintain proper absorption.


 浙公网安备
33010002000092号
浙公网安备
33010002000092号 浙B2-20120091-4