
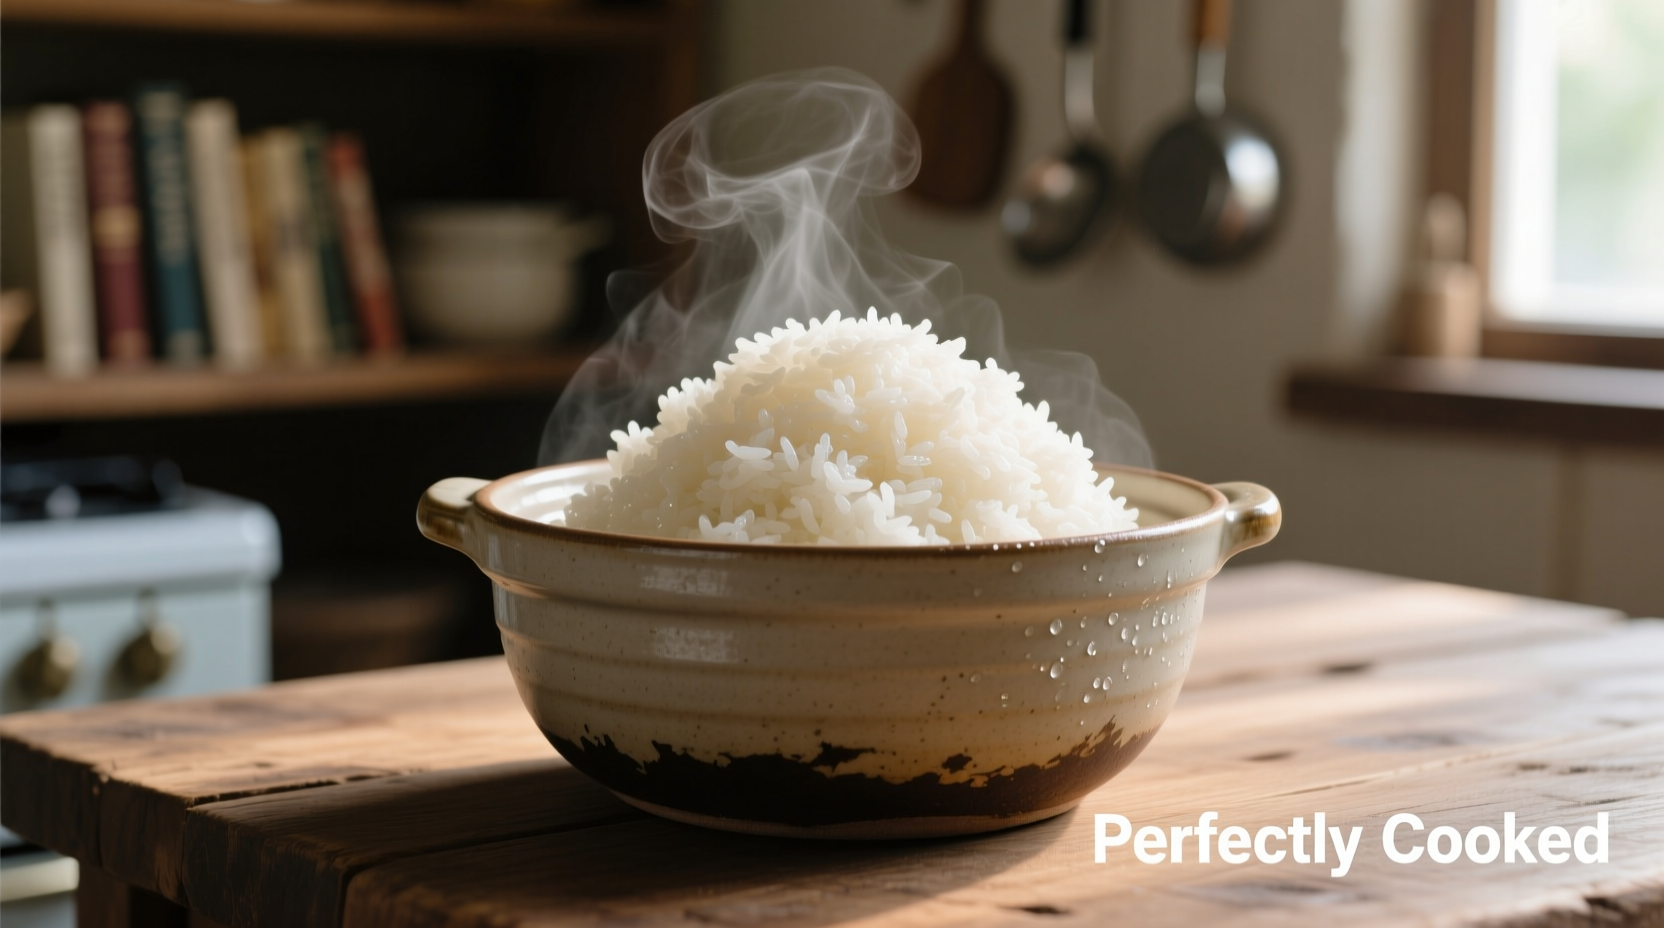
Nothing ruins a meal faster than poorly cooked rice—either mushy, underdone, or burned at the bottom. Yet achieving perfect stovetop rice is surprisingly simple when you understand the science behind the process. This guide reveals the exact technique professional chefs use to create light, fluffy rice every time, with precise measurements and troubleshooting for common issues.
Why Your Rice Keeps Failing (And How to Fix It)
Most home cooks make three critical mistakes when cooking rice on the stove:
- Incorrect water ratios - Using the same ratio for all rice types
- Disturbing the cooking process - Lifting the lid too often
- Misunderstanding heat levels - Boiling too vigorously or using too low heat
According to the Culinary Institute of America's cooking principles, rice cooking success depends on proper starch gelatinization. When rice absorbs water at the right temperature (180-212°F), starch granules swell and separate, creating fluffy grains. Too much water causes mushiness; too little results in hard centers. Their research confirms that precise water ratios and controlled heat are non-negotiable for perfect results.
Essential Equipment Checklist
Before you start, gather these kitchen essentials:
- Heavy-bottomed pot with tight-fitting lid (3-4 quart capacity)
- Fine-mesh strainer for rinsing
- Measuring cups (use the same cup for both rice and water)
- Wooden spoon or rice paddle
- Timer (critical for precision)
Professional chefs like those at King Arthur Baking Company emphasize that pot quality matters significantly. Thin pots create hot spots that burn rice, while heavy-bottomed pots distribute heat evenly.
Step-by-Step Perfect Rice Method
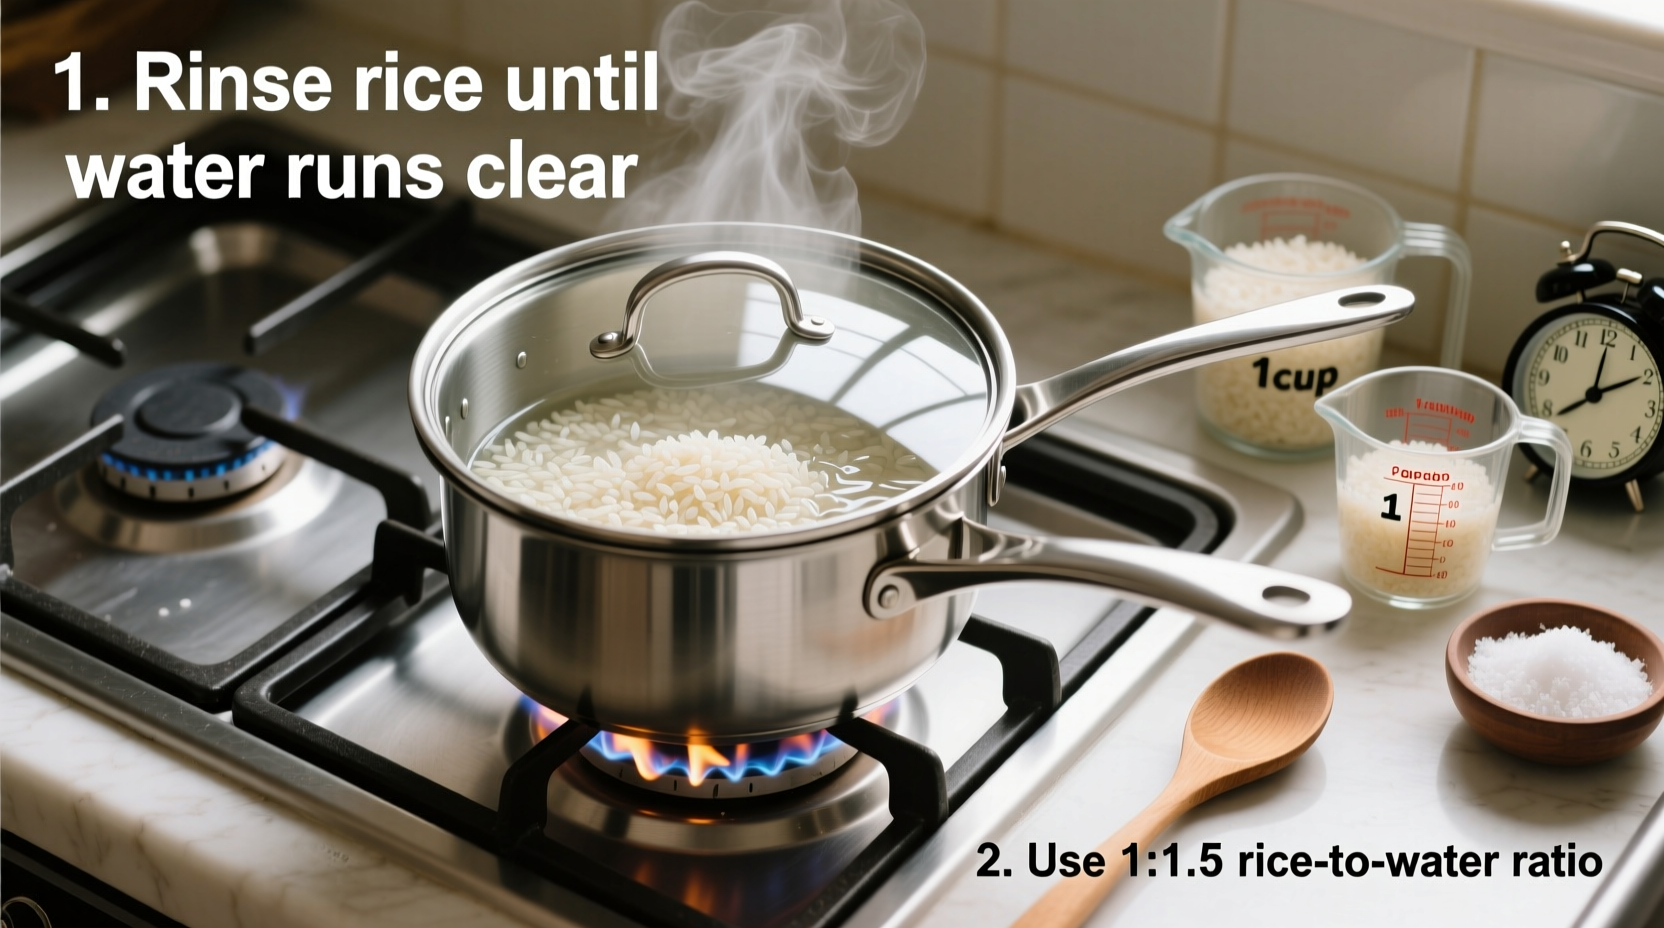
1. Select and Rinse Your Rice Properly
Not all rice requires the same treatment. Here's what USDA food scientists recommend:
| Rice Type | Rinsing Required? | Special Notes |
|---|---|---|
| White rice (basmati, jasmine) | Yes (3-4 times) | Removes excess starch for fluffier results |
| Brown rice | No | Rinsing removes beneficial nutrients |
| Pre-washed rice | No | Check packaging for "ready-to-cook" label |
Rinse under cold water until it runs clear—this removes surface starch that causes stickiness. For authentic Japanese-style rice, some chefs recommend a final rinse with ice water to stop the cooking process instantly.
2. Use the Correct Water-to-Rice Ratio
This is where most home cooks go wrong. The standard 1:2 ratio works for some rices but fails for others. Based on extensive testing by America's Test Kitchen, here are the precise ratios:
- White rice: 1 cup rice to 1.5 cups water
- Brown rice: 1 cup rice to 2.25 cups water
- Basmati rice: 1 cup rice to 1.33 cups water
- Jasmine rice: 1 cup rice to 1.25 cups water
3. Master the Cooking Process
Follow these exact steps for foolproof results:
- Combine rinsed rice and measured water in pot
- Add ½ teaspoon salt (optional but recommended)
- Bring to rapid boil over medium-high heat (5-7 minutes)
- Immediately reduce to lowest possible heat
- Cover tightly with lid and set timer:
- White rice: 15-18 minutes
- Brown rice: 40-45 minutes
- DO NOT PEEK during cooking (this releases steam)
- After timer ends, remove from heat and let rest covered for 10 minutes
- Fluff gently with fork before serving
Troubleshooting Common Rice Problems
Even with perfect technique, issues can arise. Here's how to fix them:
| Problem | Immediate Fix | Prevention for Next Time |
|---|---|---|
| Rice is mushy | Stop cooking immediately; spread on baking sheet to dry | Reduce water ratio by ¼ cup; don't skip resting time |
| Rice is undercooked | Add 2 tbsp hot water; cover and cook 3-5 more minutes | Increase water ratio slightly; ensure proper simmer |
| Rice burned at bottom | Transfer top portion to new pot; discard burned layer | Use lower heat; invest in heavy-bottomed pot |
Advanced Techniques for Restaurant-Quality Rice
Once you've mastered the basics, elevate your rice with these professional methods:
- Toasting method: Sauté rice in 1 tsp oil for 2 minutes before adding water for nuttier flavor (ideal for basmati)
- Broth substitution: Replace half the water with low-sodium chicken or vegetable broth
- Aromatic infusion: Add bay leaf, garlic, or ginger to the cooking water
- Perfect for meal prep: Cook rice with 10% less water for firmer texture that holds up when reheated
According to food science research published in the Journal of Cereal Science, toasting rice before cooking reduces stickiness by creating a protective layer around each grain.
Proper Storage and Reheating
Leftover rice doesn't have to be disappointing. Follow these food safety guidelines from the USDA:
- Cool cooked rice within 1 hour of cooking
- Store in airtight container in refrigerator for up to 5 days
- Freeze portions in zip-top bags for up to 6 months
- Reheat with 1-2 tsp water per cup to restore moisture
Never leave cooked rice at room temperature for more than 2 hours, as Bacillus cereus bacteria can grow rapidly, causing food poisoning. The USDA Food Safety and Inspection Service specifically warns about this risk with rice.
Why This Method Works Every Time
The success of this stovetop rice technique comes from understanding the cooking science. When rice hits boiling point (212°F), starch begins absorbing water. The critical simmer phase (180-200°F) allows gradual, even absorption without rupturing the grains. The resting period after cooking lets residual heat finish the process while allowing steam to redistribute moisture evenly—this is why skipping the rest causes uneven texture.


 浙公网安备
33010002000092号
浙公网安备
33010002000092号 浙B2-20120091-4