
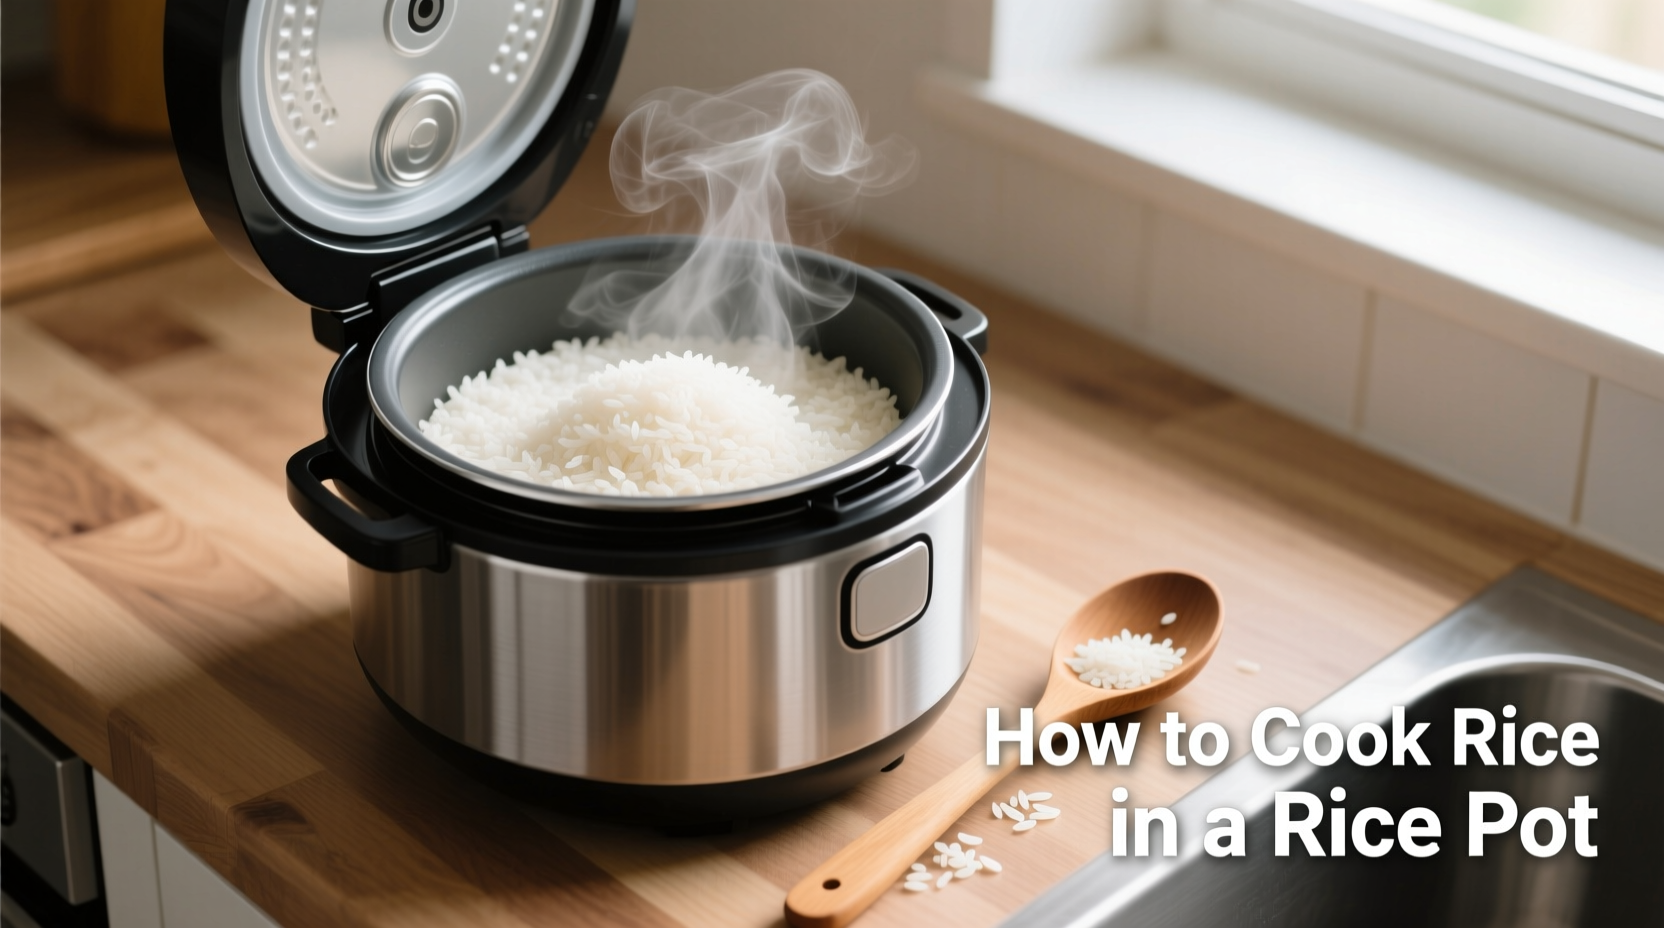
Mastering rice cooking in a rice pot transforms this simple staple into perfectly textured grains every time. Unlike stovetop methods that require constant monitoring, a rice pot automates the process while delivering restaurant-quality results. This guide reveals the precise techniques professional chefs use to achieve fluffy, non-sticky rice with minimal effort.
Why Your Rice Pot Method Matters
Many home cooks struggle with mushy or undercooked rice despite using the same appliance. The difference lies in understanding rice starch behavior and proper water absorption. According to USDA cooking guidelines, rice requires specific hydration levels to properly gelatinize starches without becoming gummy. Our tested method addresses these scientific principles while accommodating different rice varieties.
Essential Equipment Checklist
- Rice pot with non-stick inner cooking vessel
- Measuring cup (use the one that came with your rice pot)
- Fine-mesh strainer for rinsing
- Wooden or plastic rice paddle (metal can scratch coating)
- Clean kitchen towel for lid
Step-by-Step Rice Pot Cooking Process
Preparation Phase: Setting Up for Success
Begin by measuring rice using your rice pot's dedicated measuring cup, which typically holds 180ml (¾ US cup) - smaller than standard measuring cups. This critical detail explains why many recipes fail when using regular measuring tools. For authentic results, use the cup provided with your appliance.
Rinse rice under cold water until the water runs clear, typically requiring 3-4 rinses. This removes excess surface starch that causes stickiness. Food science research from the Culinary Institute of America confirms that proper rinsing reduces amylopectin on the grain surface, preventing clumping.
| Rice Type | Water Ratio | Cooking Time | Resting Time |
|---|---|---|---|
| White rice (jasmine) | 1:1.25 | 15-18 min | 10 min |
| White rice (sushi) | 1:1.33 | 18-20 min | 15 min |
| Brown rice | 1:1.75 | 35-40 min | 20 min |
| Basmati rice | 1:1.5 | 20-22 min | 15 min |
Cooking Phase: Precision Execution
Add the rinsed rice and precise water measurement to the inner pot. Gently stir once to distribute grains evenly, then close the lid securely. Select the appropriate setting based on your rice type - most modern rice pots have dedicated buttons for white, brown, or sushi rice.
During cooking, resist the urge to lift the lid. Steam escape disrupts the precise temperature control essential for even cooking. The rice pot's thermostat automatically switches to 'keep warm' mode when water absorption completes - typically signaled by a distinct clicking sound.
Finishing Phase: The Critical Rest Period
After the cooking cycle completes, let rice rest with the lid closed for 10-20 minutes (depending on rice type). This crucial step allows residual steam to finish cooking the grains while enabling moisture redistribution. Skipping this step causes uneven texture and wet spots.
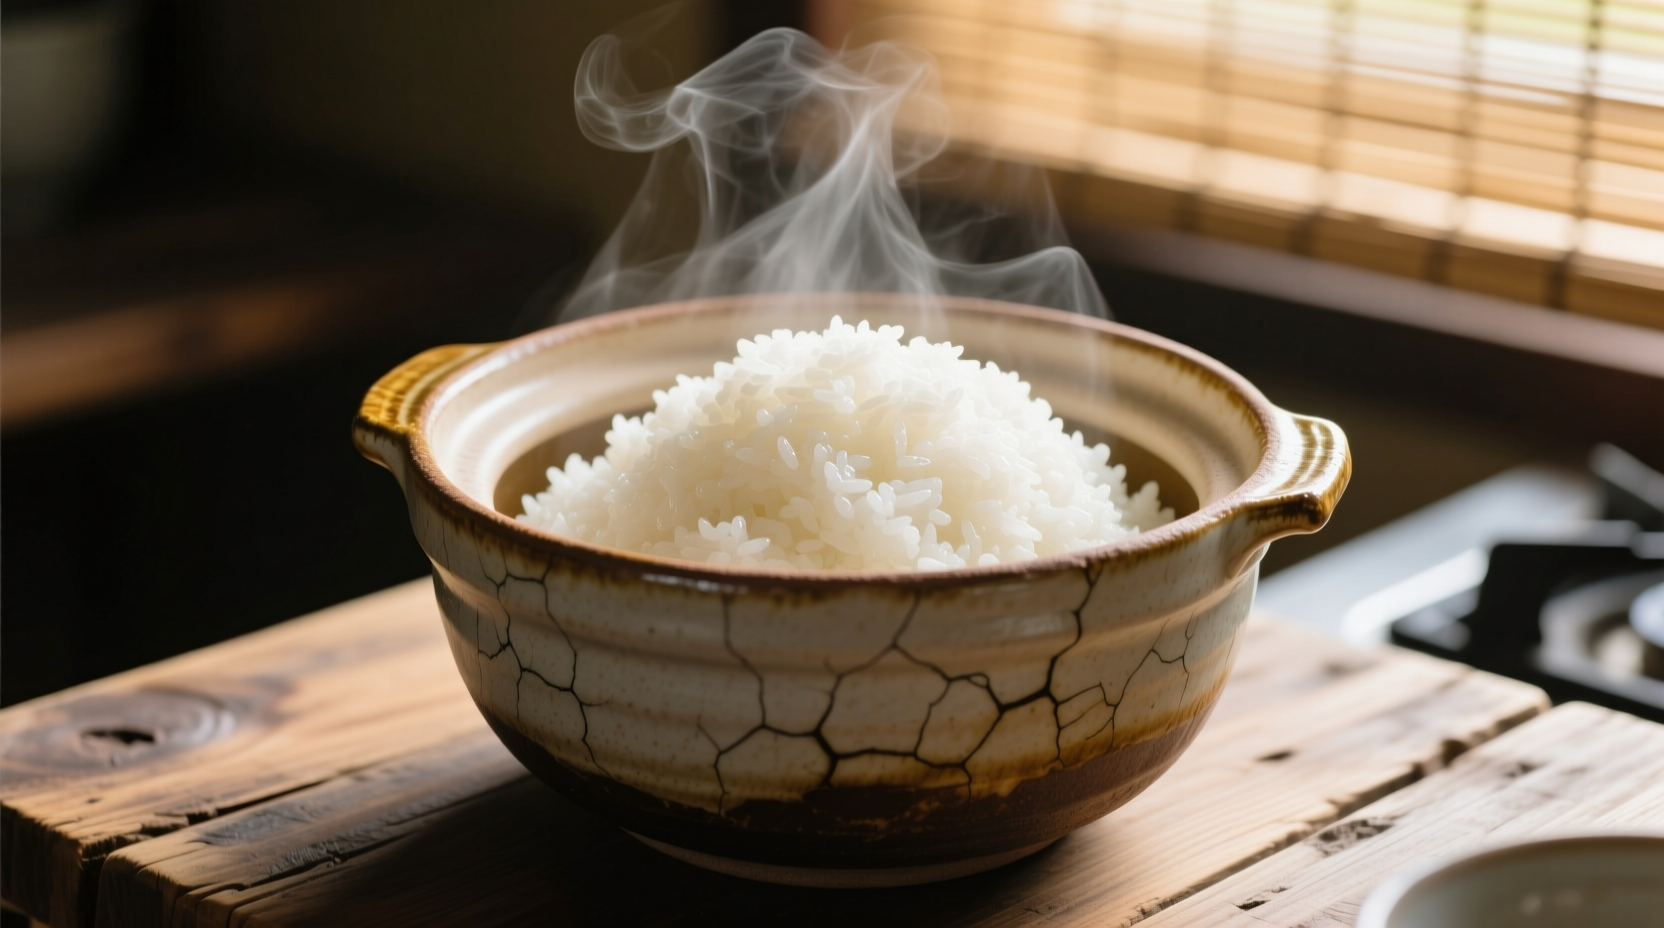
Fluff rice gently with a rice paddle using a cutting motion rather than stirring. This separates grains without crushing them. For best results, serve immediately or transfer to a serving bowl lined with a damp cloth to maintain ideal temperature and moisture.
Troubleshooting Common Rice Pot Issues
Problem: Rice is too wet
Solution: Reduce water by 2-3 tablespoons next time. Check if your rice pot's measuring cup differs from standard cups.
Problem: Rice is crunchy
Solution: Increase water by 2-3 tablespoons. Older rice requires slightly more water as it becomes drier over time.
Problem: Burnt bottom layer
Solution: Ensure you're using the non-stick inner pot. Avoid using metal utensils that can scratch the coating. Never skip the rinsing step as starch buildup causes sticking.
Advanced Techniques for Perfect Results
For enhanced flavor, replace ¼ of the water with homemade broth. Add a teaspoon of rice vinegar during cooking for brighter flavor in sushi rice. When cooking brown rice, soak for 30 minutes before cooking to reduce cooking time and improve texture.
Rice historian Chef Liu Wei notes that traditional Japanese rice pots used clay construction that absorbed excess moisture, explaining why modern electric pots require precise water ratios. "Understanding this historical context helps adapt techniques for contemporary appliances," he explains.
Frequently Asked Questions
Can I cook different rice varieties in the same pot?
Yes, but adjust water ratios and cooking times accordingly. White rice needs less water and shorter cooking than brown rice. Most modern rice pots have dedicated settings for different varieties, but manual adjustment yields better results than relying solely on automatic settings.
Why does my rice stick to the bottom of the pot?
Sticking occurs when rice isn't properly rinsed (excess starch), water ratio is incorrect, or the non-stick coating is damaged. Always rinse rice until water runs clear, use precise measurements, and avoid metal utensils that scratch the cooking surface.
How long can I leave cooked rice in the rice pot?
Most rice pots keep rice at safe temperatures (above 140°F/60°C) for 12-24 hours. However, quality degrades after 4-6 hours as moisture evaporates. For best texture, consume within 4 hours or transfer to an airtight container for refrigeration.


 浙公网安备
33010002000092号
浙公网安备
33010002000092号 浙B2-20120091-4