

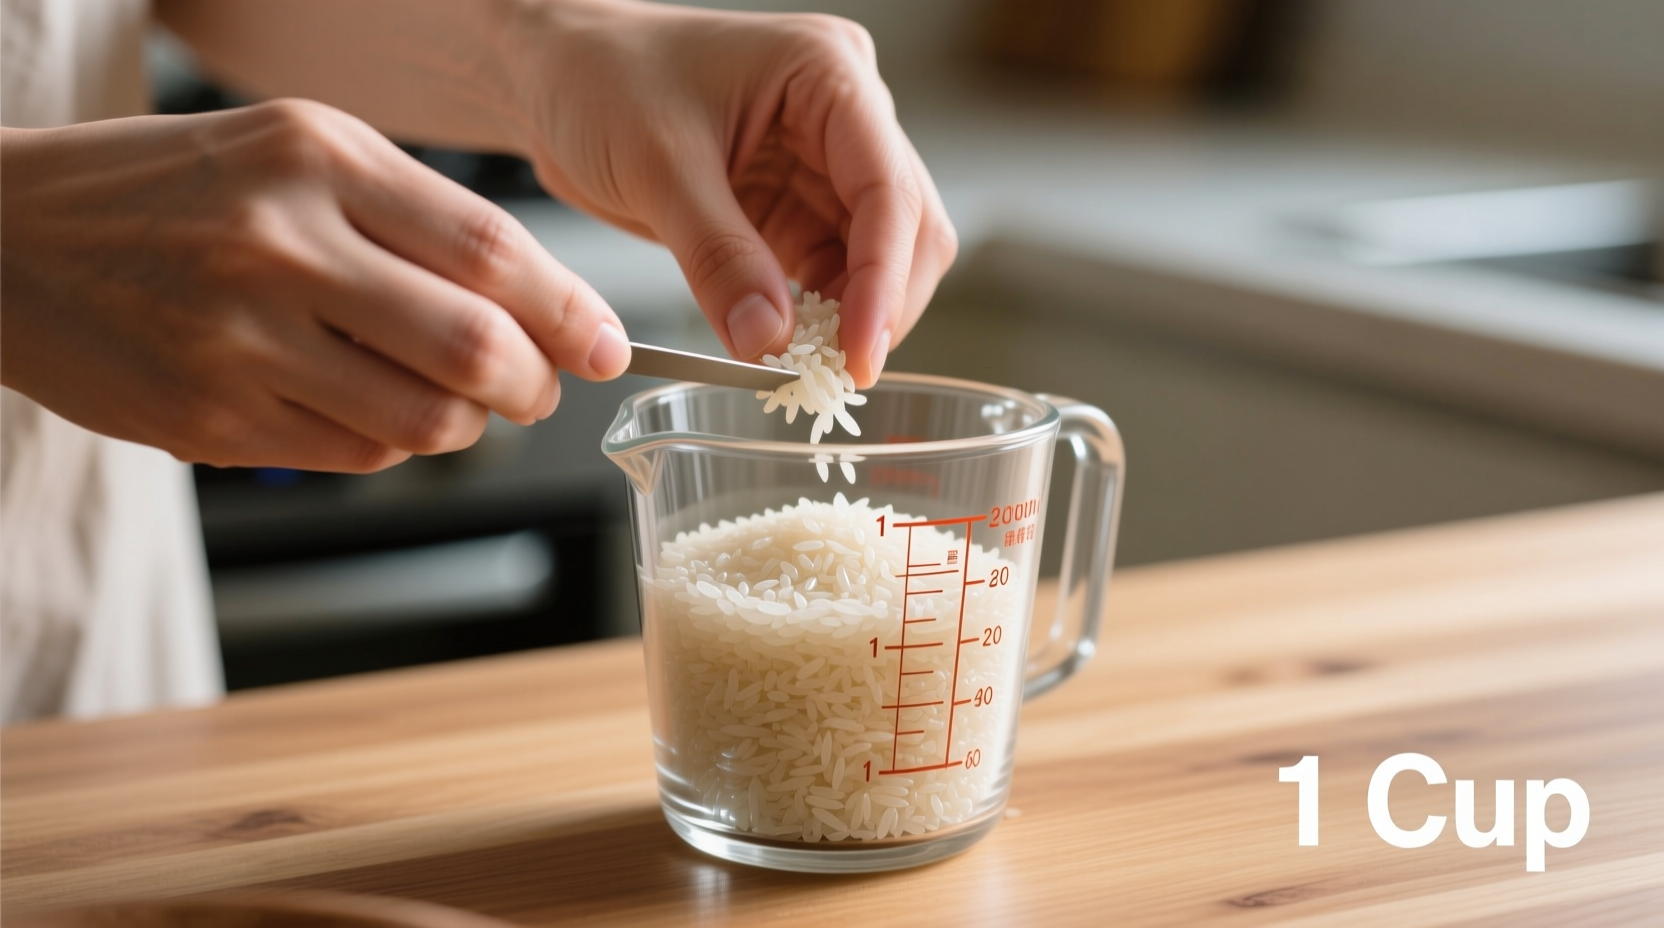
The perfect method to cook rice in a pan requires just 1 cup rice, 1¾ cups water, and 15 minutes of simmering followed by 10 minutes of resting. This stovetop technique works for white rice varieties and delivers consistently fluffy results without specialized equipment.
Mastering stovetop rice cooking unlocks kitchen versatility when rice cookers aren't available. Unlike appliance-dependent methods, pan cooking gives you complete control over heat levels and timing - crucial factors that determine whether your rice turns out perfectly fluffy or disappointingly mushy. Professional chefs consistently prefer this method for its reliability and adaptability across different rice varieties.
Why Pan Cooking Outperforms Other Methods
While rice cookers offer convenience, they lack the precise heat control needed for optimal texture. According to the Culinary Institute of America's rice preparation guidelines, direct stovetop monitoring allows cooks to adjust for variables like pan material, burner intensity, and rice freshness - factors that significantly impact cooking results. Professional kitchens worldwide rely on this method because it accommodates different rice varieties without requiring specialized equipment.
| Cooking Method | Texture Control | Equipment Needed | Learning Curve |
|---|---|---|---|
| Pan Method | Excellent | Basic cookware | Moderate |
| Rice Cooker | Good | Specialized appliance | Low |
| Instant Pot | Fair | Pressure cooker | High |
Essential Tools and Ingredients Checklist
Before starting, gather these critical items:
- Pan selection: Heavy-bottomed saucepan with tight-fitting lid (2-3 quart capacity for 1-2 cups dry rice)
- Rice varieties: Long-grain white rice works best for beginners (Basmati or Jasmine)
- Water ratios: 1¾ cups water per 1 cup rice for standard white rice
- Measuring tools: Liquid measuring cup for water, dry measuring cup for rice
- Optional but helpful: Fine mesh strainer, wooden spoon, kitchen timer
Food science research from Harold McGee's On Food and Cooking explains that the starch gelatinization process requires precise water ratios. Too little water creates undercooked grains, while excess water breaks down starch structure, resulting in mushy rice. The 1¾:1 ratio creates optimal conditions for complete starch hydration without excess moisture.
Step-by-Step Cooking Process
Follow these professional chef-tested steps for perfect results every time:
Preparation Phase
- Rinse rice thoroughly in a fine mesh strainer until water runs clear (removes excess surface starch)
- Measure exactly 1 cup rice and 1¾ cups cold water
- Add rice and water to saucepan with ¼ teaspoon salt
Cooking Sequence
- Bring to boil over medium-high heat (5-7 minutes)
- Immediately reduce heat to lowest setting once boiling
- Cover tightly and simmer for exactly 15 minutes
- Remove from heat and let rest, covered, for 10 minutes
- Fluff with fork before serving
The USDA Food Safety and Inspection Service emphasizes that rice must reach 165°F (74°C) to ensure food safety. The resting period after cooking allows residual heat to complete the cooking process while reaching this critical temperature throughout the grain. Skipping the rest results in unevenly cooked rice with potential food safety concerns.
Troubleshooting Common Problems
Even experienced cooks encounter issues. Here's how to fix them:
Burnt Bottom Layer
If you detect burning:
- Immediately remove pan from heat
- Place a damp towel between pan and lid
- Let rest 15 minutes before checking
- Transfer undamaged rice to new container
Undercooked or Crunchy Rice
Add 2-3 tablespoons hot water, return to low heat for 5 minutes, then rest covered for 10 minutes. The additional moisture penetrates the grain structure during the extended resting period.
Mushy or Sticky Rice
This indicates excess water or overcooking. For future batches:
- Reduce water by ¼ cup
- Shorten simmer time by 2-3 minutes
- Ensure proper rinsing to remove surface starch
Advanced Techniques for Perfect Results
Once you've mastered the basic technique, try these professional enhancements:
Flavor Infusion Methods
Add flavor during cooking by substituting water with:
- Homemade broth for savory dishes
- Coconut milk for Asian-inspired recipes
- Infused water with lemon zest or herbs
Perfecting Different Rice Varieties
Adjust water ratios based on rice type:
- Basmati: 1½ cups water per 1 cup rice
- Jasmine: 1¾ cups water per 1 cup rice
- Short-grain: 1⅜ cups water per 1 cup rice
Cooking Larger Batches
For 4+ cups dry rice:
- Use a wider, shallower pan
- Increase water by ¼ cup per additional cup of rice
- Extend simmer time by 2 minutes per cup
- Rotate pan 180° halfway through cooking
Storage and Reheating Guidelines
Proper storage maintains texture and safety:
Cooling Process
Spread cooked rice in thin layer on baking sheet. Cool to room temperature within 2 hours - critical for preventing bacterial growth according to FDA food safety guidelines. Never leave cooked rice at room temperature longer than this window.
Refrigeration and Freezing
- Refrigerate in airtight container for up to 5 days
- Freeze in portion-sized bags for up to 6 months
- Label with date and rice variety
Reheating Methods
- Stovetop: Add 2 tablespoons water per cup rice, cover, heat on low 5 minutes
- Steamer: Place in bamboo steamer over boiling water for 8-10 minutes
- Avoid microwave: Creates uneven heating and texture degradation
Frequently Asked Questions
Can I cook brown rice using this pan method?
Yes, but adjust the water ratio to 2¼ cups water per 1 cup brown rice and increase simmer time to 35-40 minutes. After simmering, let it rest for 15 minutes before fluffing. Brown rice requires more water and longer cooking due to its intact bran layer.
Why does my rice always stick to the bottom of the pan?
Rice sticks primarily due to insufficient water or excessive heat. Ensure you're using the correct water ratio and maintain a true simmer (small bubbles barely breaking the surface). A heavy-bottomed pan distributes heat more evenly, preventing hot spots that cause sticking.
How do I prevent rice from boiling over?
To prevent boil-overs, never fill your pan more than halfway with liquid. When the water reaches a rolling boil, immediately reduce to the lowest possible heat setting. Placing a wooden spoon across the top of the pot can also help break up bubbles before they overflow.
Can I use this method for sushi rice?
Yes, but sushi rice requires special handling. Use a 1:1.1 water-to-rice ratio, and after the standard cooking process, mix in sushi vinegar while the rice is still warm. Spread on a flat surface to cool quickly, which develops the proper sticky texture needed for sushi preparation.


 浙公网安备
33010002000092号
浙公网安备
33010002000092号 浙B2-20120091-4