
Mastering stovetop quinoa transforms this ancient grain from bitter and mushy to nutty and perfectly textured. Unlike instant pot or microwave methods, the stovetop technique gives you complete control over the cooking process, ensuring restaurant-quality results in your home kitchen. Follow this proven method to achieve consistently fluffy quinoa with separated grains that never turns gummy or bitter.
The Science Behind Perfect Quinoa
Quinoa's natural coating contains saponins—a bitter compound that protects the seed in nature. While most packaged quinoa is pre-rinsed, thorough rinsing removes any residual bitterness. The toasting step before cooking enhances quinoa's natural nuttiness while evaporating excess moisture that can lead to mushiness. The precise water ratio (1.75:1 instead of the commonly cited 2:1) ensures complete absorption without waterlogging.
| Quinoa Type | Water Ratio | Cooking Time | Texture Characteristics |
|---|---|---|---|
| White Quinoa | 1.75:1 | 12-15 minutes | Light, fluffy, mild flavor |
| Red Quinoa | 2:1 | 15-18 minutes | Firmer texture, earthy flavor |
| Black Quinoa | 2:1 | 15-20 minutes | Crunchier texture, sweeter taste |
This comparison reflects USDA agricultural research on optimal cooking ratios for different quinoa varieties. The slight variations account for structural differences in the seed coat that affect water absorption rates.
Essential Equipment Checklist
- Medium saucepan with tight-fitting lid (3-4 quart capacity)
- Fine-mesh strainer (critical for proper rinsing)
- Wooden spoon or silicone spatula
- Measuring cups with liquid and dry measurements
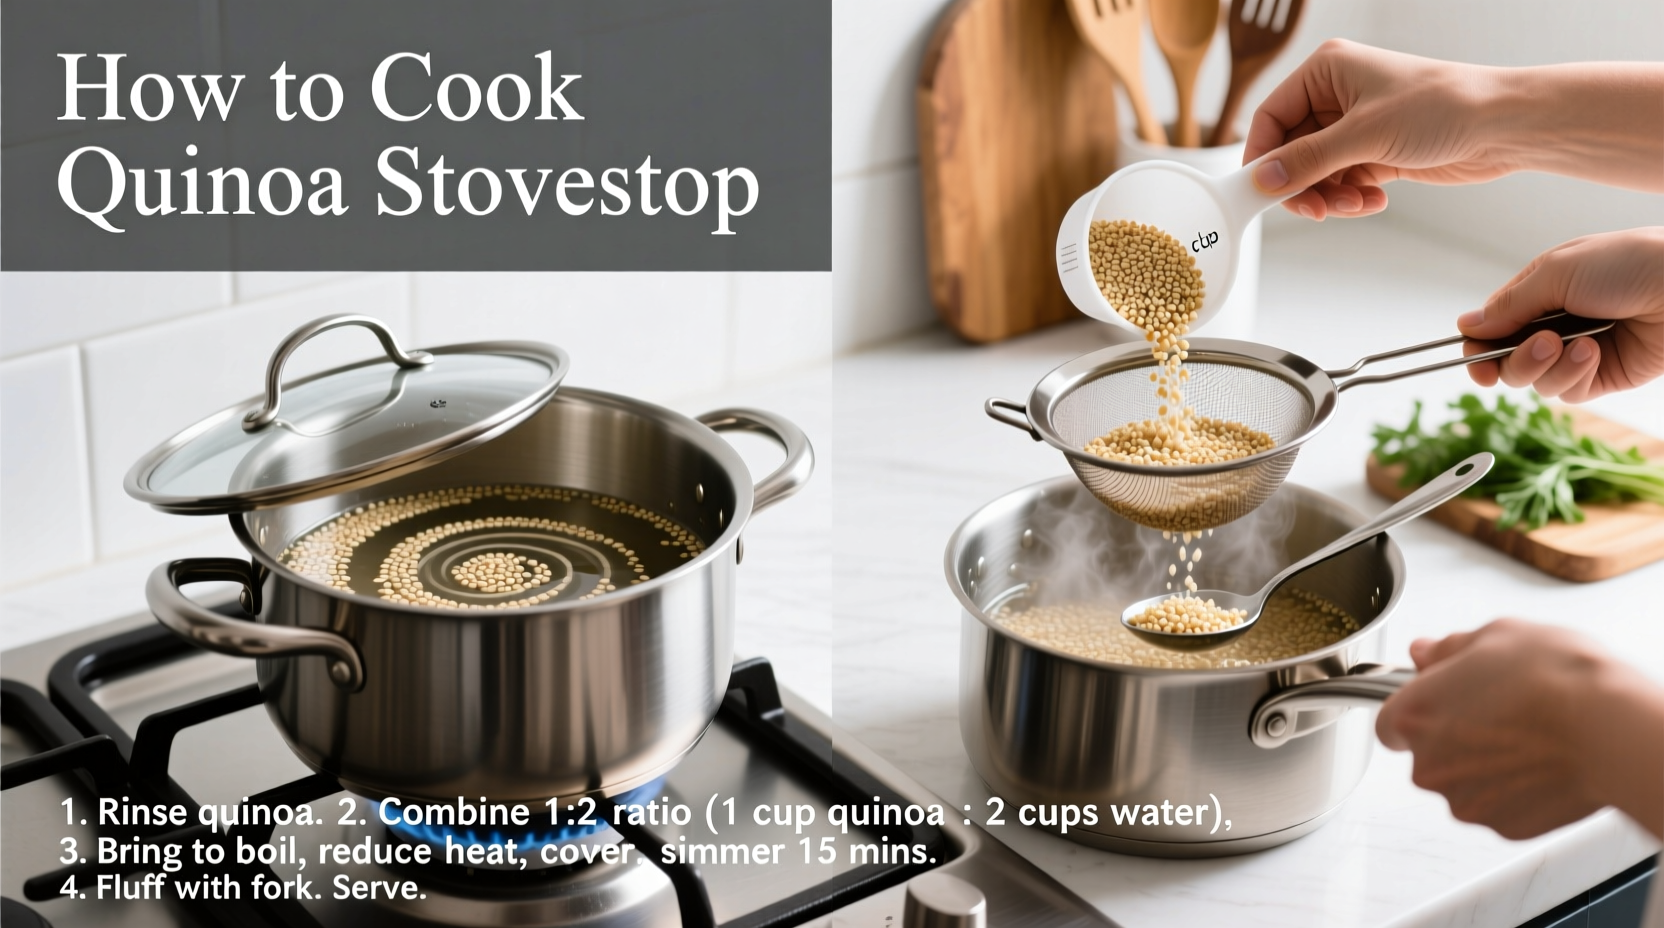
Step-by-Step Cooking Process
Step 1: The Critical Rinse
Place quinoa in a fine-mesh strainer and rinse under cold running water for 2-3 minutes, rubbing grains gently between your fingers. Proper rinsing removes saponins that cause bitterness. Continue until water runs clear—this step makes the difference between enjoyable and unpleasant quinoa.
Step 2: Toasting for Enhanced Flavor
Heat a dry saucepan over medium heat. Add rinsed quinoa and toast 2-3 minutes, stirring constantly, until grains make a subtle popping sound and release a nutty aroma. This professional chef technique, documented by the Culinary Institute of America, develops complex flavors while evaporating surface moisture.
Step 3: Precise Liquid Measurement
Add 1.75 cups water or broth per cup of quinoa. For enhanced flavor, substitute half the liquid with vegetable or chicken broth. Season with 1/4 teaspoon salt—this small amount improves texture by strengthening the grain structure.
Step 4: Controlled Simmering
Bring to a rolling boil, then immediately reduce heat to the lowest setting. Cover tightly and simmer 15 minutes for white quinoa (18-20 for red or black). Proper simmering maintains a gentle steam environment without boiling over.
Step 5: The Resting Period
Remove from heat and let stand, covered, for 5 minutes. This crucial step allows residual steam to finish cooking the quinoa while the germ separates from the seed—look for the little "tail" that indicates perfect doneness.
Troubleshooting Common Issues
Mushy quinoa: Usually caused by too much water or overcooking. Stick to the 1.75:1 ratio and set a timer. Quinoa continues cooking during the resting phase.
Bitter taste: Inadequate rinsing is the culprit. Extend rinsing time and ensure water runs completely clear before cooking.
Undercooked quinoa: If grains remain crunchy after resting, return to low heat for 2-3 minutes with 1-2 tablespoons additional water, then re-rest.
Pro Storage and Serving Techniques
Fluff cooked quinoa with a fork immediately after resting to prevent clumping. For meal prep, cool completely before storing in airtight containers. Properly stored quinoa keeps refrigerated for 5 days or frozen for 2 months.
Revive leftovers by sprinkling with 1 tablespoon water per cup of quinoa and reheating covered on low heat for 3-5 minutes. This stovetop reheating method preserves texture better than microwave alternatives.
Enhance flavor with these professional chef techniques:
- Add a strip of kombu seaweed during cooking for mineral richness
- Finish with lemon zest and a drizzle of good olive oil
- Mix in fresh herbs like cilantro or parsley just before serving
Understanding Cooking Context Boundaries
Altitude significantly impacts quinoa cooking. According to FDA food safety guidelines, above 3,000 feet elevation, increase liquid by 1/4 cup and extend cooking time by 5 minutes. In high-humidity environments, reduce liquid by 2-3 tablespoons to compensate for atmospheric moisture.
Cooking quinoa for salad applications requires slightly less water (1.5:1 ratio) and an extra minute of cooking to achieve the firmer texture that holds up to dressing. For breakfast porridge, increase liquid to 2.5:1 and cook 5 minutes longer for creamier results.


 浙公网安备
33010002000092号
浙公网安备
33010002000092号 浙B2-20120091-4