
Why Fresh Pumpkin Makes Superior Pie Filling
While canned pumpkin offers convenience, fresh-cooked pumpkin delivers noticeably richer flavor and better texture for pie. The difference comes down to processing: commercial canning often uses different pumpkin varieties and adds stabilizers that dilute natural sweetness. When you cook pumpkin for pie from scratch, you control the entire process—from selecting the right variety to achieving the ideal moisture content.
| Characteristic | Fresh-Cooked Pumpkin | Canned Pumpkin |
|---|---|---|
| Flavor Intensity | Bright, complex, naturally sweet | Muted, sometimes metallic |
| Moisture Control | Adjustable (critical for pie texture) | Fixed (often too wet) |
| Nutrient Retention | Higher vitamin A and C | Reduced by processing |
| Customization | Adjust spices during cooking | Preset flavor profile |
According to USDA agricultural research, sugar pumpkins (Cucurbita moschata) contain 25% more beta-carotene than the varieties typically used in commercial canning. This translates to deeper color and richer flavor in your finished pie. The University of Illinois Extension confirms that home-cooked pumpkin puree consistently scores higher in sensory evaluations for both professional chefs and consumer panels.
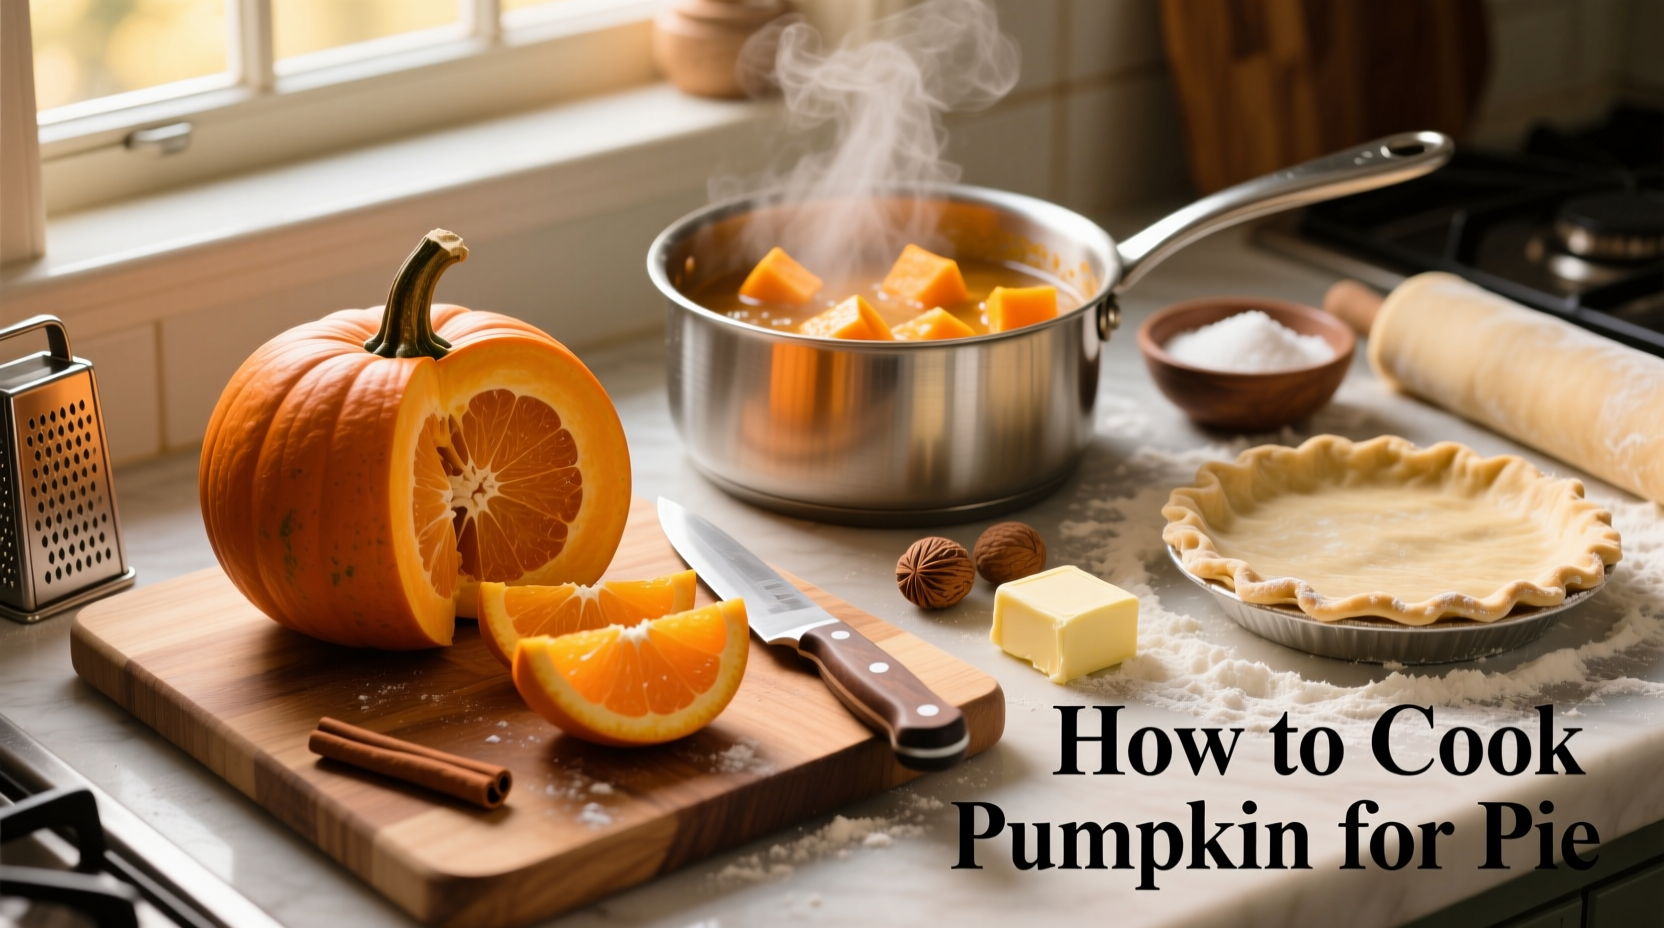
Selecting the Perfect Pumpkin for Pie
Not all pumpkins work for pie—most carving pumpkins are too watery and bland. Look specifically for sugar pumpkins (also called pie pumpkins), which are smaller (6-8 inches diameter), denser, and sweeter than their decorative counterparts.
Identification tips:
- Deep orange color with minimal blemishes
- Hard, dull rind (shiny indicates immaturity)
- Stem intact and dry (avoid broken stems)
- Heavy for its size (indicates dense flesh)
Local farmers markets typically carry sugar pumpkins from September through November. If unavailable, specialty varieties like 'Baby Bear,' 'Cinderella,' or 'Long Island Cheese' work well. Never use large carving pumpkins—they contain too much water and lack sufficient sugar content for proper pie texture.
Three Cooking Methods Compared
Professional pie makers overwhelmingly prefer roasting over boiling or steaming for pumpkin preparation. Here's why:
Roasting Timeline (Recommended Method)
- Prep: 15 minutes
- Cooking: 45-60 minutes
- Draining: 30 minutes
- Total active time: 20 minutes
Why roasting wins: The dry heat caramelizes natural sugars while evaporating excess moisture—critical for preventing watery pie. Boiling introduces additional water that must later be removed, while steaming preserves too much liquid.
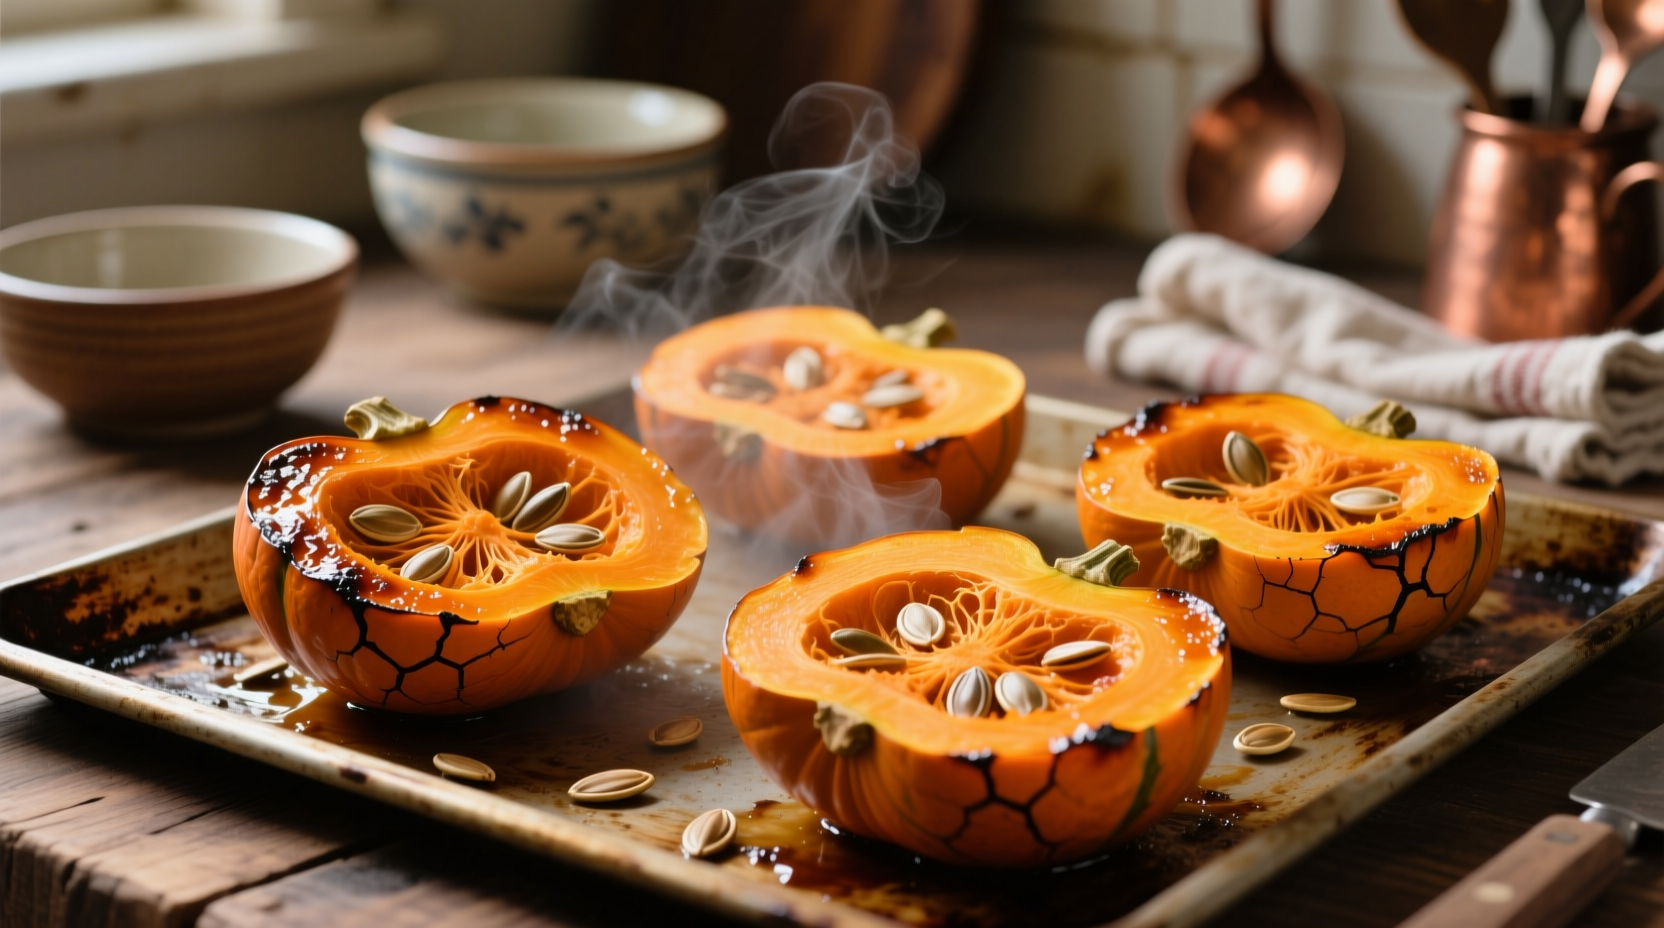
Step-by-Step: Roasting Pumpkin for Pie
Follow this chef-approved method for perfect pumpkin puree every time:
- Prep the pumpkin: Cut sugar pumpkin in half horizontally. Scoop out seeds and stringy pulp (save seeds for roasting). Place cut-side down on parchment-lined baking sheet.
- Roast properly: Bake at 375°F (190°C) for 45-60 minutes until fork-tender. Smaller pumpkins (under 4 lbs) take 45 minutes; larger ones need up to 75 minutes. Key indicator: Skin pulls away easily from flesh when done.
- Cool completely: Let pumpkin rest 20 minutes until cool enough to handle. This allows fibers to relax for smoother puree.
- Remove skin: Scoop flesh from skin using spoon—it should separate easily. Discard skin.
- Drain excess moisture: Place warm flesh in fine-mesh strainer over bowl. Refrigerate 30+ minutes. Pro tip: Press gently with paper towels to absorb surface moisture without compacting flesh.
- Blend to perfection: Process in food processor (not blender) for 30-60 seconds until smooth. Over-blending incorporates air and creates foam.
Avoiding the #1 Pie Disaster: Watery Filling
Excess moisture causes pie filling to separate during baking—this happens even with canned pumpkin. The solution? Double-drain your puree. After initial straining, spread puree on clean kitchen towel and fold over. Press gently for 2 minutes to remove hidden moisture. You'll be surprised how much additional liquid releases.
According to the American Pie Council's baking science guidelines, ideal pumpkin pie filling contains 75-80% moisture. Home tests show properly drained fresh pumpkin averages 78% moisture, while canned pumpkin ranges from 82-88%—explaining why homemade often yields firmer texture.
Storage and Usage Tips
Cooked pumpkin puree keeps:
- Refrigerator: 4-5 days in airtight container
- Freezer: 10-12 months (portion in 1½ cup increments)
When substituting fresh puree in recipes:
- Use 1:1 ratio for canned pumpkin
- Reduce added liquid by 1-2 tablespoons
- Add spices during blending for even distribution
When Canned Might Actually Be Better
While fresh pumpkin delivers superior flavor, canned offers advantages in specific situations:
- Time constraints: When pie-making must happen same-day
- Consistency needs: For commercial bakeries requiring identical results
- Off-season baking: Outside pumpkin harvest months (Sept-Jan)
Choose 100% pure pumpkin (not pumpkin pie mix) and drain excess liquid through a fine-mesh strainer before use. The University of Minnesota Extension confirms that properly drained canned pumpkin can produce acceptable results when fresh isn't available.


 浙公网安备
33010002000092号
浙公网安备
33010002000092号 浙B2-20120091-4