The Ultimate Guide to Cooking Prime Rib Perfectly
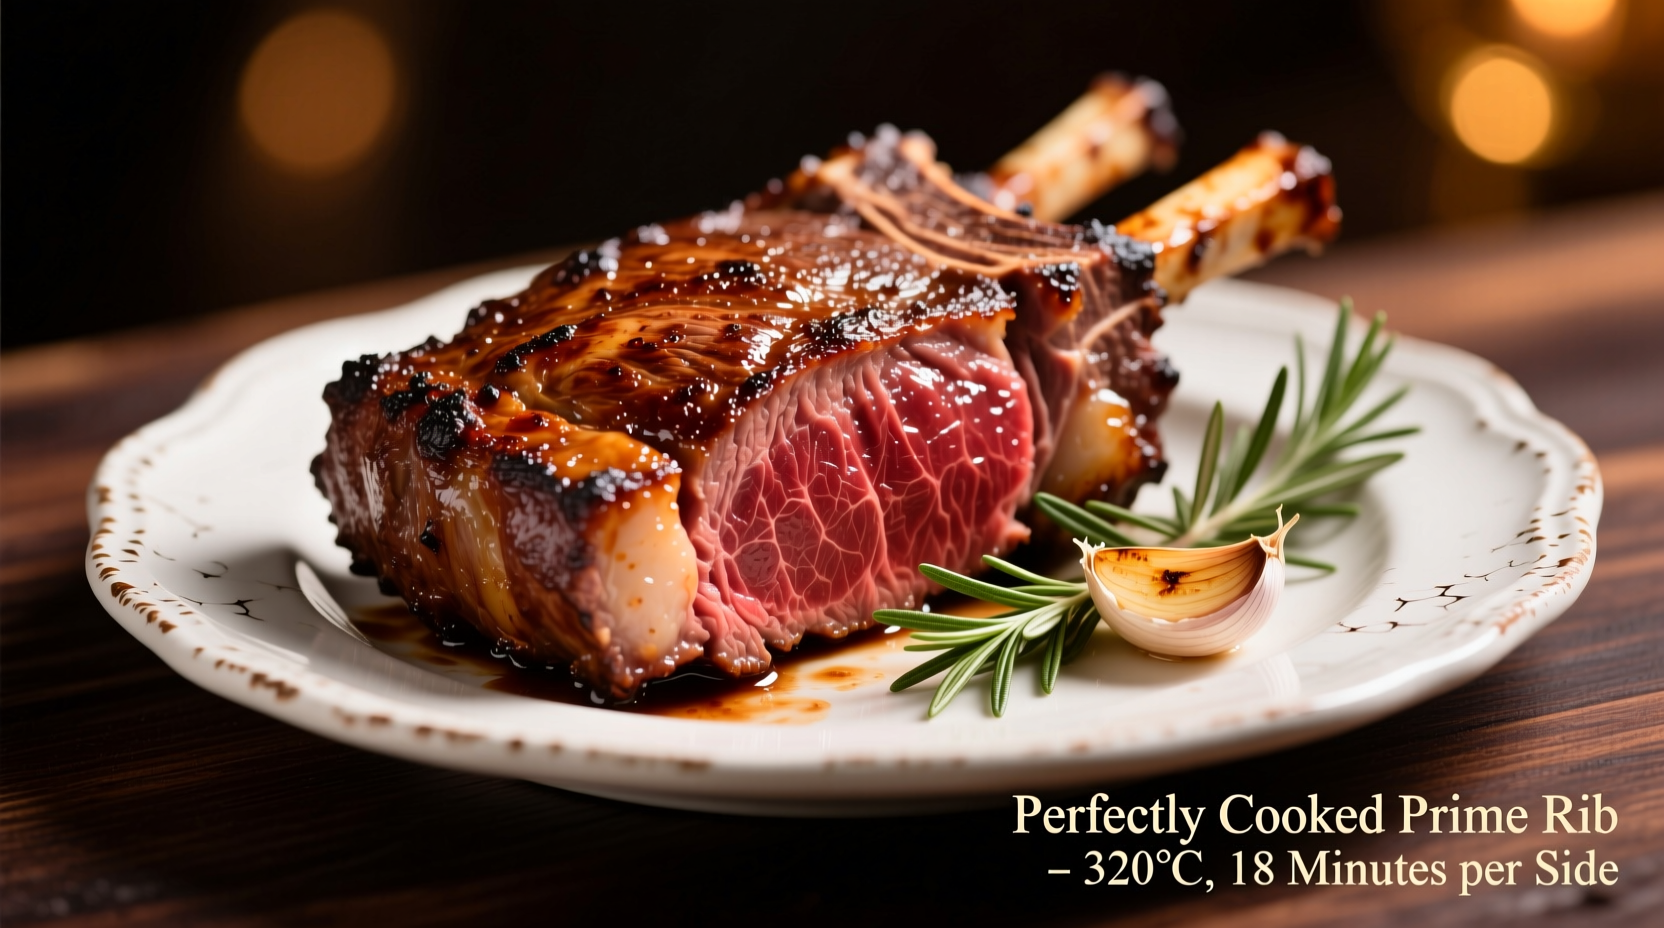
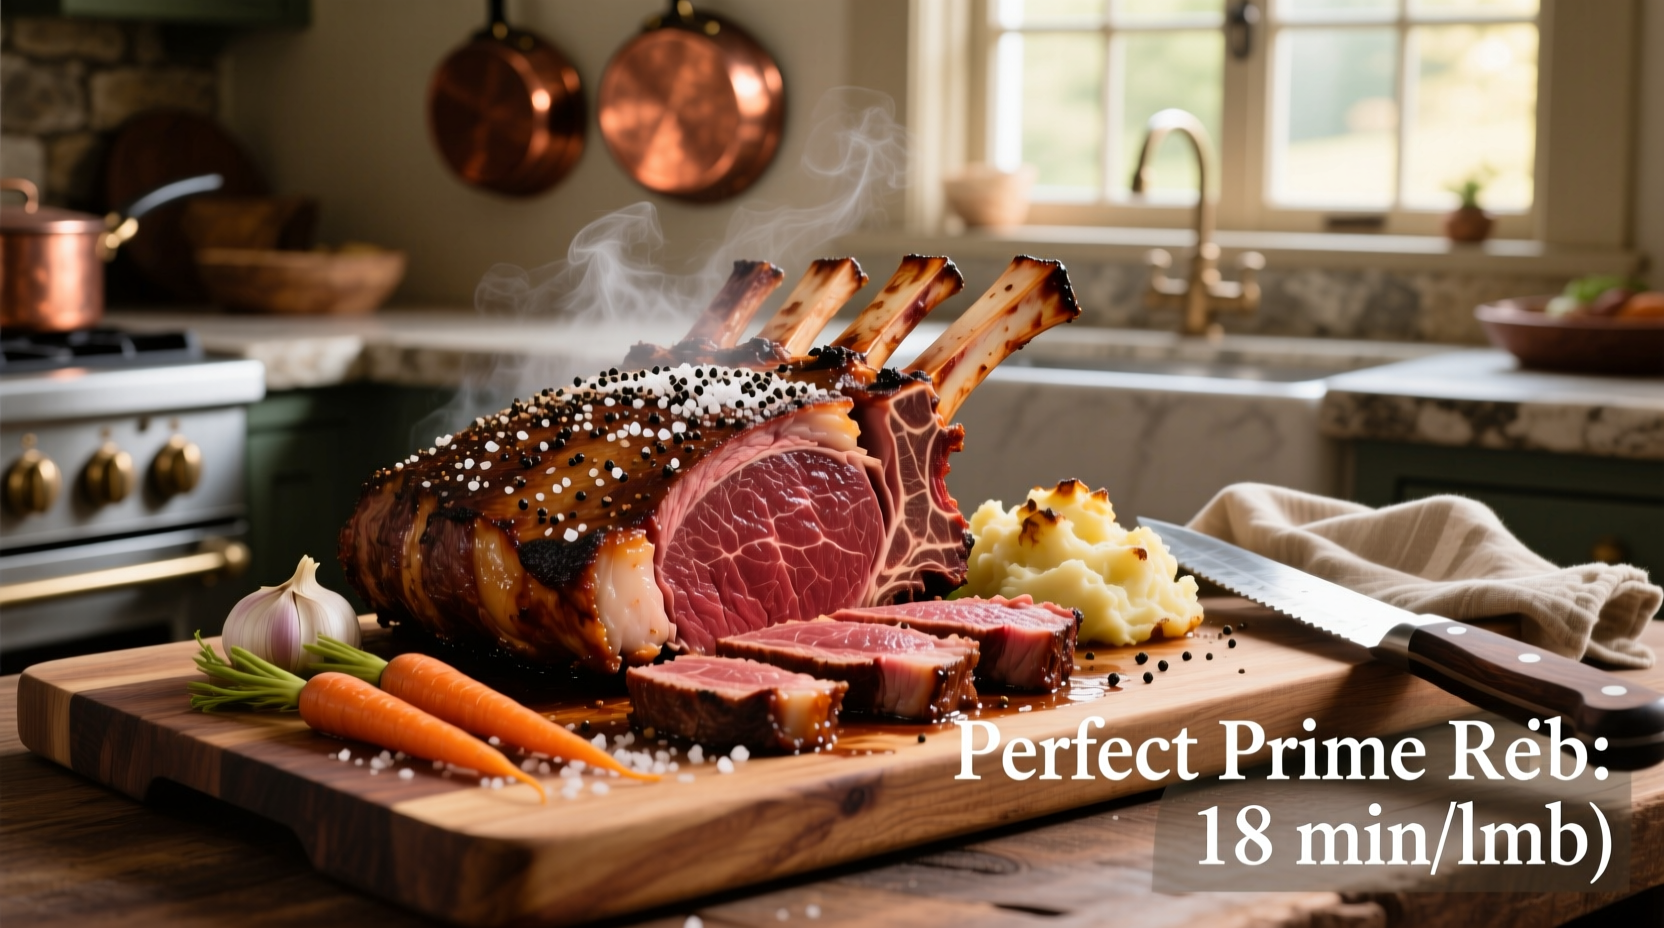
Prime rib, also known as standing rib roast, represents one of the most impressive centerpieces you can create in your kitchen. When executed properly, it delivers an extraordinary combination of tender, juicy meat with a flavorful crust that elevates any special occasion. The secret to perfect prime rib isn't complicated equipment but understanding the science behind the cooking process and respecting the meat's natural qualities.
Selecting Your Prime Rib
Before you begin cooking, choosing the right cut determines your success. Prime rib comes from the rib section of the cow (ribs 6-12) and features generous marbling that melts during cooking, basting the meat from within. Look for these characteristics when selecting your roast:
- Bone-in vs. boneless: Bone-in roasts typically deliver more flavor as the bones insulate the meat and add richness during cooking
- Grade matters: USDA Prime grade offers the best marbling, followed by Choice (still excellent for home cooking)
- Size considerations: Plan for one rib (approximately 2 pounds) per two people as the meat shrinks during cooking
- Appearance: Seek bright red meat with fine, white marbling throughout rather than yellowish fat
Professional chefs at the Culinary Institute of America emphasize that proper selection accounts for 50% of your success with this premium cut. The bone structure actually acts as a natural roasting rack, elevating the meat for even cooking and contributing flavor compounds as it renders.
Preparation Essentials
Proper preparation separates adequate prime rib from exceptional results. Begin this process 24-48 hours before cooking:
- Dry brine: Generously salt the entire surface of the roast and refrigerate uncovered for 24-48 hours. This draws out moisture initially, then allows the salt to be reabsorbed, seasoning the meat deeply and improving texture.
- Room temperature: Remove the roast from the refrigerator 3-4 hours before cooking. Cooking cold meat leads to uneven results with overcooked exteriors and undercooked centers.
- Seasoning: Just before cooking, apply freshly cracked black pepper and any additional herbs (rosemary, thyme) you prefer. The dry brining already handled the salt component.
- Equipment check: Ensure you have a reliable meat thermometer (instant-read or leave-in), a roasting pan with rack, and aluminum foil for resting.
| Doneness Level | Target Internal Temperature | Visual Characteristics |
|---|---|---|
| Rare | 120-125°F (49-52°C) | Bright red center, very soft to touch |
| Medium Rare | 130-135°F (54-57°C) | Warm red center, soft but slightly springy |
| Medium | 140-145°F (60-63°C) | Pink center, firm but yielding |
According to USDA Food Safety and Inspection Service guidelines, the minimum safe temperature for beef is 145°F with a 3-minute rest time. However, culinary professionals widely agree that prime rib achieves optimal texture and flavor at medium-rare temperatures (130-135°F), as the meat continues cooking during resting. The temperature will typically rise 5-10 degrees during the crucial resting phase.
The Cooking Process: Step by Step
Follow this proven method for perfect prime rib every time:
Initial Sear (15 minutes)
Preheat your oven to 450°F (232°C). Place the roast bone-side down in your roasting pan (the bones create a natural rack). Insert your meat thermometer into the thickest part, avoiding fat or bone. Roast at high heat for 15 minutes to develop a flavorful crust.
Reduce Heat and Monitor Temperature
After the initial sear, reduce oven temperature to 325°F (163°C). Continue roasting, monitoring the internal temperature closely. Calculate approximately 11-15 minutes per pound at this temperature, but rely primarily on your thermometer rather than timing alone.

Temperature Milestones
Remove the roast from the oven when it reaches 5-10 degrees below your target final temperature (accounting for carryover cooking during resting). For medium-rare, this means removing at 120-125°F. The roast will continue cooking as it rests, reaching the perfect 130-135°F range.
The Critical Resting Phase
Resist the temptation to carve immediately! Resting allows the muscle fibers to relax and reabsorb juices that would otherwise spill out. Follow these resting guidelines:
- Cover loosely with foil (don't seal tightly, which creates steam)
- Rest for 30-45 minutes for a standard 4-bone roast
- Place the roast on a cutting board with a groove to catch juices for au jus
- During resting, the internal temperature will rise 5-10 degrees
Food science research from America's Test Kitchen demonstrates that properly rested prime rib retains up to 40% more juices than immediately carved meat. This difference transforms your results from good to extraordinary.
Carving Like a Professional
After resting, follow these steps for perfect slices:
- Remove bones by cutting along the bone side of the roast
- Place the roast fat-side up on your cutting board
- Using a long, sharp carving knife, slice perpendicular to the bone
- Cut slices approximately 1/2 to 3/4 inch thick
- For each serving, include a portion of the flavorful fat cap
Troubleshooting Common Issues
Even experienced cooks encounter challenges with prime rib. Here's how to address common problems:
- Uneven cooking: If one side cooks faster, rotate the pan 180 degrees halfway through cooking
- Insufficient browning: Increase oven temperature by 25°F during the final 30 minutes
- Overcooked exterior: Next time, start at a lower initial temperature (400°F instead of 450°F)
- Undercooked center: Return to oven at 250°F, monitoring temperature every 5 minutes
Remember that oven temperatures can vary significantly. Using an independent oven thermometer ensures accuracy, as many built-in thermostats have considerable variance. The James Beard Foundation recommends calibrating your oven before attempting premium cuts like prime rib.
Serving Suggestions
Prime rib pairs beautifully with classic accompaniments that complement without overwhelming its rich flavor:
- Horseradish cream: The traditional condiment cuts through the richness
- Yorkshire pudding: Perfect for capturing delicious pan juices
- Roasted root vegetables: Carrots, parsnips, and potatoes roasted alongside the meat
- Simple green vegetable: Asparagus or green beans provide freshness
- Full-bodied red wine: Cabernet Sauvignon or Malbec complements the beef perfectly
For the pan juices, simply pour off excess fat, then simmer the remaining juices with a splash of red wine and beef stock to create a rich au jus. Whisk in a small amount of cold butter at the end for added richness and shine.
Why This Method Works
The two-temperature approach combines the best elements of professional cooking techniques. The initial high-heat sear creates the Maillard reaction, developing complex flavors and a beautiful crust. The subsequent lower temperature allows the meat to cook evenly without overcooking the exterior. This method respects the meat's natural structure while maximizing flavor development.
Unlike sous vide or other specialized techniques, this traditional oven method requires no special equipment while delivering exceptional results. The technique has evolved over decades in professional kitchens, refined by chefs who understand that simplicity often yields the best results with premium ingredients.


 浙公网安备
33010002000092号
 浙B2-20120091-4