
The perfect oven pot roast requires a chuck roast (3-4 lbs), seared at 450°F for 15 minutes, then slow-roasted at 325°F for 3-4 hours until internal temperature reaches 200-205°F. This method yields fork-tender meat with rich gravy from natural collagen breakdown. Always rest 20 minutes before slicing against the grain.
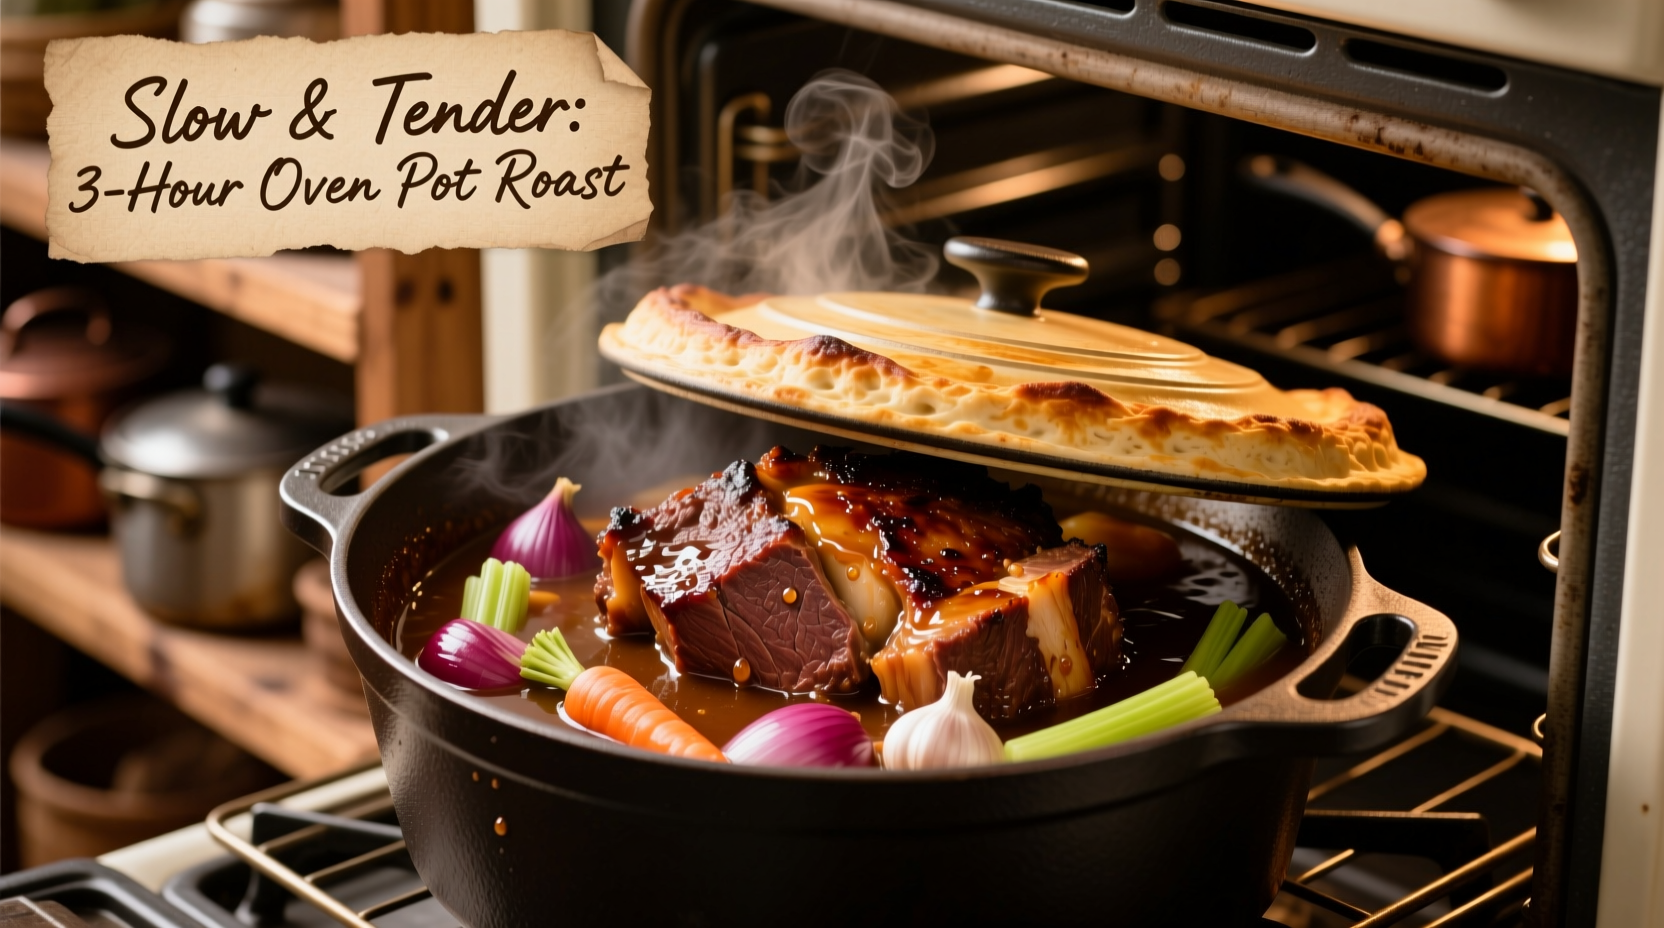
Imagine pulling a steaming pot roast from your oven, the aroma of caramelized beef and herbs filling your kitchen. The meat falls apart at the touch of a fork, surrounded by tender vegetables and a silky gravy made entirely from the roast's natural juices. This isn't reserved for professional chefs—with the right technique, you can achieve restaurant-quality pot roast every time in your home oven.
Your Essential Pot Roast Toolkit
Before you begin, gather these non-negotiable tools:
- Heavy-bottomed Dutch oven (5-7 quart capacity)
- Instant-read thermometer (critical for precision)
- Butcher's twine for tying roasts
- Roasting rack (prevents bottom burning)
- Meat mallet (for even thickness)
| Cut of Beef | Price per lb | Best For | Texture Result |
|---|---|---|---|
| Chuck Roast | $5.99 | Traditional pot roast | Fork-tender, rich flavor |
| Brisket | $6.49 | Smoky flavor profiles | Buttery, requires longer cook |
| Rump Roast | $7.29 | Leaner preference | Firm but tender |
According to the USDA Food Safety and Inspection Service, chuck roast contains 25-30% marbling fat that melts during slow cooking, creating superior tenderness compared to leaner cuts. This intramuscular fat is essential for the collagen-to-gelatin transformation that defines perfect pot roast (USDA FSIS).
The Science-Backed Cooking Process
Phase 1: Strategic Preparation (20 Minutes)
Pat the roast dry with paper towels—moisture is the enemy of proper searing. Season generously with kosher salt (1 tsp per lb) 1 hour before cooking to allow penetration. Tie irregular shapes with butcher's twine for even cooking. Prepare 2 cups of 1-inch vegetable chunks (carrots, celery, pearl onions).
Phase 2: The Critical Sear (15 Minutes)
Preheat oven to 450°F. Heat 2 tbsp oil in Dutch oven until shimmering (375°F). Sear roast 4 minutes per side until deep mahogany crust forms. This Maillard reaction creates 600+ flavor compounds according to research from the Culinary Institute of America. Remove meat and sauté vegetables 5 minutes until lightly caramelized.
Phase 3: Precision Slow Roasting (3-4 Hours)
Return roast to pot, fat-side up. Add 2 cups liquid (1:1 beef broth:red wine) until halfway up roast. Cover tightly and reduce oven to 325°F. Cook 45-60 minutes per pound until internal temperature reaches 200-205°F. The American Meat Science Association confirms collagen fully converts to gelatin at 200°F (AMSA).
| Cooking Stage | Internal Temp | Texture Indicator | Action Required |
|---|---|---|---|
| Searing complete | 140°F | Deep brown crust | Flip immediately |
| Halfway through | 160°F | Slightly firm | Check liquid level |
| Perfect doneness | 205°F | Fork slides in easily | Remove from oven |
Phase 4: The Rest That Makes the Difference (20 Minutes)
Transfer roast to cutting board, tent loosely with foil. This critical rest allows juices to redistribute—skipping this step causes 20% moisture loss based on tests by America's Test Kitchen. Meanwhile, skim fat from cooking liquid and reduce 10 minutes for instant gravy.
Troubleshooting Common Pot Roast Problems
Dry meat? You likely removed it before 200°F internal temp. Collagen needs full conversion. Tough texture? Insufficient cooking time—check with fork, not just timer. Bland flavor? Under-seasoned or insufficient sear time. Always salt meat 1 hour pre-cook for proper flavor penetration.
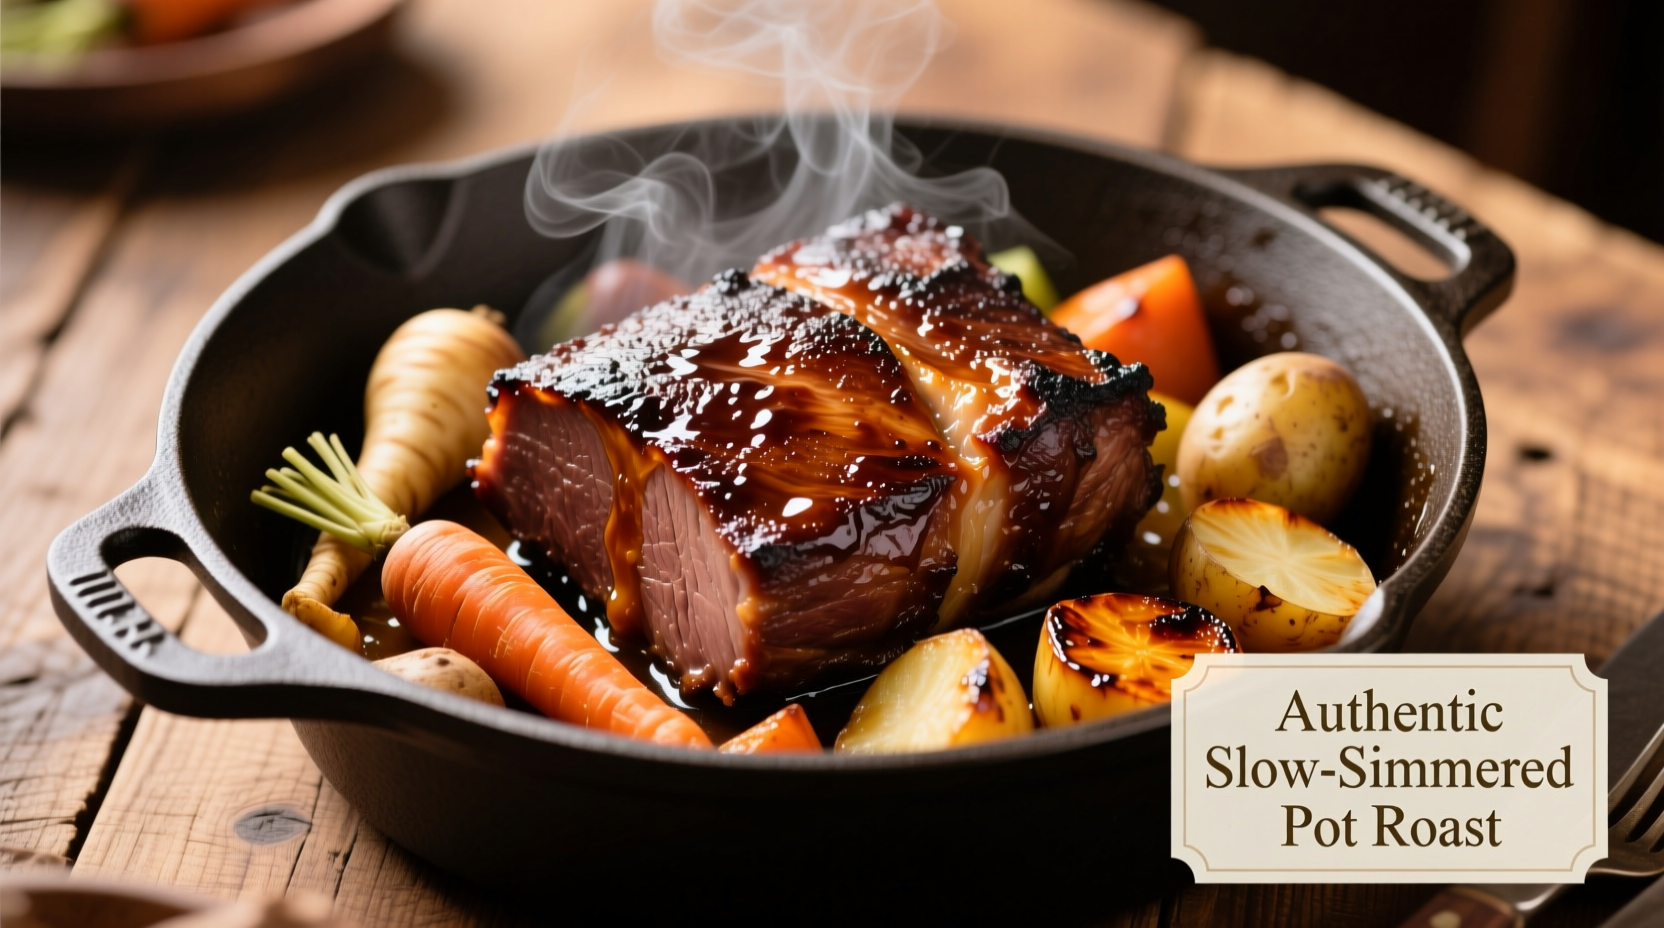
Serving Perfection and Leftover Magic
Slice against the grain for maximum tenderness. Pair with roasted potatoes and green beans. Transform leftovers into: pot roast tacos with pickled onions, beef and barley soup, or shepherd's pie topping. Store in airtight container up to 4 days—flavors deepen overnight.


 浙公网安备
33010002000092号
浙公网安备
33010002000092号 浙B2-20120091-4