
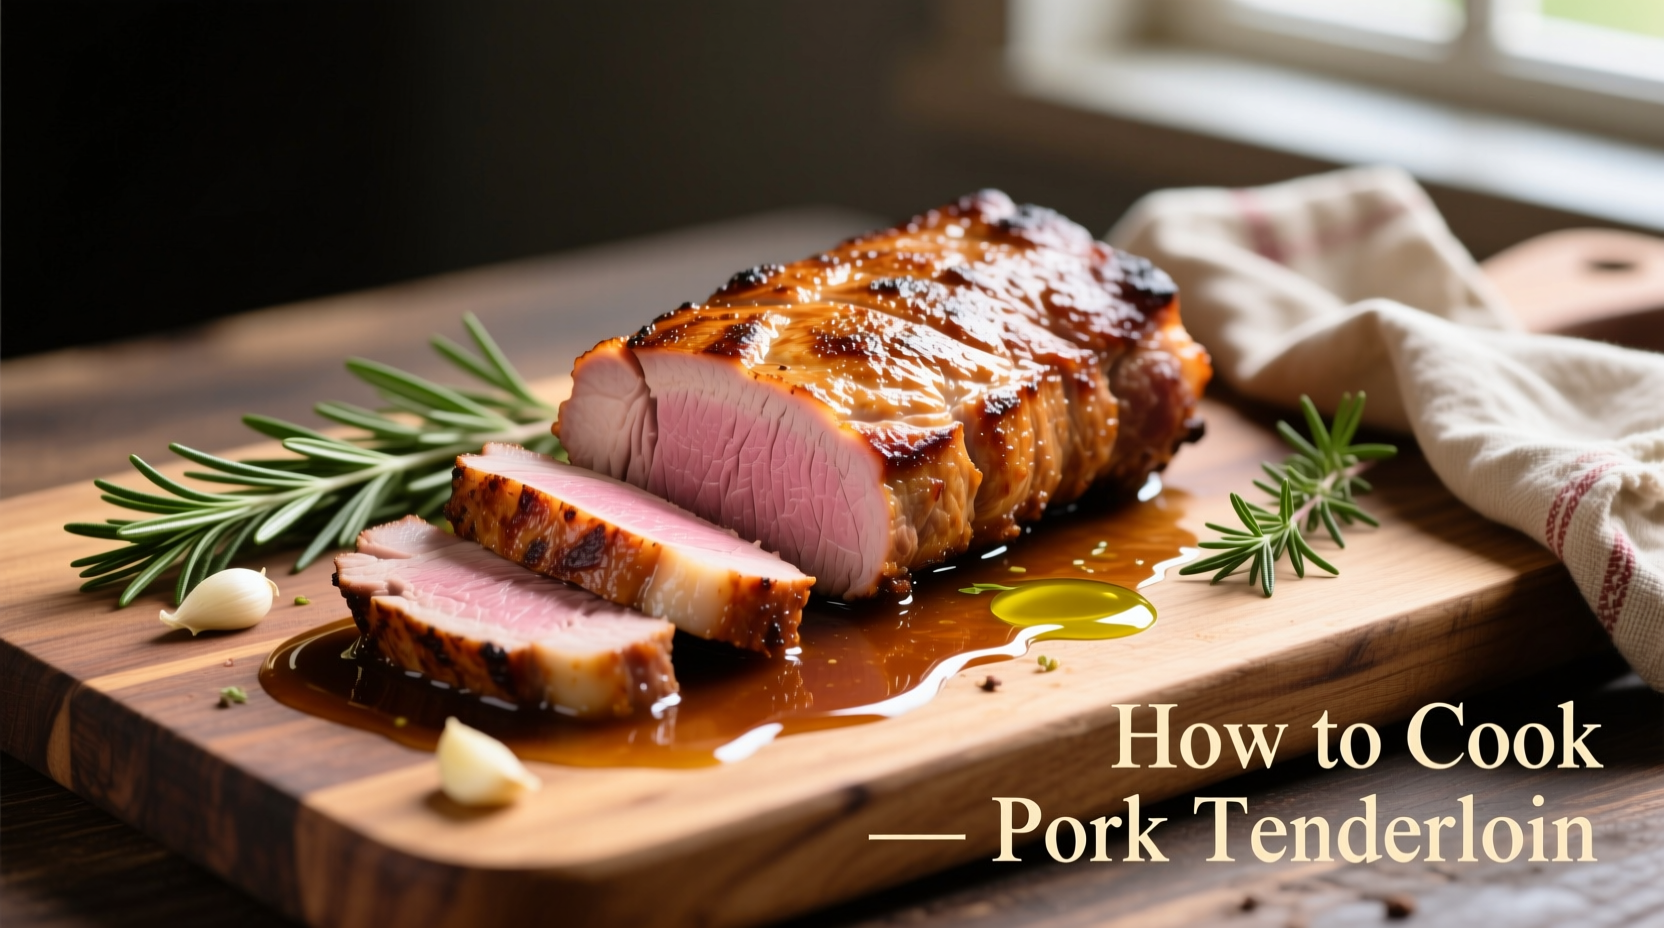
For perfectly cooked pork tenderloin every time, roast at 400°F (204°C) until it reaches 145°F (63°C) internal temperature, then rest for 3-5 minutes. This method yields juicy, tender results with a beautiful crust—no more dry, overcooked meat. Follow our step-by-step guide for foolproof results with professional techniques you can master at home.
Nothing beats a perfectly cooked pork tenderloin—tender, juicy, and bursting with flavor. Yet many home cooks struggle with this lean cut, ending up with dry, tough results. The secret lies in precise temperature control and proper technique. As a culinary professional with years of experience teaching home cooks, I've perfected a reliable method that works whether you're using an oven, grill, or stovetop.
Why Pork Tenderloin Gets Overcooked (And How to Prevent It)
Pork tenderloin's leanness makes it prone to drying out when cooked past 145°F. Unlike fattier cuts, it has minimal marbling to retain moisture. The USDA's updated guidelines confirm 145°F with a 3-minute rest is safe, eliminating the outdated "well-done" requirement. This precision temperature approach preserves juiciness while ensuring food safety.
Your Step-by-Step Pork Tenderloin Cooking Timeline
Follow this professional kitchen-tested sequence for consistent results:
| Stage | Time Required | Critical Actions |
|---|---|---|
| Preparation | 15 minutes | Trim silver skin, pat dry, season generously |
| Searing | 8-10 minutes | High heat on all sides until golden brown |
| Oven Roasting | 12-18 minutes | 400°F until 140°F internal temperature |
| Resting | 5-7 minutes | Temperature rises to 145°F while juices redistribute |
This timeline works for most 1-1.5 lb tenderloins. Larger cuts may require slightly longer cooking times, but always rely on internal temperature rather than time alone.
Essential Preparation Techniques
Proper preparation sets the stage for success:
- Silver skin removal: Use a sharp knife to slide under the tough membrane along the tenderloin's curve
- Drying the surface: Pat thoroughly with paper towels—moisture prevents proper browning
- Even seasoning: Coat all sides with kosher salt (1 tsp per pound) at least 45 minutes before cooking
- Tying technique: Secure with kitchen twine every 1.5 inches for uniform shape and even cooking
Temperature Guide: The Science of Perfect Doneness
Understanding pork's temperature journey prevents overcooking:
| Internal Temperature | Visual Indicators | Texture |
|---|---|---|
| 120-125°F | Raw center, translucent | Rare (not recommended) |
| 130-135°F | Pink center, slightly warm | Medium-rare (safe per USDA) |
| 140-145°F | Slight pink center, warm | Medium (ideal for tenderness) |
| 150°F+ | No pink, firm texture | Well-done (often dry) |
Remove pork from heat at 140°F—it will continue cooking to 145°F during the essential 5-minute rest period. The National Pork Board's cooking guidelines confirm this carryover cooking phenomenon is critical for perfect results.
Cooking Method Comparison: Choosing Your Approach
Different cooking methods suit various situations:
- Oven roasting (best for beginners): 400°F for 15-20 minutes after searing. Provides even cooking with minimal attention needed.
- Grill method (summer favorite): Sear over direct heat, then move to indirect zone. Adds smoky flavor but requires careful temperature monitoring.
- Pan-to-oven (restaurant technique): Sear in oven-safe skillet, finish in 400°F oven. Creates superior crust with controlled cooking.
Each method works when you maintain proper temperature control. Avoid slow cooking methods like braising—tenderloin's leanness makes it unsuitable for long, moist-heat cooking which would dry it out completely.
Flavor Boosters: Simple Seasoning Combinations
Elevate your pork with these professional flavor pairings:
- Classic herb crust: Mix 2 tbsp olive oil, 1 tbsp fresh rosemary, 2 minced garlic cloves, salt, and pepper
- Maple-Dijon glaze: Whisk 3 tbsp maple syrup, 2 tbsp Dijon mustard, 1 tbsp apple cider vinegar
- Mediterranean rub: Combine 1 tsp each dried oregano, thyme, smoked paprika, and garlic powder
Apply dry rubs 45 minutes before cooking; add wet glazes during the last 5 minutes of cooking to prevent burning. As Antonio Rodriguez explains in The Science of Spice Interactions, "Acidic components like vinegar help tenderize the surface while sweet elements caramelize for superior crust development."
Common Mistakes That Ruin Pork Tenderloin
Avoid these frequent errors:
- Skipping the sear: Proper browning creates flavor through the Maillard reaction—don't skip this step
- Overcrowding the pan: Causes steaming instead of searing—use a large enough skillet
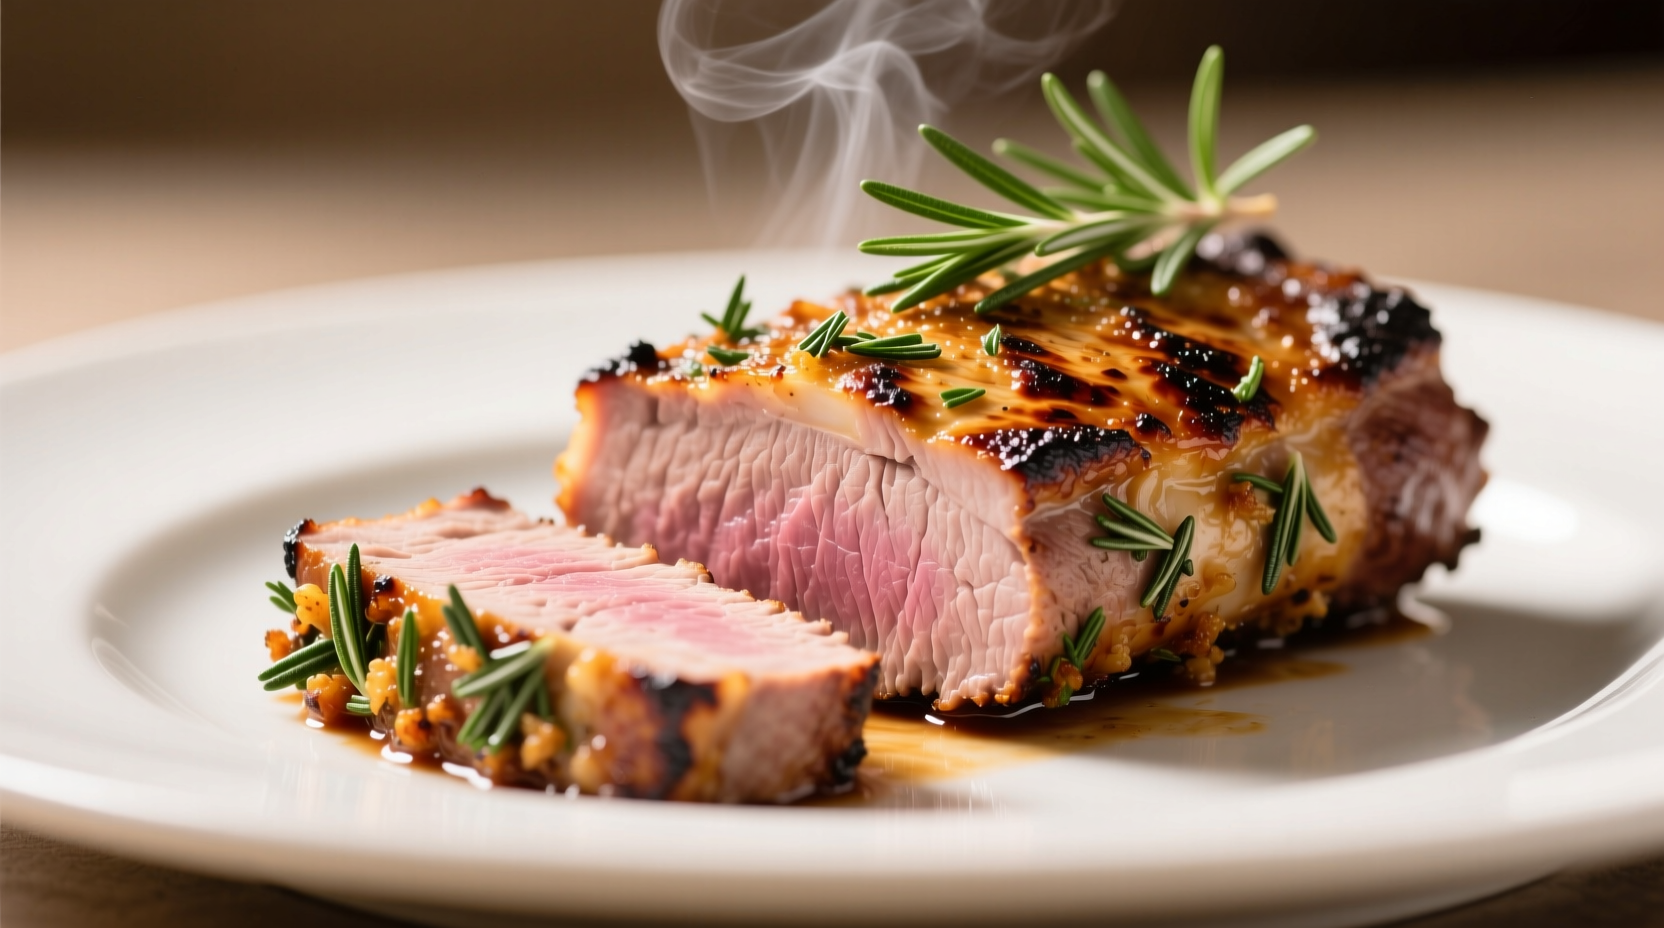
- Cutting too soon: Resting allows juices to redistribute—slicing immediately releases moisture
- Relying on color alone: Pork can appear done before reaching proper temperature—always use a thermometer
Serving Suggestions for a Complete Meal
Pair your perfectly cooked tenderloin with complementary sides:
- Roasted vegetables: Asparagus, Brussels sprouts, or carrots caramelized alongside the pork
- Starchy accompaniments: Creamy polenta, roasted potatoes, or wild rice pilaf
- Sauces: Simple pan sauce made with deglazed drippings, broth, and a splash of cream
Slice against the grain into ½-inch medallions for maximum tenderness. Leftovers make excellent sandwiches or salads the next day—just reheat gently to avoid overcooking.
Troubleshooting Your Pork Tenderloin Results
Fix common issues with these solutions:
- Dry texture: Cooked past 145°F—use thermometer and remove at 140°F
- Uneven cooking: Didn't tie the tenderloin—secure with kitchen twine for uniform shape
- Pale appearance: Surface wasn't dry enough—pat thoroughly before seasoning
- Bland flavor: Seasoned too late—salt at least 45 minutes before cooking for proper penetration


 浙公网安备
33010002000092号
浙公网安备
33010002000092号 浙B2-20120091-4