
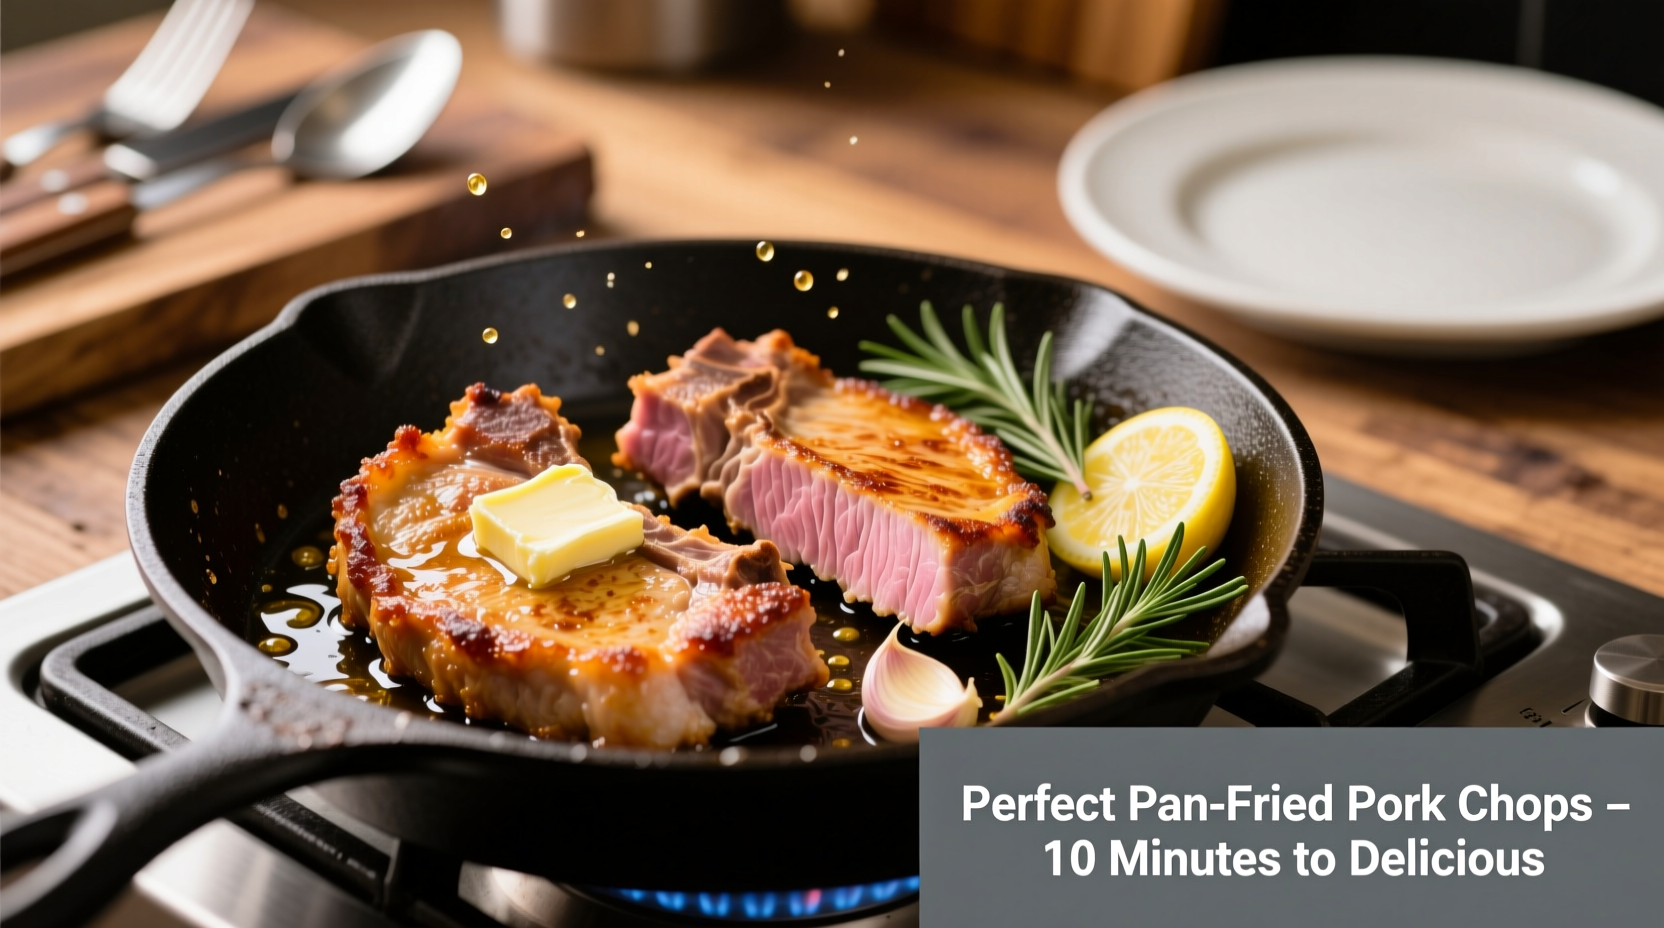
Perfectly cooked pork chops in a frying pan require just 4 key steps: selecting the right cut (1-1.5 inches thick), bringing meat to room temperature, searing at 375°F for 3-4 minutes per side, and resting for 5 minutes. Follow our chef-tested method for juicy, flavorful results every time.
Nothing beats the sizzle of pork chops hitting a hot skillet—the aroma fills your kitchen, promising a restaurant-quality meal in under 30 minutes. Yet many home cooks struggle with dry, tough results or sticking to the pan. As a chef with decades of experience teaching home cooks professional techniques, I'll show you how to master this classic dish using just a frying pan, simple ingredients, and precise timing.
Why This Method Works Every Time
The secret to perfect pan-seared pork chops lies in temperature control and proper resting. Unlike grilling, frying allows precise heat management—critical for thick-cut chops. Our method solves the #1 problem home cooks face: uneven cooking that leaves either raw centers or dry exteriors.
| Pork Chop Thickness | Stovetop Time | Resting Time | Final Internal Temp |
|---|---|---|---|
| ¾ inch | 2-3 minutes/side | 3 minutes | 140°F → 145°F |
| 1 inch | 3-4 minutes/side | 5 minutes | 140°F → 145°F |
| 1½ inches | 4-5 minutes/side | 7 minutes | 140°F → 145°F |
Source: USDA Food Safety and Inspection Service guidelines confirm 145°F with 3-minute rest is safe for pork (fsis.usda.gov)
Essential Tools and Ingredients
You'll need:
- 1.5-inch thick bone-in pork chops (rib or loin)
- Cast iron or heavy-bottomed stainless steel skillet
- Avocado oil or clarified butter (smoke point > 400°F)
- Digital instant-read thermometer
- Kosher salt and freshly ground black pepper
Why bone-in matters: The bone conducts heat evenly and protects the meat from overcooking. Boneless chops cook faster but dry out more easily—stick with 1-inch minimum thickness if using boneless.
Step-by-Step Cooking Process
Prep Work (15 Minutes Before Cooking)
- Pat chops completely dry with paper towels—moisture prevents browning
- Salt generously (1 tsp per pound) at least 40 minutes before cooking
- Bring to room temperature by resting uncovered on counter
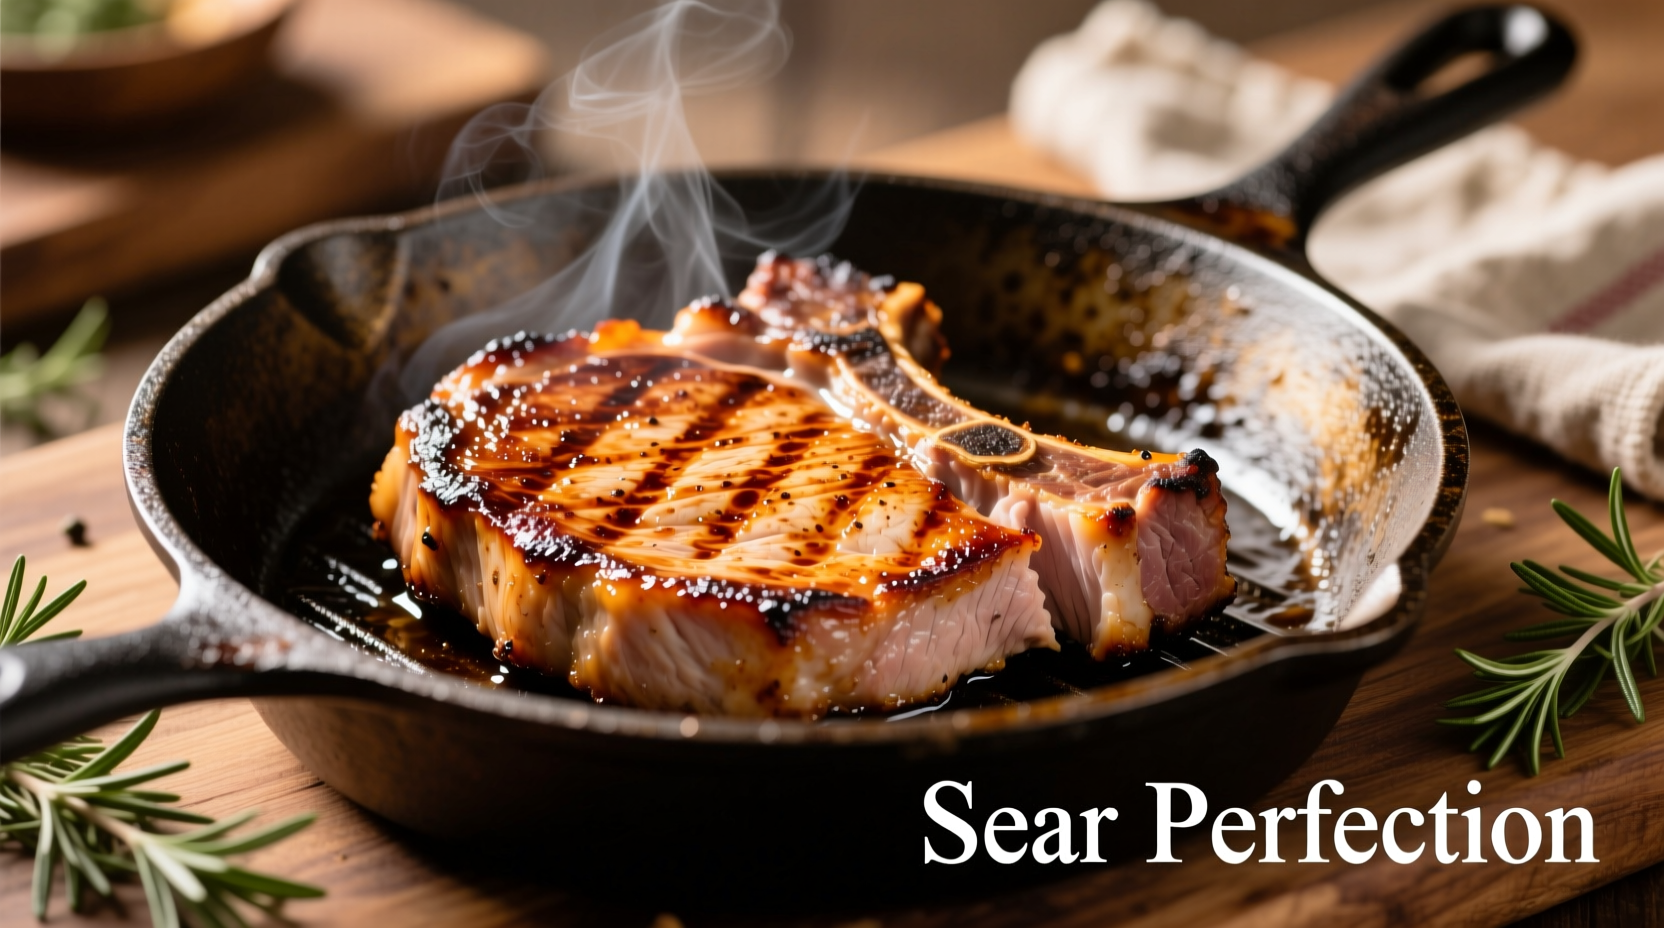
Searing Perfection (The Critical Phase)
- Heat skillet over medium-high for 3 minutes until drop of water sizzles
- Add 1 tbsp oil—it should shimmer but not smoke
- Place chops in skillet away from you to prevent oil splatter
- Sear undisturbed for full 3-4 minutes until golden crust forms
- Flip once using tongs—never pierce with fork
- Add butter and aromatics (2 tbsp butter, 2 garlic cloves, rosemary sprig)
- Tilt pan and spoon hot fat over chops for final 2 minutes
Resting and Serving
Transfer chops to wire rack (not plate) and rest 5-7 minutes. This allows juices to redistribute—cutting too soon loses up to 20% moisture. Internal temperature will rise 5°F during rest, reaching the USDA-recommended 145°F.
Troubleshooting Common Problems
"My pork chops stick to the pan!"
Solution: Ensure proper preheating and dry surface. Chops release naturally when sear forms (about 3 minutes). Forcing early causes tearing.
"They're burnt outside but raw inside!"
Solution: Lower heat immediately after searing first side. For thick chops, finish in 350°F oven for 5-8 minutes if needed.
"How do I know when they're done?"
Solution: Use a thermometer—140°F in thickest part means they'll reach 145°F after resting. Visual cues: firm but yielding to touch, clear juices when pierced.
Pro Chef Techniques for Better Flavor
- Dry brine overnight: Salt chops 24 hours before cooking for deeper seasoning
- Reverse sear method: For 2-inch thick chops, bake at 275°F until 120°F internal, then sear
- Acid finish: Deglaze pan with ¼ cup apple cider vinegar after removing chops
Professional kitchens use these methods to guarantee perfect results. The reverse sear technique, once exclusive to steakhouses, works wonders for thick-cut pork chops by eliminating gray bands of overcooked meat.
Serving Suggestions That Elevate the Dish
Pair with:
- Creamy mashed potatoes and roasted garlic
- Apple-cranberry compote (simmer 1 cup apples, ½ cup cranberries, 2 tbsp honey)
- Sautéed kale with lemon zest
Avoid drowning the chops in sauce—let the natural flavor shine. A simple pan sauce made from the fond (browned bits) creates restaurant-quality presentation.
Frequently Asked Questions
Can I cook frozen pork chops in a frying pan?
No—cooking frozen pork chops leads to uneven results. Thaw completely in refrigerator for 24 hours. If rushed, submerge sealed chops in cold water for 1-2 hours. Never cook from frozen in a pan as exterior burns before interior cooks.
Why does my oil smoke when cooking pork chops?
Smoke indicates exceeding oil's smoke point. Use avocado oil (smoke point 520°F) or clarified butter (450°F) instead of olive oil (375°F). Reduce heat slightly if smoking occurs—ideal searing temperature is 375°F.
How do I prevent pork chops from curling?
Score the fat cap every inch at 45-degree angles before cooking. This prevents shrinkage and curling. Place a heavy skillet on top during first minute of cooking if severe curling occurs.
Can I use a non-stick pan for pork chops?
Not recommended. Non-stick pans can't achieve the high heat needed for proper searing (400°F+). Cast iron or stainless steel creates the Maillard reaction essential for flavor development. Non-stick coatings degrade at high temperatures used for searing.
What's the best thickness for pan-fried pork chops?
1-1.5 inches is ideal. Thinner chops (under ¾ inch) overcook before browning. Chops thicker than 1.5 inches require oven finishing. Bone-in 1-inch chops work well for beginners—bone protects against overcooking.


 浙公网安备
33010002000092号
浙公网安备
33010002000092号 浙B2-20120091-4