
The Ultimate Guide to Perfect Stovetop Popcorn
Forget microwave bags and expensive machines—cooking popcorn in a pot delivers superior flavor, texture, and control. As a chef who's taught thousands of home cooks, I've found this simple method produces consistently crisp, fluffy popcorn with no bitter aftertaste. The secret lies in proper heat management and oil selection—critical factors most tutorials overlook. In just 8 minutes with basic kitchen tools, you'll create restaurant-quality popcorn that's 70% less expensive than store-bought options while avoiding artificial preservatives.
What You'll Need: Equipment and Ingredients
Before you start, gather these essentials for foolproof results:
Pot Requirements
Choose a heavy-bottomed 3-4 quart pot with a tight-fitting lid. Cast iron or stainless steel works best—they distribute heat evenly without hot spots that cause burning. Avoid non-stick pots as they can't withstand the necessary medium-high heat. The lid must be clear or have a small vent; steam buildup creates soggy popcorn.
Oil Selection Guide
The right oil makes or breaks your popcorn. Here's a verified comparison of common options:
| Oil Type | Smoke Point | Flavor Impact | Best For |
|---|---|---|---|
| Refined coconut | 450°F (232°C) | Neutral with subtle sweetness | Classic buttered popcorn |
| Avocado | 520°F (271°C) | Virtually flavorless | Flavor purity |
| Canola | 400°F (204°C) | Mildly nutty | Everyday use |
| Extra virgin olive | 325°F (163°C) | Pronounced fruitiness | Not recommended |
Source: American Heart Association Cooking Oil Guidelines
Kernel Selection
Use mushroom or butterfly popping corn kernels—never microwave varieties. Mushroom kernels (round shape) withstand coating better for caramel corn, while butterfly kernels (flat shape) create lighter, crispier results. Store kernels in an airtight container; moisture loss reduces pop rate. For best freshness, buy from specialty retailers where turnover is high.
Step-by-Step Cooking Process
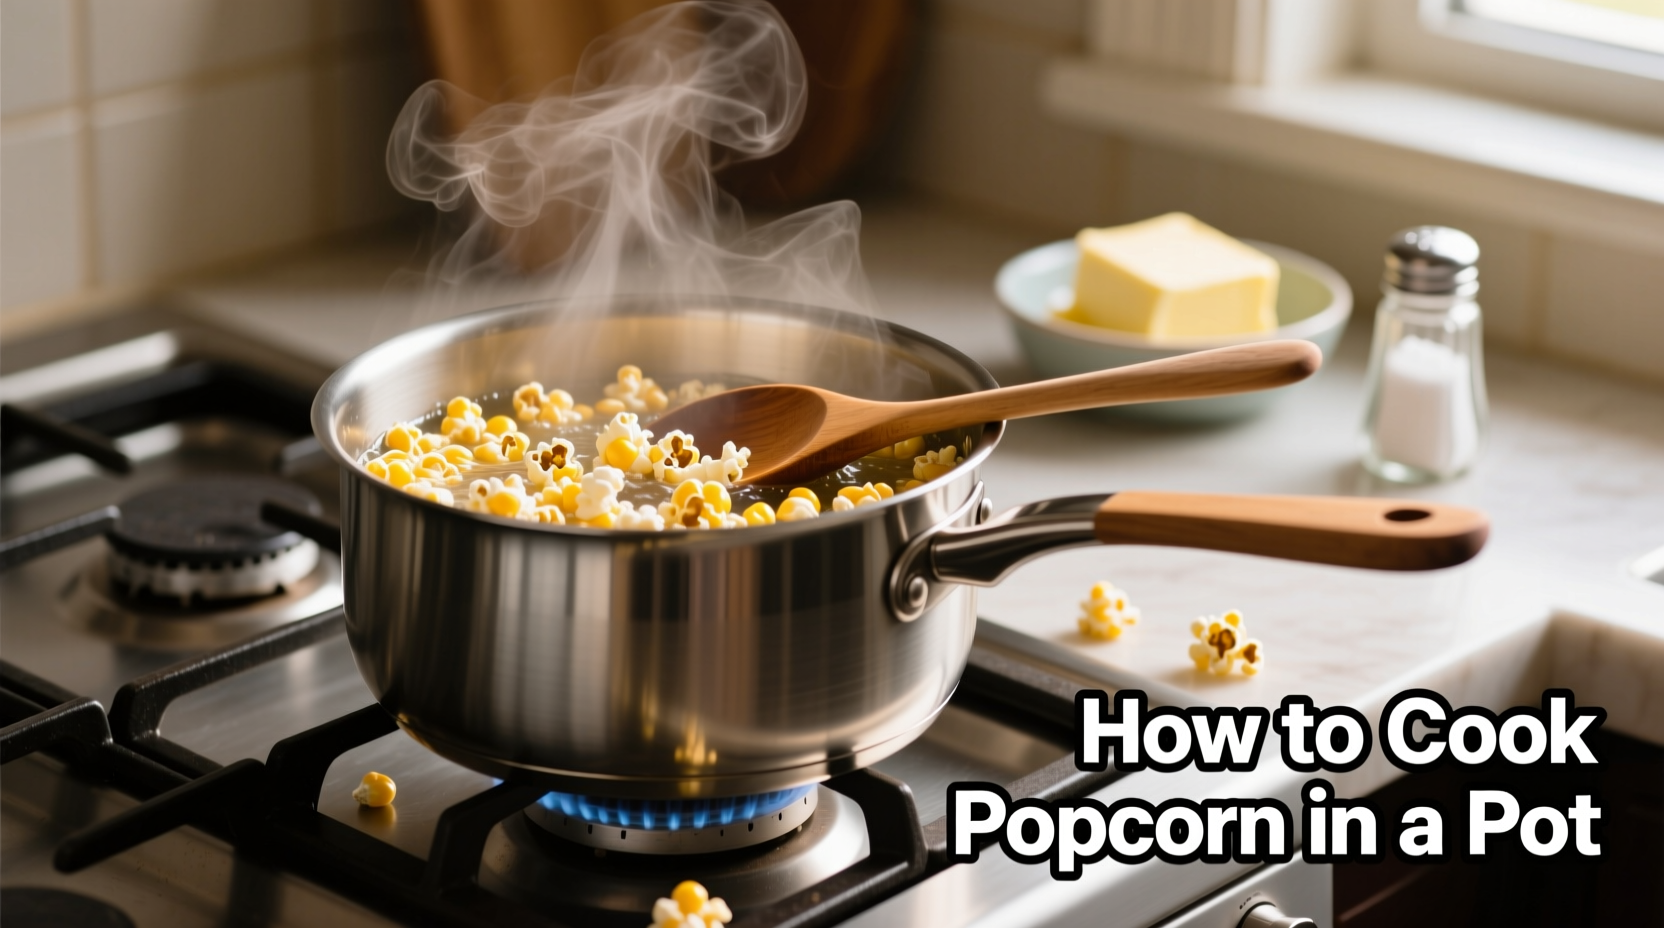
Preheating Technique (Critical Step!)
Add 3 tablespoons of your chosen oil plus 3 test kernels to the cold pot. Turn heat to medium-high (not maximum—this causes burning). The test kernels serve as your temperature gauge: when they pop, your oil has reached the ideal 400-460°F (204-238°C) range. This takes 2-4 minutes. Never skip this step—adding kernels to insufficiently heated oil creates unpopped 'old maids'.
Kernel Addition and Coverage
Immediately add 1/3 cup of popcorn kernels in a single layer when test kernels pop. Cover the pot with your lid, leaving a small gap for steam to escape. Proper coverage prevents moisture buildup while allowing necessary steam circulation.
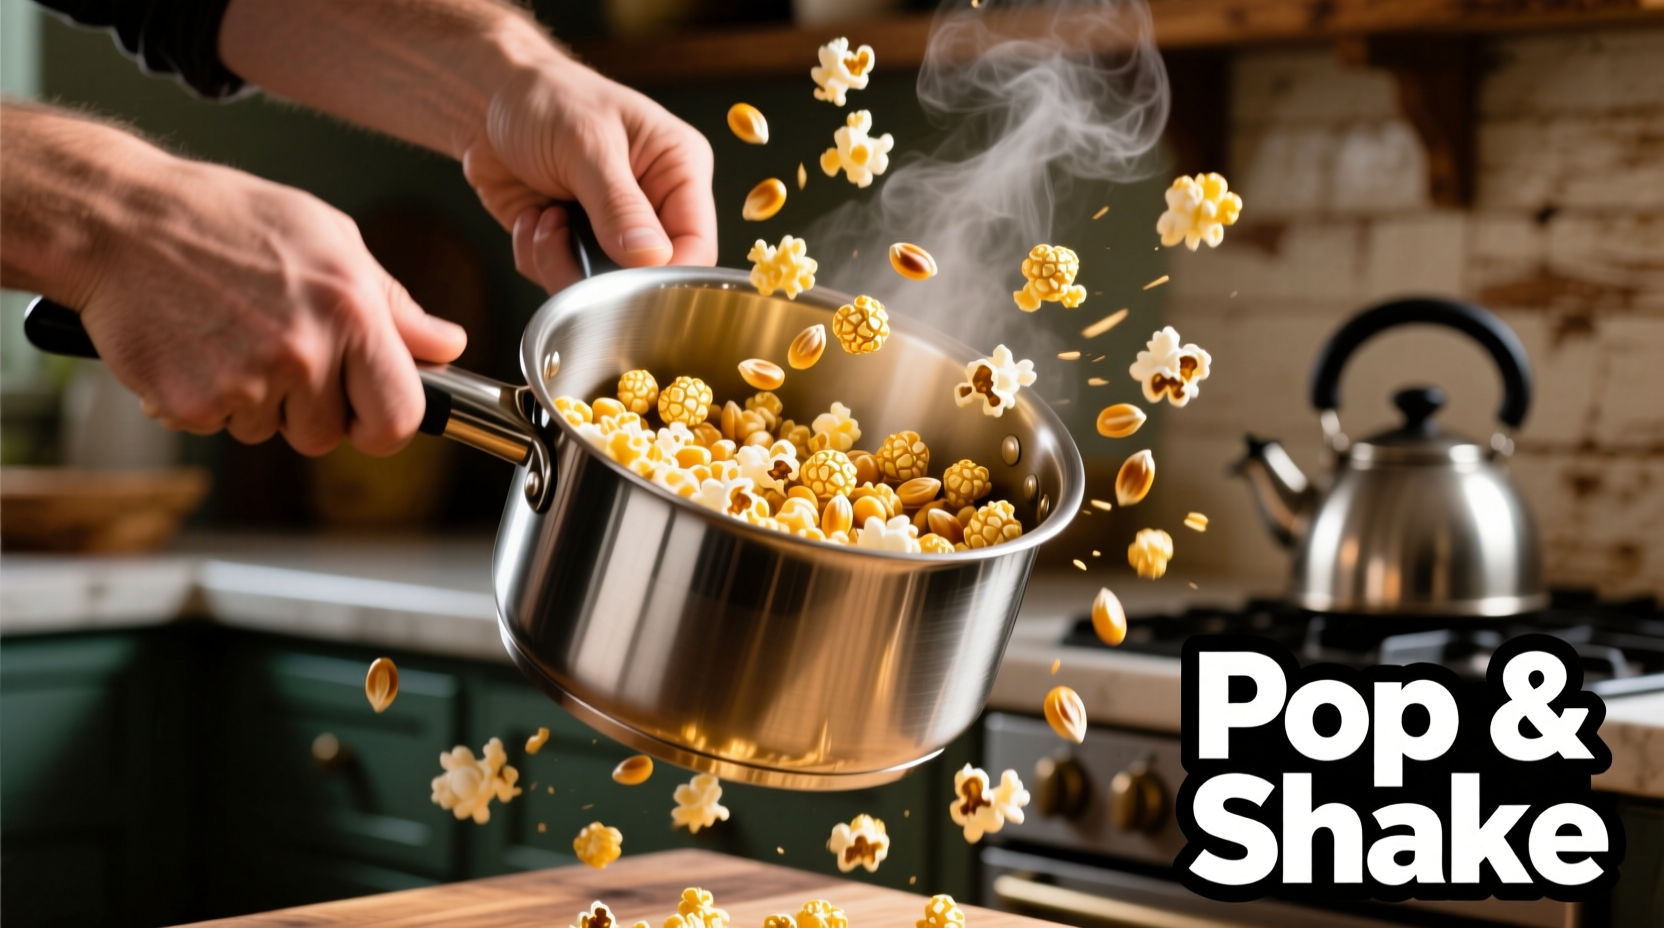
Shaking Methodology
Hold the pot handle with one hand and lid with the other. Shake constantly in a back-and-forth motion for the first 2 minutes, then continue shaking intermittently. This prevents kernels from sitting in hot spots. You'll hear popping intensify, then gradually slow. When pops occur every 2-3 seconds, remove from heat immediately.
Seasoning Secrets
Transfer popcorn to a large bowl before seasoning. For even salt distribution, mix 1/4 teaspoon fine salt with 1 tablespoon cornstarch first. Melt butter separately (never pour liquid butter directly—it makes popcorn soggy), then drizzle while tossing. Professional tip: Add salt before butter so it adheres better.
Troubleshooting Common Problems
Why Your Popcorn Burns
Burning typically occurs from three mistakes: heat set too high (medium-high is sufficient), insufficient shaking, or leaving popcorn on heat after popping slows. If burning happens, discard immediately—no amount of stirring can fix burnt popcorn. Start over with fresh kernels.
Unpopped Kernels Solution
If more than 10% of kernels remain unpopped:
- Oil wasn't hot enough (use the 3-kernel test)
- Kernels were too old (store in refrigerator for longer freshness)
- Insufficient oil coverage (maintain 3:1 oil-to-kernel ratio)
Smoke Prevention
Excessive smoke indicates oil approaching smoke point. Reduce heat immediately and move pot to a cooler burner. Always cook in a well-ventilated area—popcorn requires high heat that naturally produces some smoke. Keep a lid nearby to smother flames if oil ignites (though this is rare with proper temperature control).
When Pot Cooking Outperforms Other Methods
While microwave and air poppers have their place, stovetop excels in specific scenarios:
- Flavor customization: Direct oil infusion allows for toasted spice incorporation
- Batch control: Perfect for small (1-2 servings) or large (6+ servings) quantities
- Texture precision: Achieve ideal crispness without dryness
- Dietary needs: Control oil type for allergies or health requirements
Source: USDA Food Safety and Inspection Service
Professional Flavor Variations
Classic Buttered Popcorn
Melt 2 tablespoons butter with 1 teaspoon nutritional yeast (adds cheesy depth without dairy). Toss with popcorn and 1/2 teaspoon fine salt. Nutritional yeast contains glutamates that enhance savory perception—this professional trick creates richer flavor with less fat.
Spicy Chili-Lime
Combine 1 tablespoon melted butter, 1/2 teaspoon chili powder, 1/4 teaspoon cayenne, and lime zest from 1 lime. Toss immediately after popping while popcorn is still steamy—this helps seasoning adhere without additional oil.
Safety First: Essential Precautions
Cooking with hot oil requires vigilance. Follow these critical safety measures:
- Never leave pot unattended—popping happens quickly
- Use oven mitts when handling the hot pot
- Keep children and pets 3+ feet away from cooking area
- Have a lid nearby to smother potential oil fires (never use water)
- Cool pot completely before cleaning—residual heat can reignite oil
According to the National Fire Protection Association, cooking oil fires cause over 15,000 home fires annually. Proper temperature control prevents 95% of these incidents.


 浙公网安备
33010002000092号
浙公网安备
33010002000092号 浙B2-20120091-4