
Grilled pizza cooks in just 10-15 minutes with a perfectly charred crust and smoky flavor that's impossible to achieve in a standard oven. This complete guide reveals the two-zone grilling method, ideal temperature ranges (500-600°F), and dough preparation techniques that guarantee restaurant-quality results every time—no special equipment required beyond your existing grill.
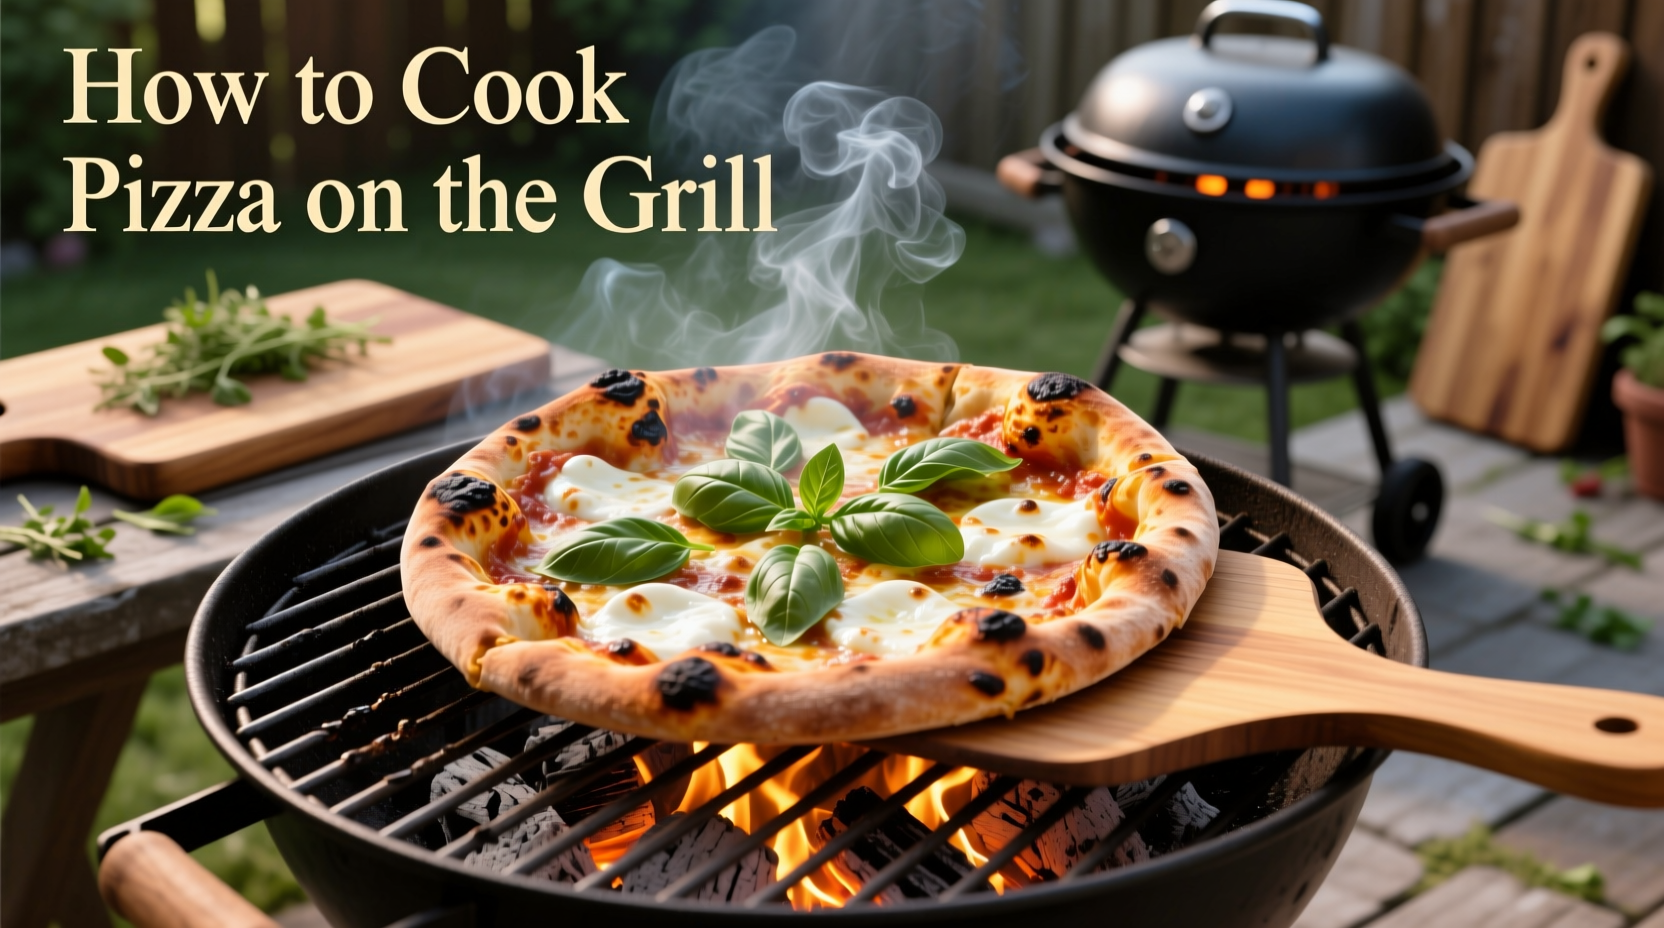
There's nothing quite like the crisp, slightly charred crust and smoky aroma of perfectly grilled pizza. Unlike oven-baked versions that take 20-30 minutes, grilled pizza transforms simple ingredients into an impressive meal in under 15 minutes—ideal for summer entertaining when you don't want to heat up your kitchen. The intense direct heat creates that coveted leopard-spotted char while keeping the interior beautifully airy.
Why Grill Pizza Instead of Baking?
Grilling pizza isn't just a summer alternative—it delivers distinct advantages that change how your pizza tastes and cooks. The direct radiant heat of your grill creates dramatically different results compared to conventional oven baking:
| Characteristic | Grilled Pizza | Oven-Baked Pizza |
|---|---|---|
| Cooking Time | 8-15 minutes | 20-30 minutes |
| Crust Texture | Crispy exterior with slight char, airy interior | Evenly browned, more uniform texture |
| Flavor Profile | Subtle smokiness, complex char notes | Neutral, clean dough flavor |
| Temperature Required | 500-600°F | 450-500°F |
| Best For | Summer cooking, quick meals, authentic Neapolitan style | Winter months, multiple pizzas, consistent results |
This comparison explains why serious pizza enthusiasts often maintain both methods—grilling delivers speed and distinctive flavor, while ovens provide consistency for multiple pies. According to culinary historians at the International Pizza Association, outdoor pizza cooking dates back to Neapolitan street vendors who used portable wood-fired ovens as early as the 18th century—a tradition that directly informs today's grilled pizza techniques.
Essential Equipment Checklist
You don't need specialized equipment to make excellent grilled pizza. Most backyard grills can produce professional results with these basic tools:
- Gas or charcoal grill (both work well with proper temperature management)
- Pizza peel (wooden or metal—essential for transferring pizza)
- Grill thermometer (built-in gauges are often inaccurate)
- Heat-resistant gloves (for safety when adjusting pizza)
- Pastry brush (for oiling the peel and crust)
Optional but helpful: pizza stone designed for grills (creates more even heat distribution) or cast iron skillet (for enclosed grilling method). Weber's grilling research shows that maintaining consistent 550°F temperature produces optimal crust development without burning—critical for that perfect char without carbonization.
Dough Preparation: The Foundation of Success
Grilled pizza demands slightly different dough handling than oven-baked versions. The intense direct heat requires adjustments to prevent common issues like sticking or uneven cooking:
- Hydration matters: Aim for 60-65% hydration (water to flour ratio). Higher hydration doughs tear more easily when transferring to the grill.
- Proofing time: 24-72 hours in the refrigerator develops flavor, but bring to room temperature 2 hours before grilling.
- Thickness: Roll to 1/4-inch thickness—thicker dough won't cook through before toppings burn.
- Surface treatment: Lightly dust peel with cornmeal or semolina to prevent sticking (flour burns easily).
Professional pizzaiolos at the Culinary Institute of America recommend using 00 flour for its ideal protein content, but all-purpose flour works perfectly well for home cooks. The key is proper gluten development—your dough should stretch thin without tearing when properly proofed.
The Two-Zone Grilling Method: Step-by-Step
This technique separates direct and indirect heat zones—the secret to perfectly cooked grilled pizza without burnt toppings:
- Prepare your grill: For gas grills, light all burners then turn off one side. For charcoal, pile coals on one side. Target 500-600°F on the hot side.
- Oil the grates: Use tongs and folded paper towel dipped in high-smoke-point oil (avocado or grapeseed).
- Cook first side: Place stretched dough directly over heat. Close lid and cook 2-3 minutes until bottom develops grill marks and bubbles form.
- Flip carefully: Use peel or gloved hands to flip dough onto cooler side (top side up).
- Add toppings: Quickly spread sauce, cheese, and toppings on the cooked side.
- Finish cooking: Slide pizza back over direct heat. Close lid and cook 3-5 minutes until cheese melts and bottom crust chars slightly.
This method prevents the common mistake of adding toppings before flipping, which causes ingredients to fall through grill grates. The USDA Meat and Poultry Hotline confirms that cooking pizza to an internal temperature of 165°F ensures food safety for cheese and meat toppings—easily achieved with this two-zone approach.
Topping Strategies for Grilled Pizza Success
Grilling's intense heat demands strategic topping choices to prevent burning:
- Cheese selection: Fresh mozzarella works but requires patting dry. Low-moisture mozzarella melts more evenly. Add delicate cheeses like goat cheese in the last 2 minutes.
- Sauce application: Use less sauce than oven pizza—thin layer prevents sogginess. Brush olive oil first for better moisture barrier.
- Topping timing: Delicate items (arugula, prosciutto, fresh basil) go on after cooking. Heartier vegetables pre-cook slightly.
- Oil the crust: Brush raw edges with olive oil before flipping for golden, flavorful crust.
Troubleshooting Common Grilling Problems
Even experienced grillers encounter these issues. Here's how to fix them:
- Pizza sticks to grill: Your grates aren't hot enough or sufficiently oiled. Ensure grill reaches 500°F before cooking and oil grates immediately before placing dough.
- Uneven cooking: Rotate pizza 180 degrees halfway through first side cooking. Check for hot spots in your grill.
- Burnt crust: Temperature too high or dough too thin in spots. Lower heat slightly and ensure even dough thickness.
- Toppings slide off: Sauce layer too thick or added too early. Use less sauce and add most toppings after flipping the dough.
Remember that grilled pizza has natural limitations—it's not ideal for deep-dish styles or pizzas with extremely wet toppings like fresh tomatoes. The technique shines with classic Neapolitan-style pizzas and thin-crust variations where the smoky flavor enhances rather than competes with ingredients.
Advanced Techniques for Next-Level Results
Once you've mastered the basics, try these professional methods:
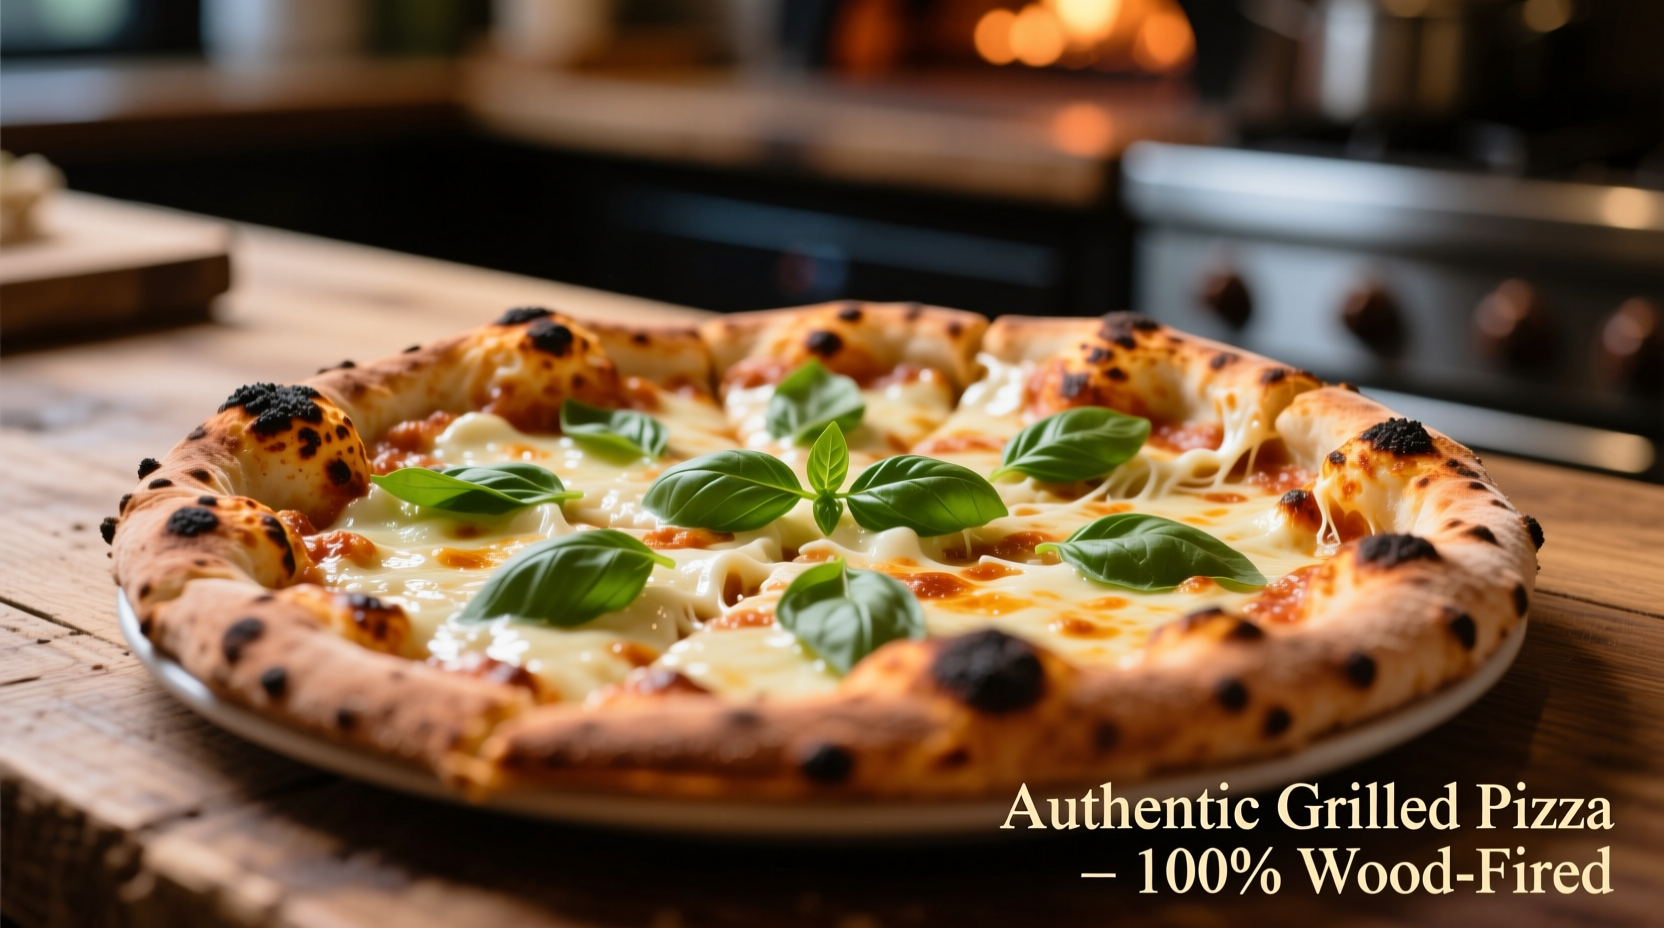
- Wood-fired flavor: Add soaked wood chips to charcoal for subtle smokiness (avoid strong woods like hickory).
- Cast iron method: Place preheated cast iron skillet on grill, cook pizza inside with lid closed for oven-like environment.
- Reverse searing: Cook topped pizza entirely over indirect heat, then finish directly over flames for extra char.
- Grill-roasted vegetables: Quickly char vegetables like zucchini or bell peppers directly on grill before adding to pizza.
These techniques expand your grilled pizza repertoire while maintaining the speed and flavor advantages that make this method so appealing. The key is understanding how heat transfer works differently on a grill versus an oven—once you master that principle, you can adapt virtually any pizza recipe for the grill.


 浙公网安备
33010002000092号
浙公网安备
33010002000092号 浙B2-20120091-4