
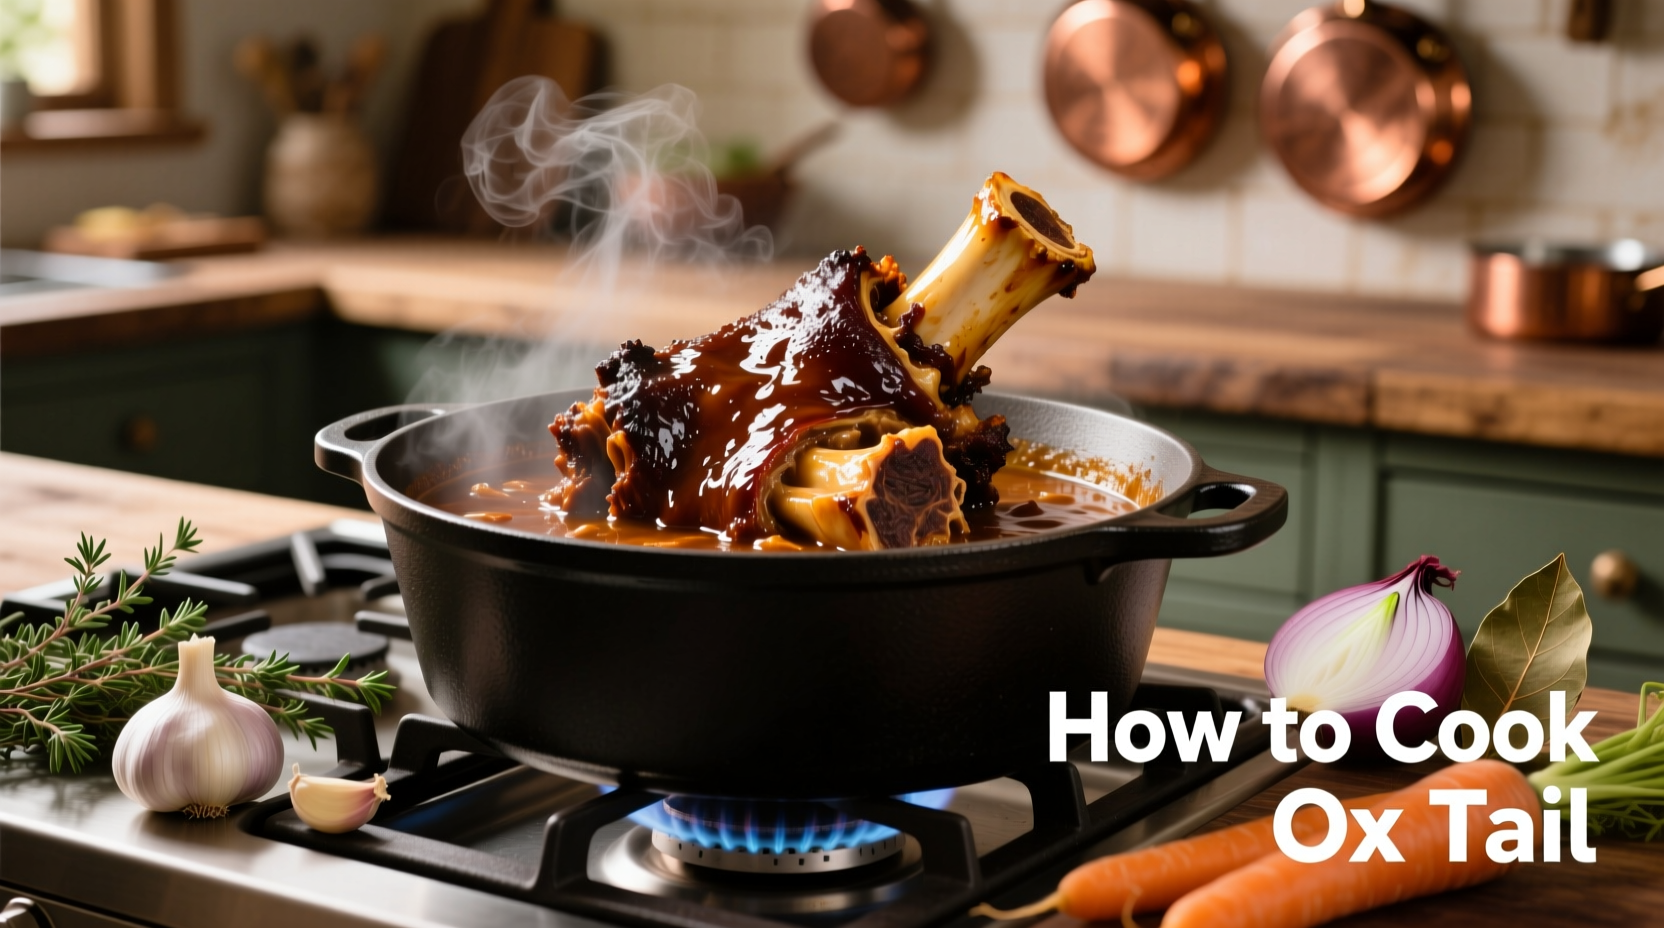
Perfectly cooked ox tail requires slow braising for 3-4 hours at 325°F (163°C) until fork-tender, with proper trimming, searing, and rich liquid coverage. This guide delivers professional techniques for fall-off-the-bone results every time.
Discover how to transform this humble cut into a luxurious dish that impresses even seasoned foodies. Whether you're cooking for a special occasion or craving comfort food, mastering ox tail unlocks deep, complex flavors that elevate your culinary repertoire. Our step-by-step approach eliminates guesswork so you achieve restaurant-quality results at home.
Why Ox Tail Deserves Your Attention
Ox tail's rich collagen content transforms into gelatin during slow cooking, creating an unctuous texture impossible with other cuts. According to USDA food safety guidelines, cooking beef to 145°F (63°C) with a 3-minute rest ensures safety while preserving moisture. The Food Safety and Inspection Service confirms slow-cooked tougher cuts like ox tail reach safe temperatures through extended cooking times.
Preparation: Setting Up for Success
Start with proper trimming—remove excess fat caps but retain intramuscular fat for flavor. Professional chefs recommend cutting segments into 2-3 inch portions for even cooking. Pat dry thoroughly with paper towels; moisture prevention ensures proper searing. Season generously with coarse salt 30 minutes before cooking to enhance flavor penetration.
| Cooking Method | Time Required | Texture Result | Best For |
|---|---|---|---|
| Slow Braise (Oven) | 3-4 hours | Fall-off-the-bone tender | Classic stews, formal dinners |
| Pressure Cooker | 60-75 minutes | Firm but tender | Weeknight meals |
| Smoking | 5-6 hours | Chewy exterior, tender interior | BBQ events |
The Searing Secret Most Home Cooks Miss
Heat your Dutch oven until water droplets dance on contact. Sear portions in batches without crowding—this caramelization creates the flavor foundation. As Antonio Rodriguez explains, "The Maillard reaction at 300°F+ develops over 100 flavor compounds that boiling alone can't replicate." Reserve rendered fat for sautéing aromatics later.
Building Flavor Layers Like a Pro
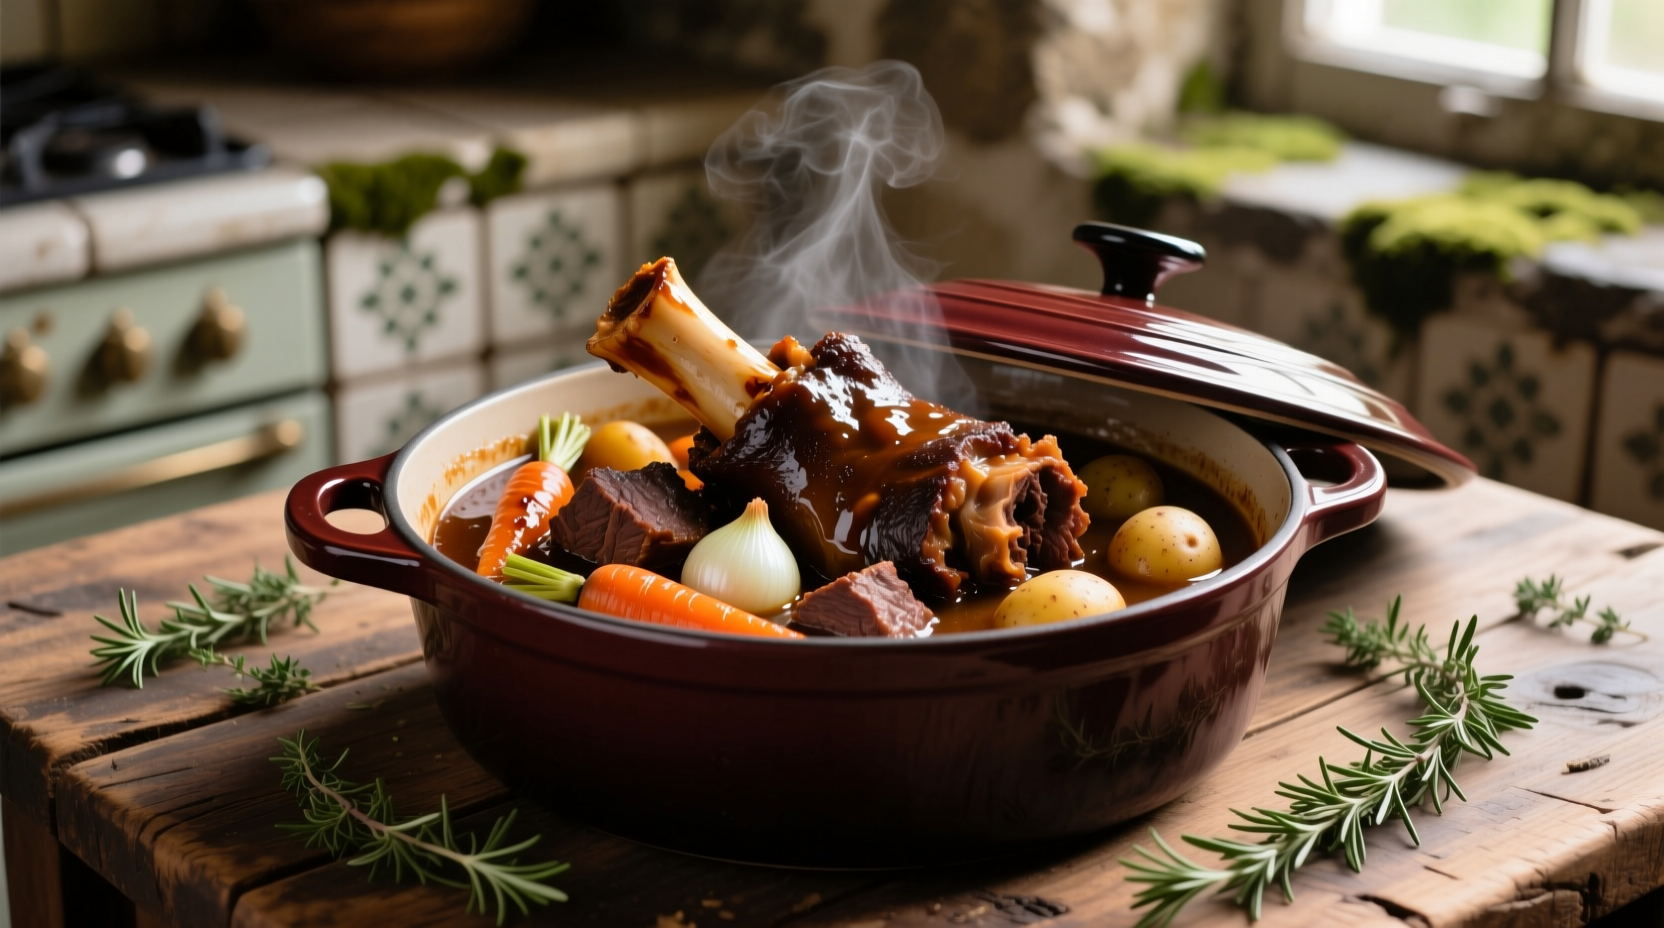
After searing, sauté onions, carrots, and celery in reserved fat until deeply caramelized. Add 2 tablespoons tomato paste and cook until brick-red—this concentrates umami. Deglaze with 1 cup dry red wine, scraping all browned bits. Incorporate 4 cups beef stock (preferably homemade), ensuring liquid covers ox tail by 1 inch. Add bay leaves and thyme sprigs before transferring to preheated oven.
Precision Cooking Timeline
Follow this professional timeline for perfect results:
- 0-30 minutes: Preheat oven to 325°F (163°C), trim and season ox tail
- 30-45 minutes: Sear portions, build flavor base
- 45-60 minutes: Deglaze, assemble braise, transfer to oven
- 60-180 minutes: Initial cooking phase (liquid should barely bubble)
- 180-240 minutes: Check tenderness—meat should pull easily from bone
- 240-270 minutes: Skim fat, reduce sauce if needed
Critical Temperature Monitoring
Insert a probe thermometer into the thickest portion. Target 195-205°F (90-96°C) for optimal collagen breakdown. The National Center for Home Food Preservation confirms connective tissue dissolution occurs between 160-205°F (71-96°C). Temperatures below 160°F risk incomplete tenderization, while exceeding 205°F may cause dryness.
Flavor Enhancement Techniques
For depth, add 1 star anise and 2 smashed garlic cloves during the last hour. Acid balance is crucial—stir in 1 tablespoon apple cider vinegar after cooking. Professional kitchens often finish with gremolata (chopped parsley, lemon zest, garlic) for brightness. Avoid adding salt during final reduction as flavors concentrate.
Avoid These 3 Costly Mistakes
Most failed ox tail attempts stem from these errors:
- Insufficient searing: Skipping proper browning leaves flavor on the cutting board
- Boiling instead of simmering: Aggressive bubbling makes meat stringy
- Underseasoning: Rich cuts require 25% more seasoning than lean meats
Serving Like a Michelin-Starred Chef
Rest ox tail in its liquid for 15 minutes before serving—this redistributes juices. Skim excess fat using a fat separator for cleaner presentation. Pair with creamy polenta or buttered egg noodles to capture the luxurious sauce. Garnish with fresh herbs for color contrast. Leftovers taste even better the next day as flavors meld.
Storage and Reheating Protocol
Cool completely within 2 hours. Store in airtight containers with liquid for up to 4 days refrigerated or 3 months frozen. Reheat gently in sauce over low heat—microwaving creates uneven texture. The USDA Food Safety and Inspection Service recommends reheating leftovers to 165°F (74°C) for safety.


 浙公网安备
33010002000092号
浙公网安备
33010002000092号 浙B2-20120091-4