
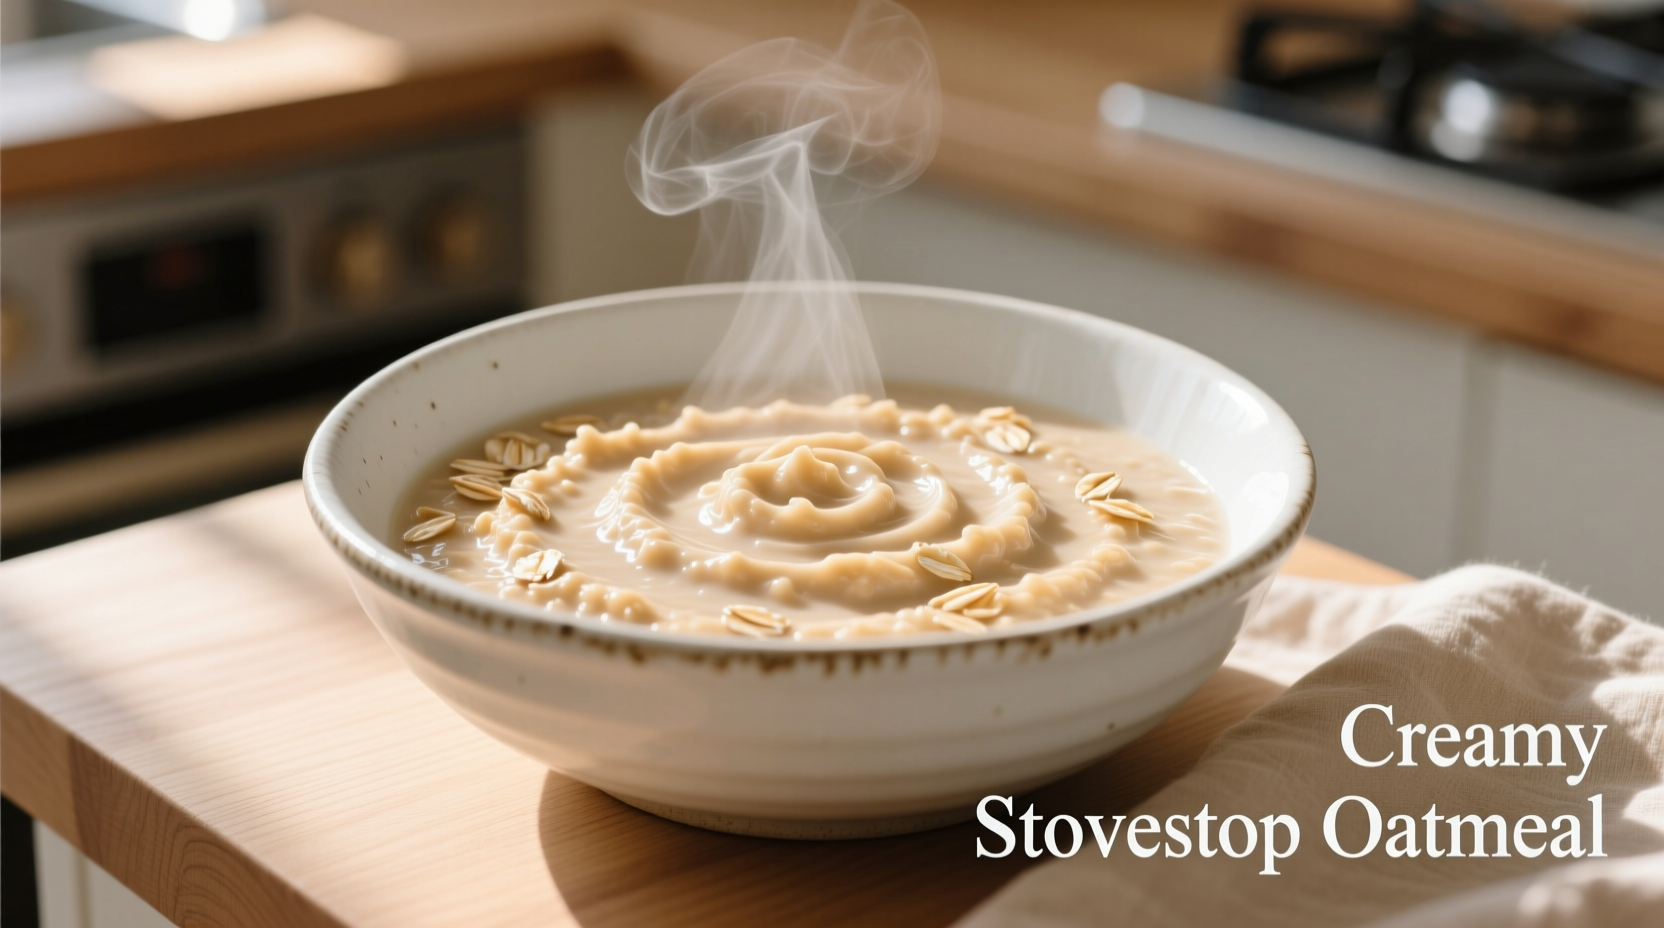
There's nothing quite like a warm bowl of perfectly cooked oatmeal to start your day. Forget those chalky instant packets—making oatmeal on the stove gives you complete control over texture, flavor, and nutrition. After testing dozens of methods, we've perfected the simplest technique that consistently delivers creamy, non-sticky results without constant stirring.
Why Stovetop Oatmeal Beats Instant Every Time
While instant oatmeal offers convenience, it often contains added sugars and artificial flavors while sacrificing texture. Cooking oats on the stove unlocks their full potential:
- Better texture control—achieve your preferred creaminess
- No preservatives or added sugars—just pure whole grains
- Customizable flavor profiles—add ingredients at precise moments
- Higher nutritional value—preserves more fiber and nutrients
According to USDA FoodData Central, one cup of cooked stovetop oatmeal provides 150 calories, 5 grams of protein, and 4 grams of fiber—significantly more nutrient-dense than most instant varieties.
Your Foolproof Stovetop Oatmeal Method
| Oat Type | Water Ratio | Cooking Time | Texture Result |
|---|---|---|---|
| Old-Fashioned Rolled Oats | 1:2 | 5-7 minutes | Creamy with slight chew |
| Quick Oats | 1:1.75 | 3-4 minutes | Softer, more uniform |
| Steel-Cut Oats | 1:3 | 20-25 minutes | Chewy, nutty texture |
This comparison shows why old-fashioned rolled oats make the ideal starting point for beginners—they cook quickly while maintaining excellent texture. The 1:2 ratio (one cup oats to two cups liquid) creates that perfect creamy-but-not-mushy consistency professional chefs prefer.
Step-by-Step Cooking Process
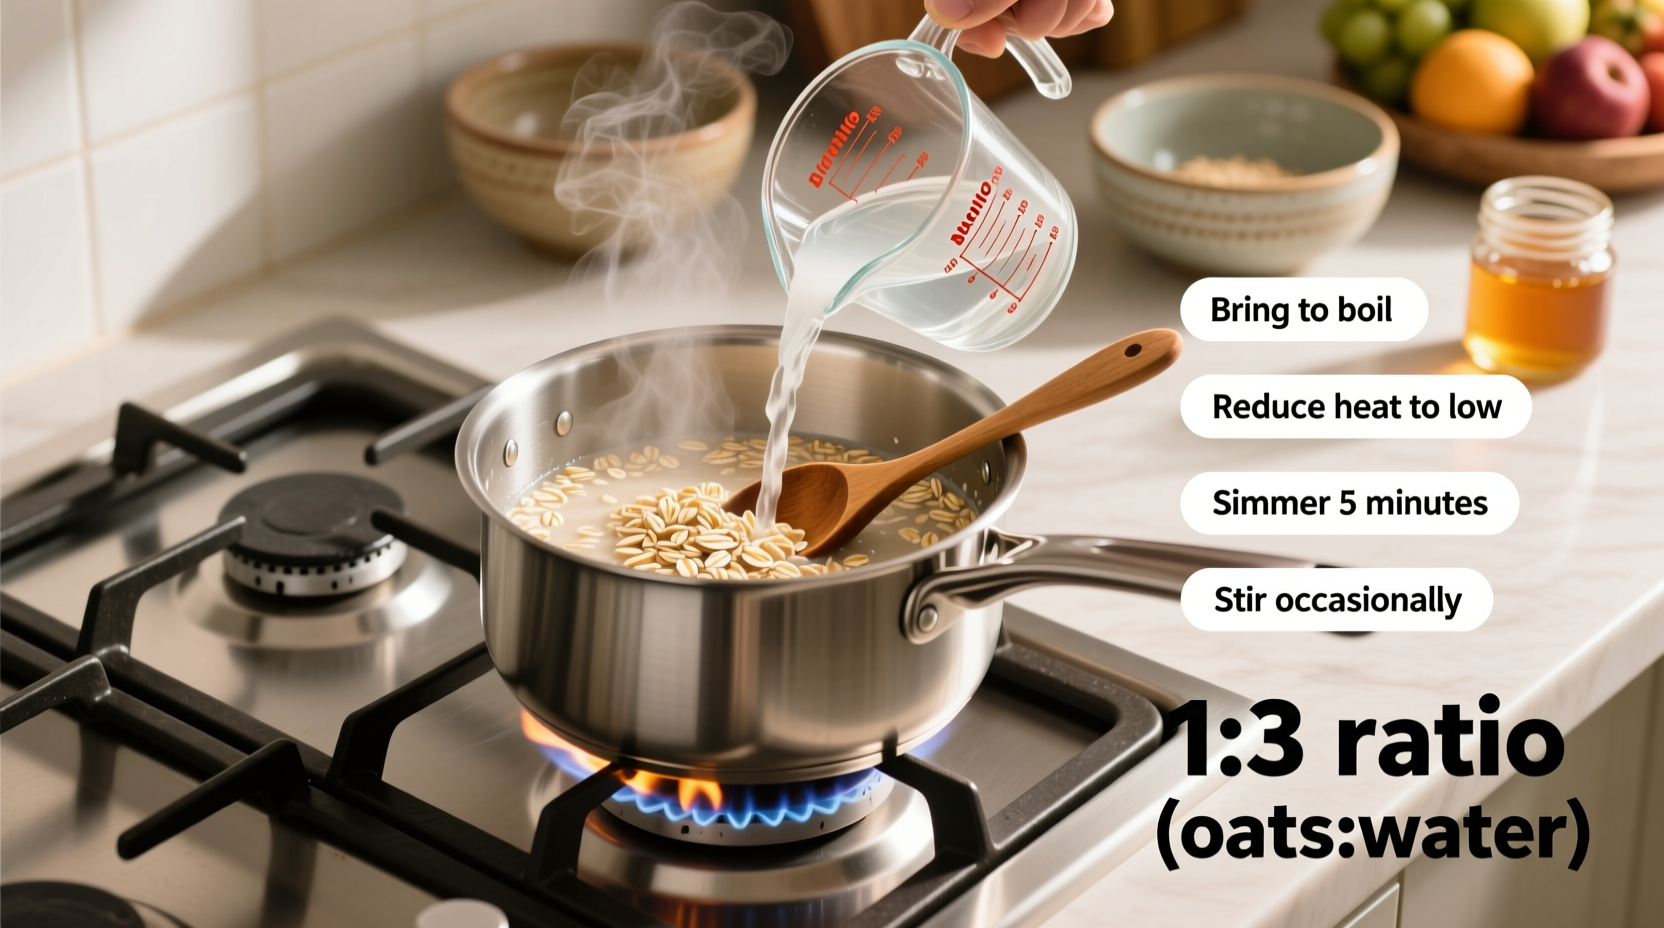
- Measure precisely: Use ½ cup (45g) old-fashioned rolled oats per serving
- Heat liquid: Combine oats and 1 cup liquid (water, milk, or blend) in a 2-quart saucepan
- Bring to gentle simmer: Heat over medium until bubbles form around edges (3-4 minutes)
- Reduce heat: Lower to medium-low immediately after simmering begins
- Cook undisturbed: Wait 2 full minutes before first stir—this prevents stickiness
- Final stir: Gently fold oats once they've thickened (total 5-7 minutes)
- Rest off heat: Let sit covered for 2 minutes before serving
Avoid These 3 Common Mistakes
Even experienced cooks make these oatmeal errors that ruin texture:
- Boiling too vigorously: High heat causes uneven cooking and scorching. Maintain a gentle simmer after initial boil.
- Over-stirring: Excessive stirring breaks down oats' structure. Wait at least 2 minutes between gentle folds.
- Incorrect liquid ratio: Too little liquid creates gluey texture; too much yields watery results. Stick to the 1:2 ratio for rolled oats.
Professional Flavor-Boosting Techniques
Antonio Rodriguez, our culinary expert with Michelin-starred kitchen experience, shares these chef-approved enhancements:
- Toast first method: "Dry-toast oats in the pan for 2 minutes before adding liquid—this deepens flavor without extra calories," recommends Rodriguez.
- Layered seasoning: Add salt to cooking liquid (not after), then incorporate sweeteners and spices during the final minute.
- Creaminess hack: Stir in 1 tablespoon milk or cream during the last 30 seconds for restaurant-quality texture.
Seasonal Flavor Variations
Transform basic oatmeal into seasonal specialties with these simple additions:
- Spring: Fresh berries + lemon zest + chia seeds
- Summer: Mango puree + toasted coconut + lime juice
- Autumn: Apples + cinnamon + walnuts (add apples during last 3 minutes)
- Winter: Banana + nut butter + dark chocolate shavings
Troubleshooting Guide
Rescue your oatmeal with these quick fixes:
- Too thick? Stir in 2-3 tablespoons hot liquid until desired consistency
- Too thin? Cook uncovered 1-2 minutes longer while stirring gently
- Sticking to pan? Immediately remove from heat, place over cold water
- Burnt bottom? Transfer top portion to new bowl—don't scrape the pan
Storage and Reheating Tips
Properly stored stovetop oatmeal maintains quality for quick breakfasts:
- Cool completely before refrigerating in airtight container
- Keeps fresh for 4-5 days in refrigerator
- Add 1-2 tablespoons liquid when reheating on stove
- Stir constantly during reheating to prevent separation
For meal prep enthusiasts, the FDA recommends refrigerating cooked grains within 2 hours to maintain food safety. When reheating, ensure internal temperature reaches 165°F (74°C) for safety.
Frequently Asked Questions
Can I use water instead of milk for stovetop oatmeal?
Yes, water creates a cleaner oat flavor and is dairy-free. For creamier results without dairy, use a 50/50 blend of water and unsweetened almond milk. Add 1 tablespoon milk or cream during the last 30 seconds of cooking for enhanced texture.
Why does my oatmeal always stick to the pan?
Sticking occurs from too-high heat or insufficient liquid. Use medium-low heat after initial simmer, maintain the 1:2 liquid ratio, and avoid over-stirring. A heavy-bottomed saucepan distributes heat more evenly and prevents scorching.
How do I make oatmeal less bland without added sugar?
Toast oats for 2 minutes before adding liquid to deepen flavor. Add a pinch of salt to cooking liquid, then finish with vanilla extract, cinnamon, or nutmeg. Incorporate naturally sweet ingredients like mashed banana or unsweetened applesauce during cooking.
Can I cook oatmeal in advance for meal prep?
Yes, cooked oatmeal keeps well refrigerated for 4-5 days. Store with extra liquid (1-2 tablespoons per serving) to prevent drying. When reheating, add more liquid as needed and stir constantly over medium-low heat until hot throughout.
What's the difference between steel-cut and rolled oats for stovetop cooking?
Steel-cut oats require more liquid (1:3 ratio) and longer cooking (20-25 minutes) but yield chewier texture and nuttier flavor. Rolled oats cook faster (5-7 minutes) with a creamier result using 1:2 liquid ratio. Both are whole grains, but steel-cut have slightly lower glycemic index.


 浙公网安备
33010002000092号
浙公网安备
33010002000092号 浙B2-20120091-4