
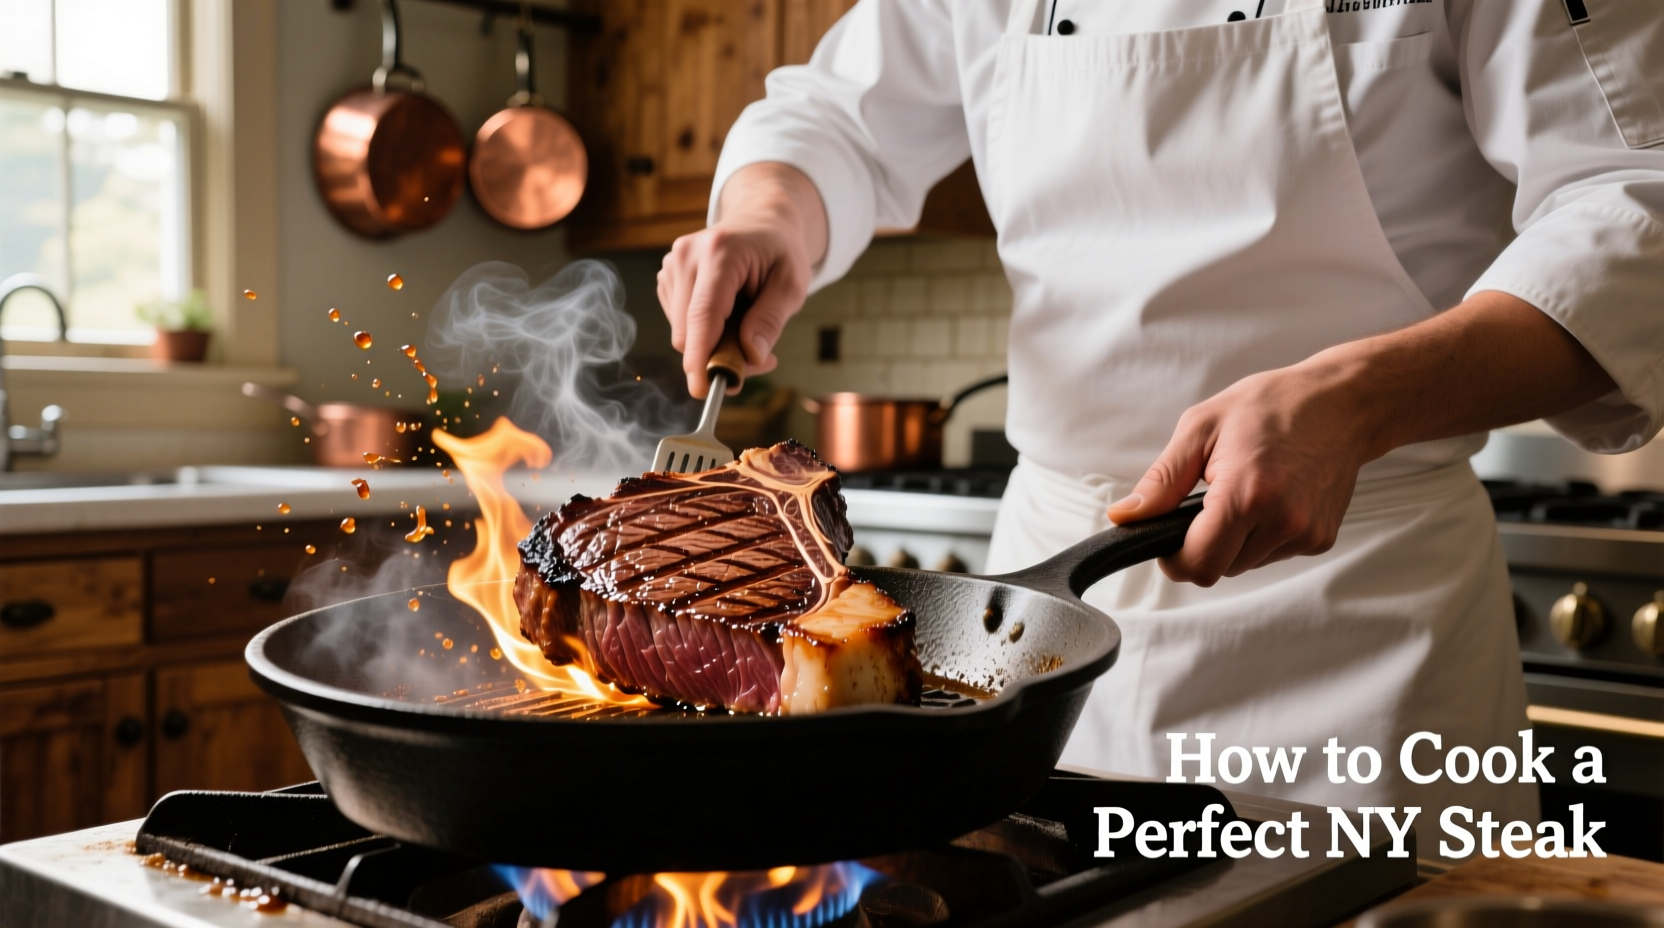
Mastering the Art of New York Strip Steak Preparation
Nothing compares to a perfectly cooked New York strip steak—tender, flavorful, and cooked exactly to your preference. This guide eliminates guesswork with science-backed techniques professional chefs use daily. Whether you're cooking on a grill, stovetop, or using the reverse sear method, these steps ensure consistent results that impress even the most discerning palates.
Selecting Your Foundation: Choosing the Right NY Strip
The journey to perfect steak begins long before cooking. Look for USDA Choice or Prime graded cuts with consistent marbling throughout—those fine white fat streaks melt during cooking, basting the meat from within. Aim for steaks 1.25-1.5 inches thick; thinner cuts overcook easily while thicker ones require precise temperature management.
According to the USDA Food Safety and Inspection Service, proper meat selection significantly impacts both food safety and quality outcomes. Always check for bright red color and firm texture, avoiding any steaks with excessive liquid in the packaging or grayish discoloration.
Preparation Protocol: Setting Up for Success
Remove your steak from refrigeration 45-60 minutes before cooking. This critical step allows the meat to reach near room temperature, preventing the common mistake of a cold center with overcooked exterior. Pat the surface thoroughly dry with paper towels—moisture is the enemy of proper searing.
Season generously with coarse kosher salt (about 1 teaspoon per pound) during this resting period. The salt dissolves into the meat surface, enhancing flavor penetration while helping create that coveted crust. Add freshly cracked black pepper and any other seasonings just before cooking to prevent burning.
| Doneness Level | Target Internal Temp | Visual Indicators | Touch Test |
|---|---|---|---|
| Rare | 120-125°F | Bright red center | Soft, like palm base |
| Medium-Rare | 130-135°F | Warm red center | Yields slightly |
| Medium | 140-145°F | Pink center | Firm with spring |
| Medium-Well | 150-155°F | Small pink area | Firm |
| Well-Done | 160°F+ | No pink remaining | Very firm |
Cooking Method Comparison: Finding Your Perfect Technique
Three reliable approaches deliver exceptional results, each with distinct advantages depending on your equipment and desired outcome:
Cast Iron Searing (Best for Home Cooks)
Preheat your cast iron skillet over medium-high heat for 5 minutes until smoking slightly. Add high smoke-point oil (avocado or grapeseed), then place the steak in the pan. Press gently for full contact. Cook undisturbed for 3-4 minutes until a deep brown crust forms, then flip and repeat. For thicker cuts, finish in a 400°F oven.
Grill Method (Outdoor Flavor)
Create two cooking zones: one high-heat sear area (450-500°F) and one cooler area (300°F). Sear steak over direct heat for 3-4 minutes per side, then move to indirect heat to finish cooking to target temperature.
Reverse Sear (Most Precise for Thick Cuts)
Slow-roast steak in a 275°F oven until 10-15°F below target temperature, then sear in blazing hot cast iron for 60-90 seconds per side. This method provides unparalleled edge-to-edge doneness control.
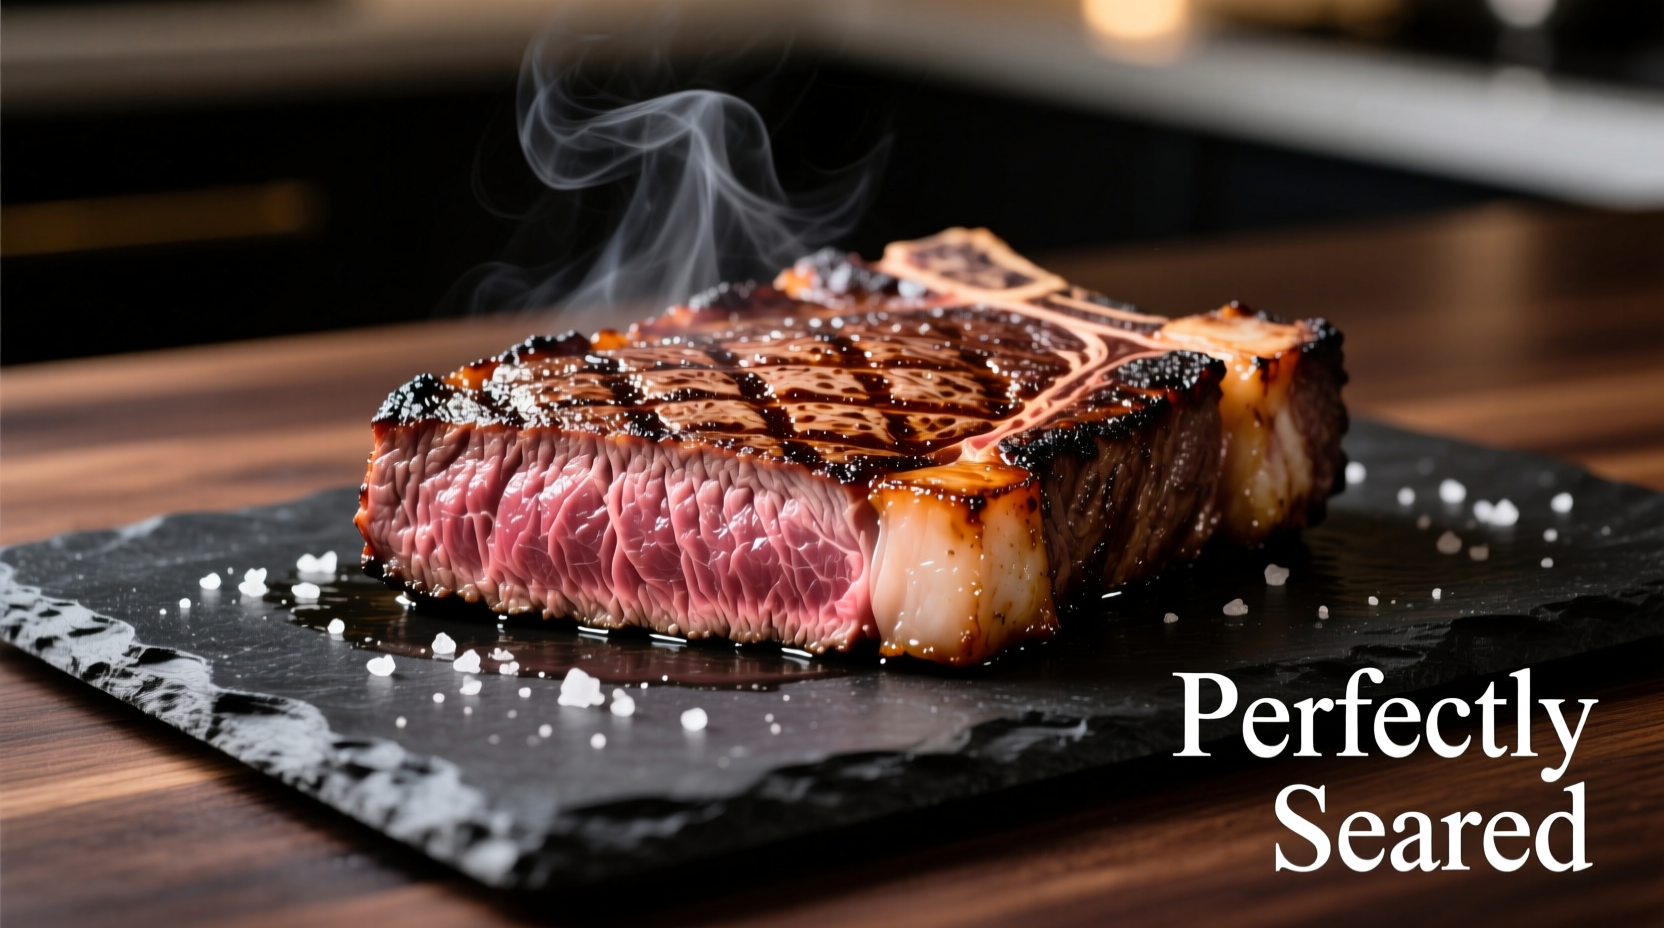
The Searing Science: Creating That Perfect Crust
The Maillard reaction—that magical browning process—requires both high heat and a dry surface. When your preheated skillet passes the water droplet test (beads up and evaporates immediately), it's ready. Place the steak away from you to avoid oil splatter, and resist the urge to move it for at least 3 minutes.
Professional chefs follow the single-flip rule: move the steak only once during cooking. This allows proper crust development without tearing the meat. For optimal results, tilt the pan and spoon hot oil over the steak's edges during the final minute of cooking.
Temperature Mastery: The Key to Perfect Doneness
Invest in an instant-read thermometer—it's the only reliable way to achieve precise doneness. Insert horizontally into the thickest part, avoiding fat pockets. Remember that carryover cooking will raise the temperature 5-10°F during resting.
The American Meat Science Association confirms that proper resting time significantly impacts juiciness. As meat rests, muscle fibers relax and reabsorb juices. Cutting too soon releases these precious liquids onto your cutting board rather than staying in the steak.
Finishing Touches: Elevating Your Steak Experience
After resting, add finishing touches that complement without overwhelming. Try a pat of compound butter (mix softened butter with minced garlic, fresh herbs, and lemon zest) that melts into the hot surface. For a simple pan sauce, deglaze the skillet with 1/4 cup red wine or beef broth, scraping up browned bits, then whisk in 1 tablespoon cold butter.
Slice against the grain at a 45-degree angle using a sharp carving knife. This shortens muscle fibers, dramatically improving tenderness. Serve immediately on pre-warmed plates to maintain optimal temperature.
Troubleshooting Common Steak Problems
Problem: Gray, steamed appearance instead of brown crust
Solution: Meat was too cold or wet when placed in pan. Always dry thoroughly and bring to room temperature first.
Problem: Uneven cooking with raw center
Solution: Pan wasn't hot enough or steak was too thick. Use reverse sear method for cuts over 1.5 inches.
Problem: Steak sticks to the pan
Solution: Wait for proper crust formation before attempting to flip. The steak will release naturally when ready.
Frequently Asked Questions
How long should I let my NY strip steak rest after cooking?
Rest your NY strip steak for 8-10 minutes—approximately 1 minute per 100g of weight. This allows muscle fibers to relax and redistribute juices throughout the meat. Cutting too soon releases these precious liquids, resulting in a drier steak. Proper resting time significantly improves both juiciness and tenderness.
Can I cook a frozen NY strip steak successfully?
Yes, but with adjustments. The reverse sear method works best for frozen steaks—roast at 275°F until 25-30°F below target temperature, then sear. Cooking time increases by approximately 50% compared to thawed steak. Never attempt traditional pan-searing with frozen steak as the exterior will burn before the interior thaws.
What's the ideal thickness for a New York strip steak?
1.25-1.5 inches represents the ideal thickness for home cooking. Steaks thinner than 1 inch risk overcooking before developing proper crust, while cuts thicker than 1.75 inches require advanced temperature management. This optimal range allows sufficient time for crust development while achieving even doneness throughout the steak.
Why does my steak release so much liquid when I cut it?
Excessive liquid indicates either insufficient resting time or improper temperature control. When meat doesn't rest adequately, juices haven't redistributed and escape immediately upon cutting. Alternatively, overcooking causes protein fibers to contract excessively, squeezing out moisture. Always rest 8-10 minutes and use a thermometer to prevent overcooking.


 浙公网安备
33010002000092号
浙公网安备
33010002000092号 浙B2-20120091-4