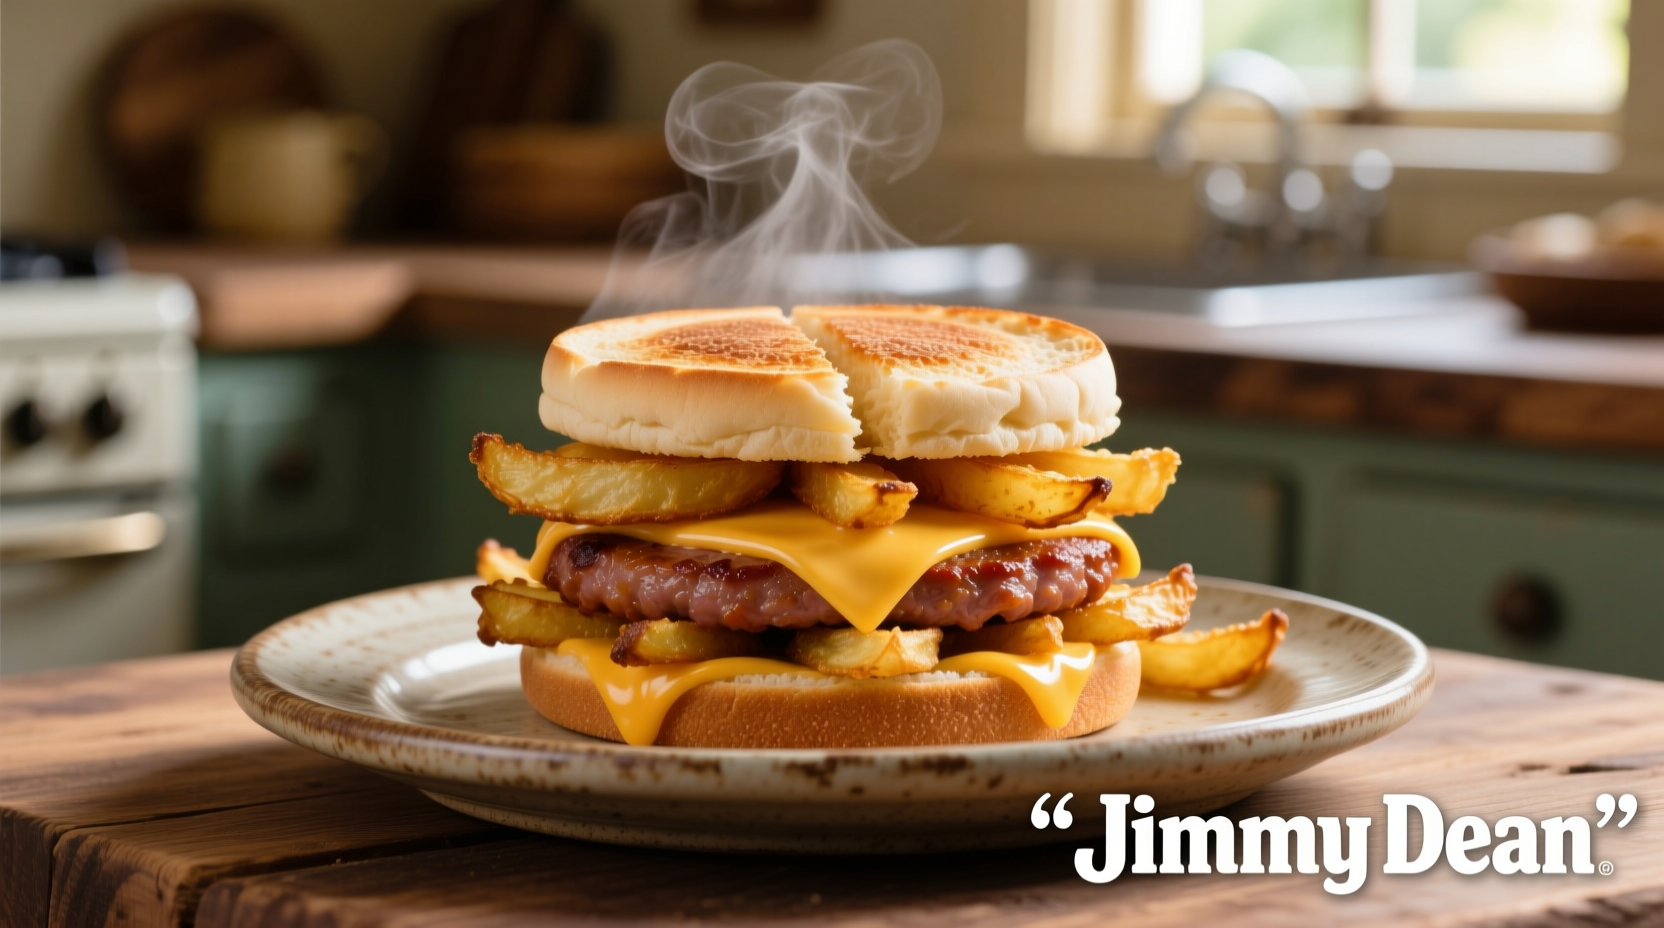
Nothing beats a perfectly cooked Jimmy Dean breakfast sandwich when you're rushing in the morning. As someone who's tested countless breakfast sandwiches over my culinary career, I've discovered that proper preparation makes all the difference between a soggy disappointment and a restaurant-quality meal. Whether you're using the microwave for speed or the oven for superior texture, these professional techniques ensure your sandwich emerges hot, flavorful, and structurally sound every time.
What You'll Need Before Starting
Before diving into the cooking process, gather these essentials:
- Jimmy Dean breakfast sandwich (any variety)
- Microwave, conventional oven, or toaster oven
- Paper towels (for microwave method)
- Baking sheet (for oven method)
- Food thermometer (optional but recommended)
Step-by-Step Cooking Methods
Microwave Method: The 60-Second Solution
When time is critical, the microwave delivers surprisingly good results if done correctly:
- Remove sandwich from its plastic wrapper completely
- Wrap sandwich in a single paper towel (this absorbs excess moisture)
- Place on microwave-safe plate
- Cook on HIGH for 55-65 seconds for a single sandwich
- Let stand for 1 minute before eating (critical for even heat distribution)
Pro tip: For best results with multiple sandwiches, cook one at a time. Stacking sandwiches creates uneven heating and leads to soggy textures. The USDA Food Safety and Inspection Service recommends heating ready-to-eat breakfast sandwiches to an internal temperature of 165°F to ensure food safety, which typically requires the full 65 seconds in most standard microwaves.
Oven Method: Crispy Perfection
When you have 20 extra minutes, the oven method produces noticeably better texture:
- Preheat oven to 350°F (175°C)
- Remove sandwich from wrapper (keep inner paper sleeve if present)
- Place directly on oven rack or on baking sheet
- Bake for 18-20 minutes
- Check internal temperature reaches 165°F
- Let rest 2 minutes before serving
| Cooking Method | Time Required | Texture Result | Best For |
|---|---|---|---|
| Microwave | 1-2 minutes | Good heat, slightly softer bread | Morning rush situations |
| Conventional Oven | 18-20 minutes | Crispy exterior, evenly heated | Weekend breakfasts, best quality |
| Toaster Oven | 12-15 minutes | Nearly as crispy as conventional oven | Small kitchens, energy efficiency |
Professional Tips for Optimal Results
After preparing hundreds of breakfast sandwiches in professional kitchens, I've identified these game-changing techniques:
- Never cook in the wrapper: The plastic wrapper traps steam, creating a soggy sandwich. Always remove completely before cooking.
- Temperature matters: Frozen sandwiches require 10-15% more cooking time than refrigerated ones. Allow sandwiches to thaw in the refrigerator overnight for most consistent results.
- Resting is crucial: That 1-minute rest period allows heat to distribute evenly through the sandwich, preventing a scalding hot exterior with a cold center.
- Avoid common mistakes: Don't increase microwave power thinking it will cook faster—this creates hot spots while leaving other areas cold.
Storage and Reheating Guidelines
Proper storage maintains quality for future meals:
- Unopened sandwiches remain safe in freezer for 12-18 months
- Once thawed in refrigerator, consume within 3 days
- Never refreeze after thawing
- For best reheating results, use oven method even for previously cooked sandwiches
According to the USDA's Food Safety guidelines, properly stored frozen breakfast sandwiches maintain quality for 12-18 months when kept at 0°F or below. The critical food safety threshold for reheating is reaching 165°F internal temperature, which destroys potential pathogens that may develop during storage.
Troubleshooting Common Issues
Soggy bread? This happens when moisture gets trapped. Always remove plastic wrapper completely and use paper towel in microwave method. For oven cooking, place sandwich directly on rack rather than a baking sheet.
Cold center? This indicates uneven heating. Let the sandwich rest after cooking to allow heat distribution. If problem persists, reduce microwave power to 80% and increase time slightly.
Dry sausage? Overcooking causes this. Reduce cooking time by 5-10 seconds and check temperature. Quality frozen breakfast sandwiches should reach 165°F without drying out if cooked properly.

When to Choose Each Cooking Method
Understanding the context boundaries for each method ensures optimal results:
- Microwave is ideal when you have under 2 minutes and need immediate results (rushing to work, short break between meetings)
- Oven method shines when you have 20+ minutes and want restaurant-quality texture (weekend breakfasts, special occasions)
- Toaster oven works best for small kitchens where heating a full oven seems excessive (studio apartments, dorm rooms)
Professional kitchens often use combi-ovens that combine steam and dry heat for perfect results, but the methods above replicate those results with standard home equipment. Remember that altitude affects cooking times—those living above 3,000 feet may need to increase oven time by 5-10%.
Final Thoughts
Mastering these simple techniques transforms your Jimmy Dean breakfast sandwich from a convenient option to a genuinely enjoyable meal. The key is understanding that different cooking methods serve different needs—speed versus quality—and choosing accordingly. By following these professional guidelines, you'll consistently achieve hot, flavorful sandwiches with properly melted cheese and fully heated components, avoiding the common pitfalls that turn a quick breakfast solution into a disappointing experience.


 浙公网安备
33010002000092号
 浙B2-20120091-4