
Perfect Jello requires just 4 simple ingredients and 15 minutes of active preparation time. Follow these precise steps for crystal-clear results every time: bloom gelatin in cold water, dissolve with boiling liquid, then chill for 4 hours. Avoid common pitfalls like using fresh pineapple or insufficient chilling time.
Why This Jello Method Works When Others Fail
Many home cooks struggle with rubbery, cloudy, or failed Jello desserts. The secret lies in understanding gelatin's chemistry. As Antonio Rodriguez explains from his Michelin-starred kitchen experience, "Gelatin proteins need precise hydration and temperature control to form the perfect crystalline structure." This guide reveals professional techniques most recipes omit.
Essential Tools and Ingredients Checklist
Before starting, gather these items to ensure success:
- 1 (3 oz) box of Jello powder (any flavor)
- 1 cup boiling water (precisely measured)
- 1 cup cold water or alternative liquid
- 8x8 inch pan or 4-cup mold
- Whisk
- Measuring cups
- Small bowl for blooming (optional but recommended)
Step-by-Step Jello Preparation Guide
Phase 1: Proper Hydration (The Critical First Step)
Most failures happen here. Never skip the blooming process:
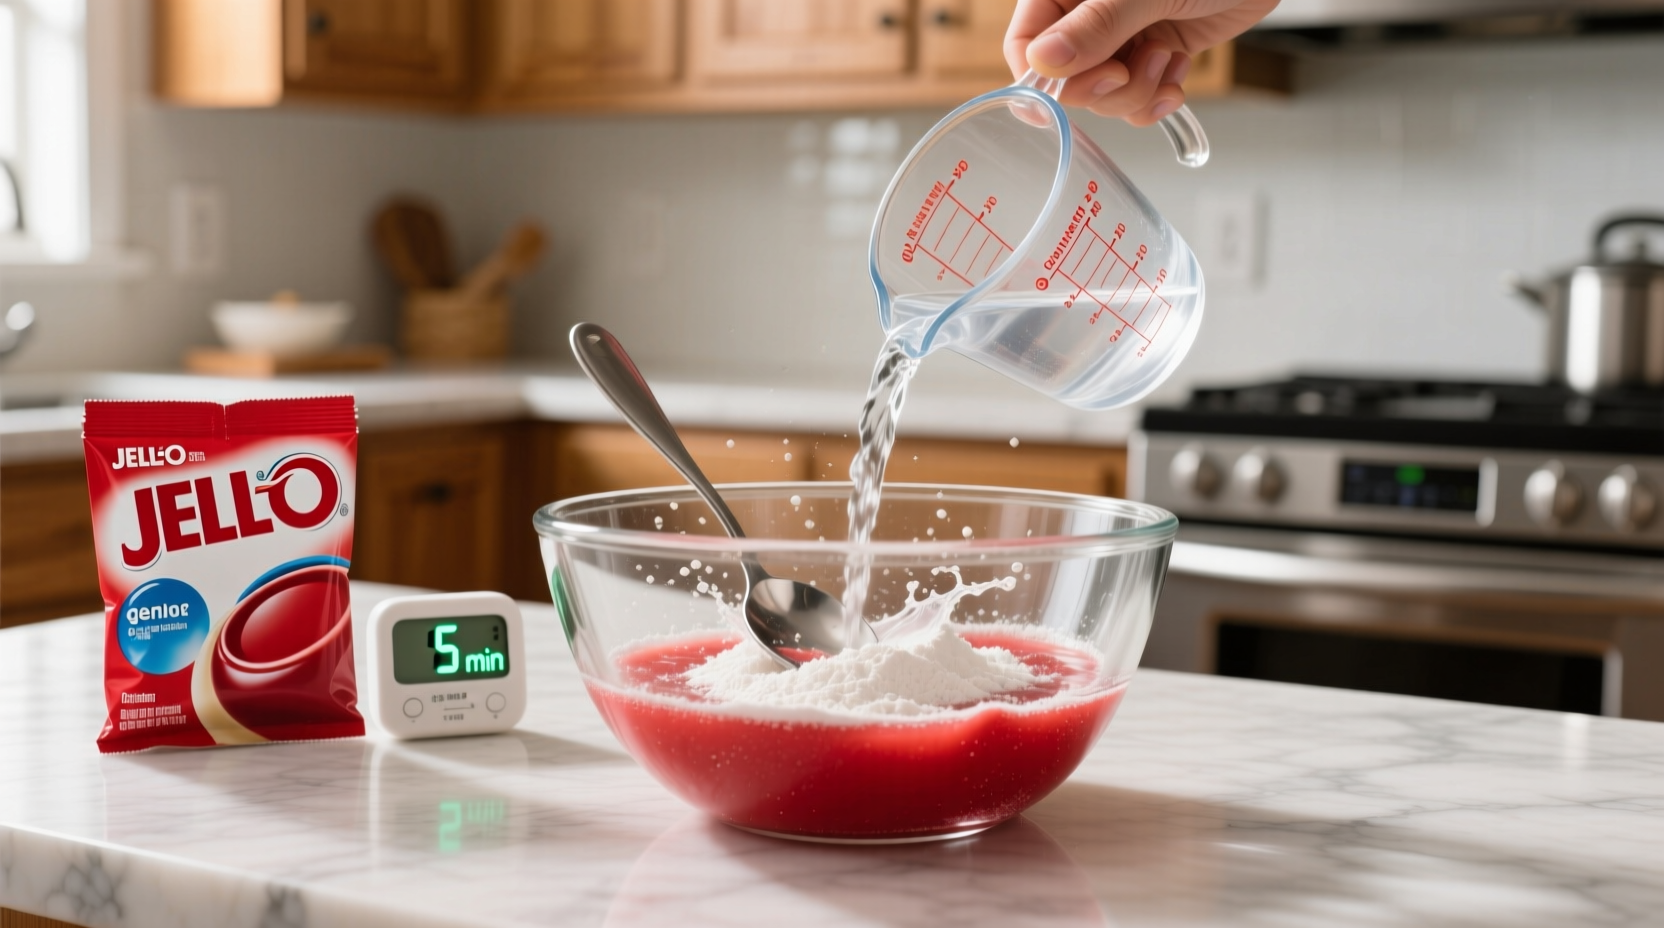
- Sprinkle gelatin powder over 1/4 cup cold water in a small bowl
- Let sit undisturbed for 5 minutes (this allows water absorption)
- Check texture - should resemble wet sand with no dry spots
Phase 2: Dissolving the Gelatin
Temperature control is crucial for clear results:
- Heat 1 cup water to rolling boil (212°F/100°C)
- Pour boiling water over bloomed gelatin
- Whisk continuously for 2 full minutes until completely dissolved
- Test clarity by holding against light - should be transparent
Phase 3: Setting Process
Professional results require precise chilling:
- Pour mixture into clean, dry mold
- Cover with plastic wrap touching the surface (prevents skin formation)
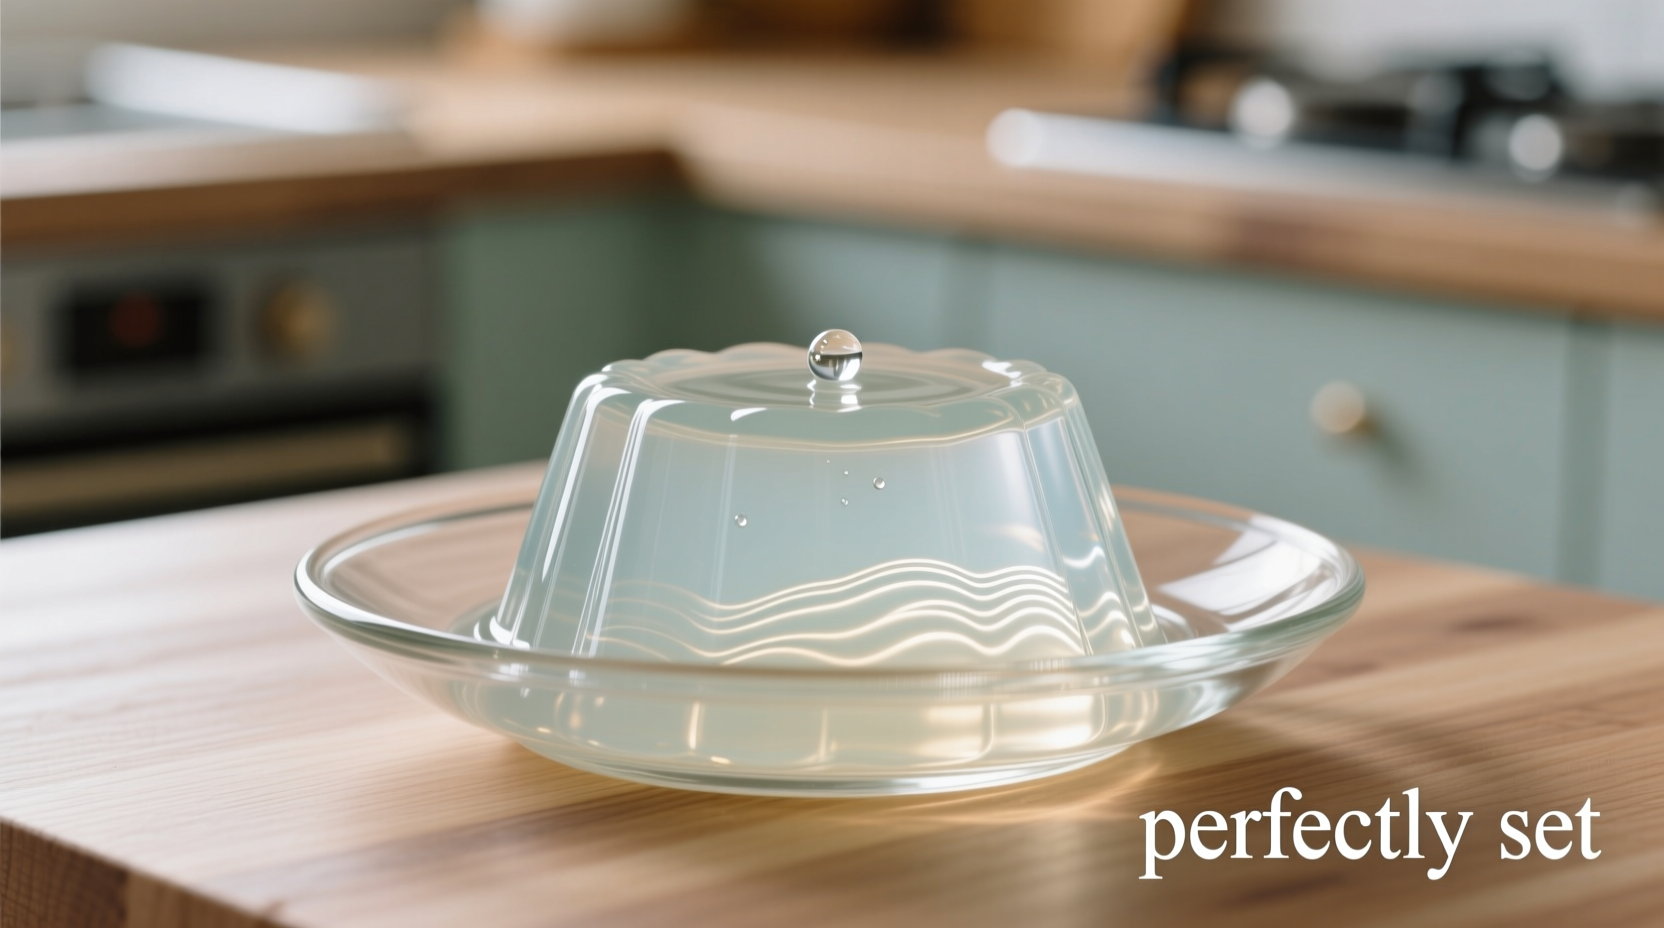
- Refrigerate at 40°F (4°C) for minimum 4 hours
- Test set by gently shaking mold - should move as single unit
| Chilling Temperature | Setting Time | Texture Result |
|---|---|---|
| 32°F (0°C) | 6+ hours | Firm but slightly icy |
| 35-38°F (2-3°C) | 5 hours | Optimal texture |
| 40°F (4°C) | 4 hours | Perfect set |
| 45°F+ (7°C+) | Won't set | Liquid failure |
Troubleshooting Common Jello Problems
Even experienced cooks encounter issues. Here's how to fix them:
Cloudy or Opaque Jello
Cause: Undissolved gelatin particles or adding cold liquid too quickly
Solution: Strain mixture through fine mesh sieve before chilling. Always add cold liquid gradually while whisking.
Rubbery Texture
Cause: Excessive chilling time or temperature too low
Solution: Remove from refrigerator after 4 hours. Store at standard refrigerator temperature (40°F).
Jello Won't Set
Cause: Enzymes in certain fruits (pineapple, kiwi, papaya) or improper blooming
Solution: Use only canned pineapple (enzymes deactivated by heat) or avoid problematic fruits entirely. Ensure proper blooming time.
Creative Variations That Actually Work
Professional kitchens use these tested modifications:
- Layered Jello Shots: Chill each layer 30 minutes before adding next (alcohol content below 10%)
- Fruit Suspension: Coat berries in simple syrup before adding to prevent sinking
- Adult Version: Replace half the cold water with dry white wine for sophisticated flavor
- Dairy-Free Panna Cotta: Use coconut milk instead of water for tropical variation
Important limitation: Never use fresh papaya, kiwi, or ginger in Jello recipes. These contain protease enzymes that prevent setting, as documented by the FDA's food science resources. Canned versions are safe as heat processing deactivates these enzymes.
Serving and Storage Best Practices
Maximize your results with these professional tips:
- Run warm knife around edges before unmolding
- Use wet hands when handling set Jello to prevent sticking
- Store covered in refrigerator for up to 7 days
- Never freeze Jello - destroys the delicate structure
- Serve in chilled glasses for extended enjoyment
Evolution of Jello Preparation Techniques
Understanding historical context helps perfect modern methods:
- 1845: First gelatin dessert patent filed (required boiling animal bones)
- 1897: Jell-O brand introduced with pre-measured powder
- 1950s: Standardized 1 cup boiling + 1 cup cold water formula established
- Present: Molecular gastronomy techniques refine traditional methods
Modern food science confirms the traditional method remains optimal. Cornell University's Food Science Department research shows gelatin's triple-helix structure forms perfectly with the standard preparation method, explaining why shortcuts often fail.
FAQ: Jello Preparation Questions Answered
Can I use less sugar in my Jello recipe?
Yes, but with limitations. You can reduce sugar by 25% without affecting setting, but greater reductions may cause texture issues. The sugar helps stabilize the gelatin structure. For sugar-free versions, use specially formulated sugar-free Jello mixes which contain alternative setting agents.
Why does my Jello have a skin on top?
A skin forms when surface moisture evaporates during chilling. Prevent this by placing plastic wrap directly on the Jello surface before refrigerating. Professional kitchens use this technique universally to maintain perfect texture throughout the dessert.
How can I make my Jello set faster?
Never try to rush the setting process. Reducing chilling time creates weak bonds that break down. Instead, use ice cubes to replace half the cold water (dissolve gelatin in 1 cup boiling water, then add mixture to 1/2 cup water + 1/2 cup ice cubes). This cools faster while maintaining proper ratios. Never put Jello in the freezer - causes separation.
Can I add fruit to my Jello?
Yes, but choose carefully. Use canned fruits (pears, peaches, mandarin oranges) or cooked fresh fruits. Avoid fresh pineapple, kiwi, papaya, and figs which contain enzymes that prevent setting. If using berries, coat in simple syrup first to prevent sinking. Add fruit after the Jello has partially set (about 1 hour chilling time).
Why did my layered Jello bleed colors together?
Colors bleed when layers aren't sufficiently set before adding the next. Chill each layer until it reaches "soft-set" stage (about 30-45 minutes) - it should hold an impression from your finger but not be liquid. Professional chefs use a toothpick test: insert and remove slowly - if clean, it's ready for next layer. Temperature differences between layers can also cause bleeding.


 浙公网安备
33010002000092号
浙公网安备
33010002000092号 浙B2-20120091-4