
Perfect homemade jam requires just five essential steps: prepare fruit, combine with sugar and pectin, bring to a rolling boil, test for set point, and properly process in sterilized jars. This guide delivers foolproof techniques for vibrant, flavorful jam with no preservatives, using standard kitchen equipment and taking approximately 45 minutes from start to shelf.
Nothing compares to the bright flavor of homemade jam spread on warm toast or swirled into yogurt. Whether you're preserving summer's bounty or creating thoughtful gifts, mastering jam making unlocks endless culinary possibilities. This comprehensive guide walks you through every critical step with professional techniques adapted for home kitchens.
The Science Behind Successful Jam
Understanding the chemistry transforms jam from hit-or-miss to consistently perfect. Jam sets through a delicate balance of three components: fruit pectin, sugar, and acid. Pectin, a natural fiber in fruit, forms a gel network when heated with sugar and acid. Underripe fruits contain more pectin than ripe ones, which is why many traditional recipes combine both stages of ripeness.
The USDA's Complete Guide to Home Canning confirms that proper acidity (pH below 4.6) is essential for both flavor development and safe preservation. Lemon juice serves dual purposes—providing necessary acid and enhancing fruit flavors without overpowering them.
| Fruit Type | Natural Pectin Level | Sugar Ratio | Recommended Additions |
|---|---|---|---|
| Apples, Citrus, Cranberries | High | 1:1 (fruit:sugar) | None needed |
| Blackberries, Blueberries, Grapes | Medium | 3:4 (fruit:sugar) | 1-2 Tbsp lemon juice |
| Strawberries, Peaches, Pears | Low | 1:1 (fruit:sugar) | Commercial pectin required |
Essential Equipment Checklist
You don't need specialized gear to make excellent jam. These kitchen staples work perfectly:
- Heavy-bottomed stainless steel pot (prevents scorching)
- Wooden spoons (won't react with acid)
- Canning jars with new lids (Mason jars work best)
- Jar lifter and canning funnel
- Clean kitchen towels
- Candy thermometer (optional but helpful)
Avoid aluminum or copper pots which can react with fruit acids, creating off-flavors and discoloration. The National Center for Home Food Preservation emphasizes that proper equipment ensures both safety and quality in home-canned products.
Step-by-Step Jam Preparation Process
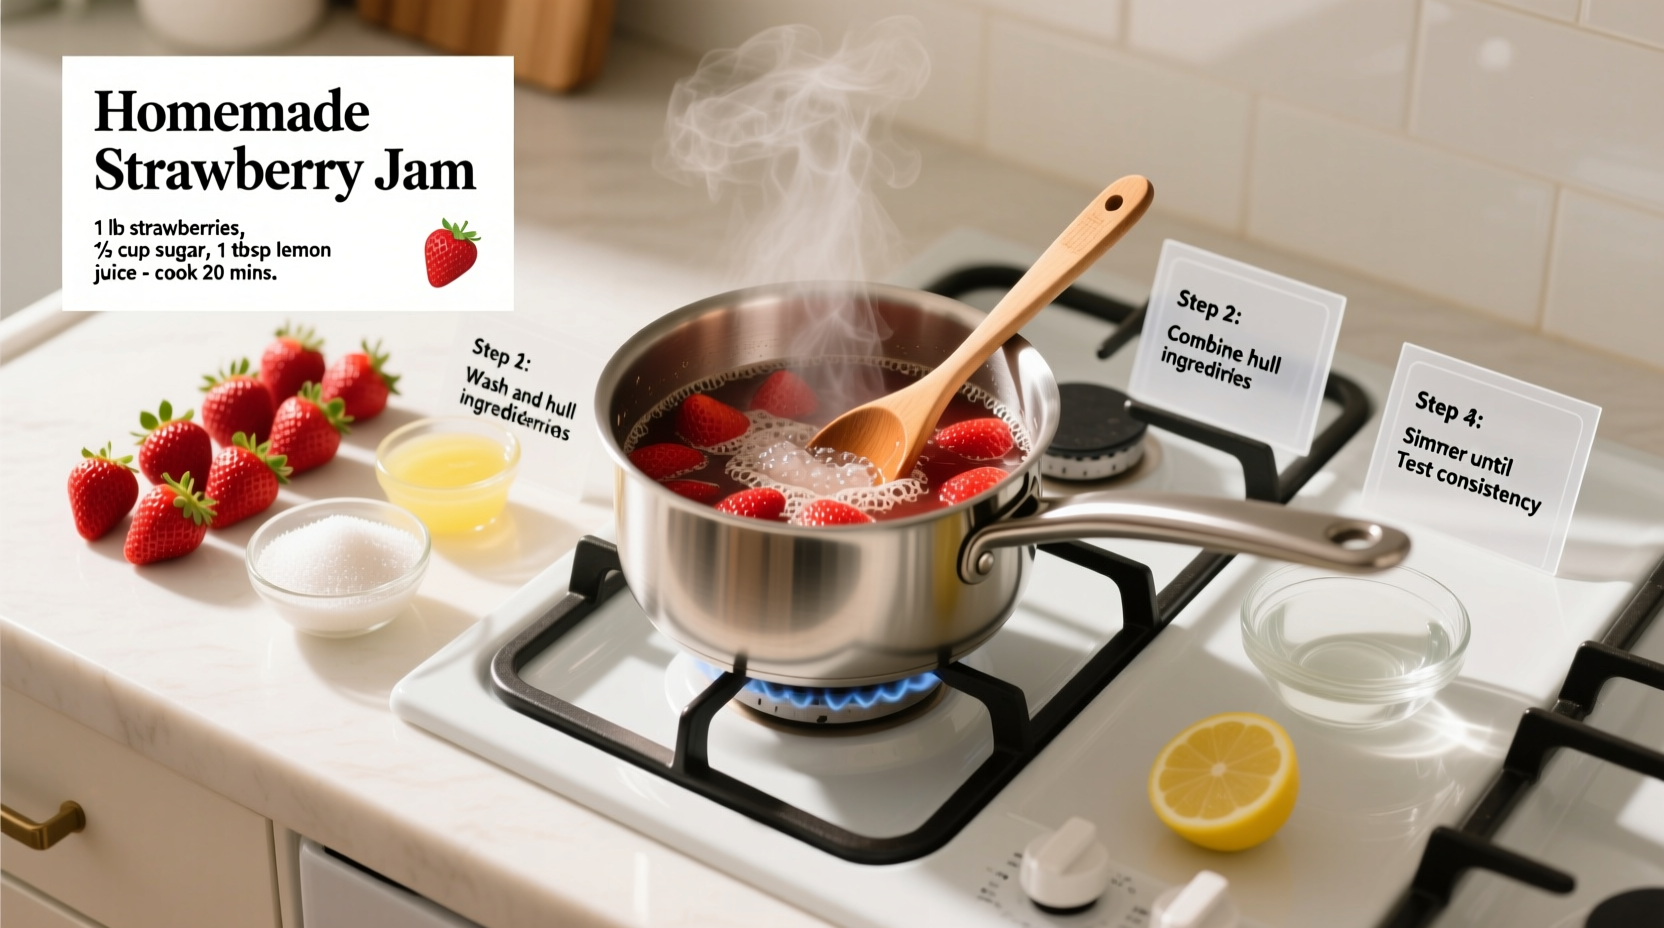
1. Fruit Preparation Techniques
Wash fruit gently under cool running water—never soak berries. Remove stems, pits, and cores, then chop to uniform size. For stone fruits, peel by dipping in boiling water for 30 seconds then transferring to ice water. Measure fruit precisely using dry measuring cups for accuracy.
2. Sugar and Pectin Integration
Combine measured fruit with 1/4 of the sugar and let macerate for 30 minutes. This draws out natural juices and dissolves some sugar. Add remaining sugar and pectin (if using low-pectin fruits), stirring thoroughly before heating. Commercial pectin requires full sugar for proper setting—don't reduce quantities.
3. The Critical Boiling Stage
Bring mixture to a full rolling boil over medium-high heat, stirring constantly. A rolling boil cannot be stirred down and appears turbulent across the entire surface. Boil hard for 1-3 minutes after reaching full boil—this activates pectin's gelling properties. Skim foam immediately with a metal spoon for crystal-clear jam.
4. Testing for Proper Set
The cold plate test remains the most reliable method: place a small plate in freezer. Drop 1/2 teaspoon jam onto cold plate and return to freezer for 1 minute. Push edge with finger—if it wrinkles, it's set. If liquid, continue boiling 1-2 minutes and retest. Overcooking creates tough, rubbery jam that loses fresh flavor.
5. Safe Jarring and Processing
Fill sterilized jars leaving 1/4-inch headspace. Wipe rims with damp cloth, apply lids and bands fingertip-tight. Process in boiling water bath: half-pint jars for 10 minutes, pint jars for 15 minutes. Remove jars and cool undisturbed for 12-24 hours. Check seals by pressing center of lid—it should not flex up and down.
Troubleshooting Common Jam Problems
Jam won't set: Reboil with additional pectin (1-2 Tbsp) or lemon juice (2 Tbsp). Ensure you reached proper temperature (220°F/104°C at sea level).
Jam is too firm: Next time reduce pectin by 25% or add 1-2 Tbsp water during cooking to thin.
Weeping or syneresis: Caused by overcooking or excessive sugar. Store affected jars in refrigerator and use within 3 months.
Mold growth: Immediately discard entire contents—do not attempt to salvage. Mold indicates improper sealing or contamination.
Advanced Flavor Development Techniques
Elevate your jam with professional flavor layering:
- Add herbs during last 5 minutes of cooking (2 sprigs rosemary with peach, 3 basil leaves with strawberry)
- Infuse spirits by replacing 2 Tbsp water with bourbon or Grand Marnier
- Create complex profiles with spice sachets (cinnamon stick, 4 cloves, 1 star anise)
- Balance sweetness with 1/2 tsp balsamic vinegar in berry jams
According to food science research published in the Journal of Food Chemistry, heating fruit with sugar above 215°F triggers the Maillard reaction, developing deeper flavor compounds while preserving bright fruit notes. This explains why properly boiled jam tastes more complex than raw fruit mixtures.
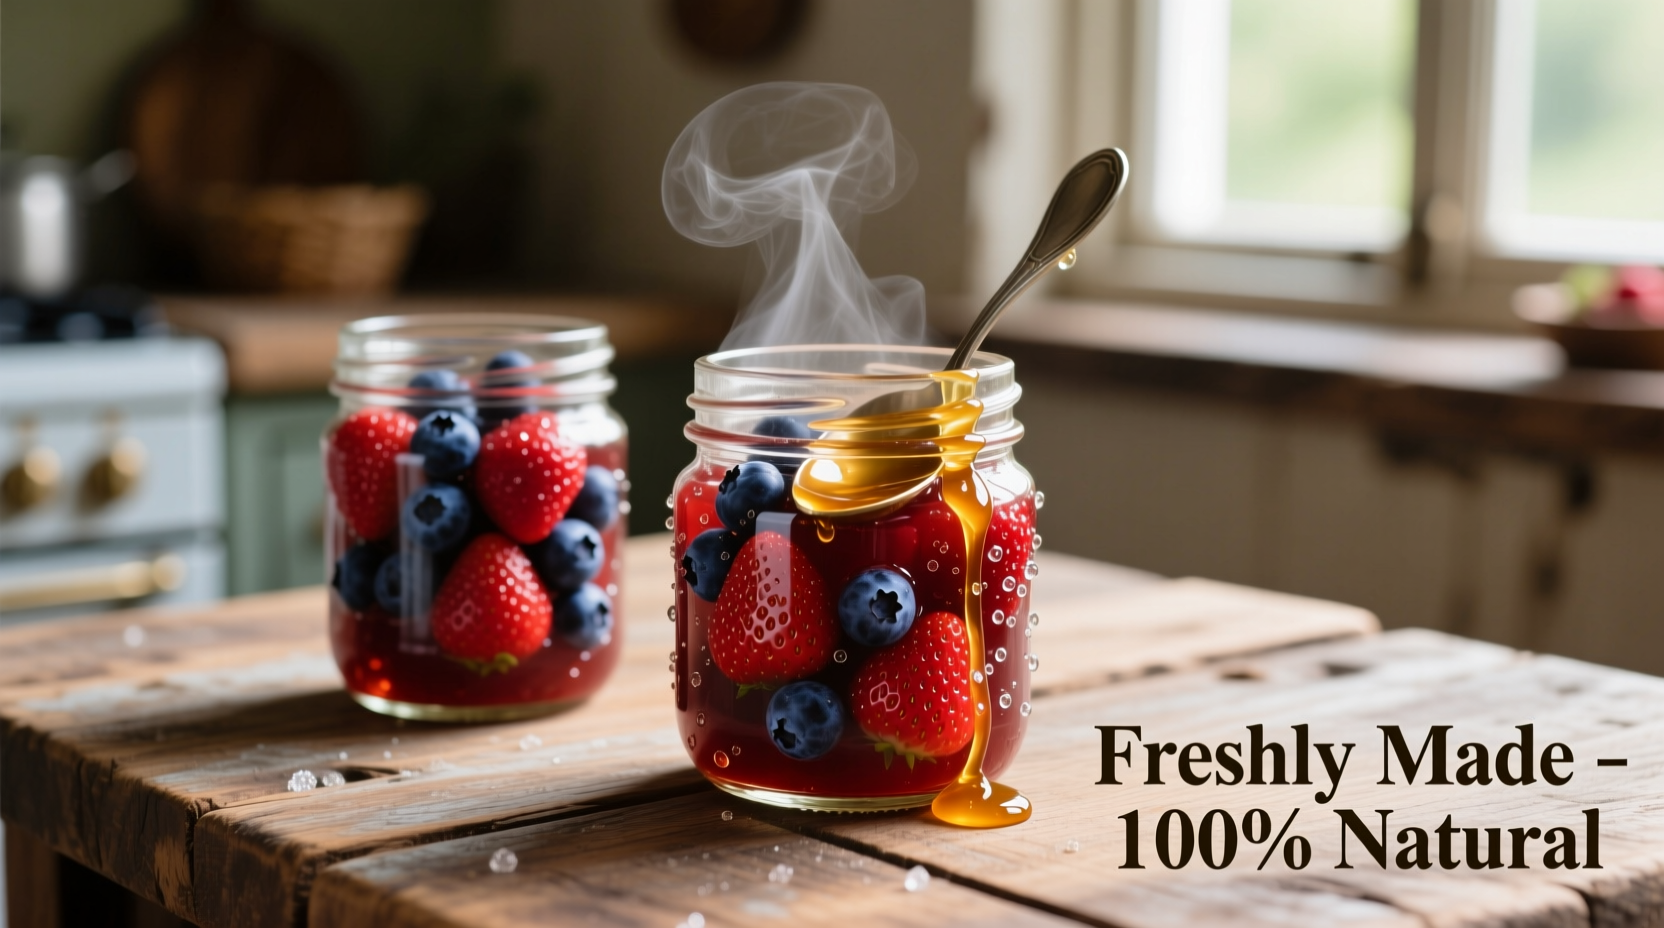
Storage Guidelines and Shelf Life
Properly processed jam stored in a cool, dark place remains safe for 12-18 months. Once opened, refrigerate and use within 3 weeks. For extended freshness, freeze jam in airtight containers for up to 2 years. Always use clean utensils when serving to prevent contamination.
The USDA Food Safety and Inspection Service confirms that high-acid, high-sugar preserves like properly made jam create an environment inhospitable to harmful bacteria, making water bath processing sufficient for safe preservation without refrigeration.
Practical Jam Applications Beyond Toast
Expand your culinary repertoire with these professional applications:
- Swirl into cheesecake batter before baking
- Mix with vinegar for instant salad dressing
- Fill thumbprint cookies or danish pastries
- Glaze roasted meats (try fig jam with pork)
- Stir into yogurt or oatmeal
Frequently Asked Questions
Can I reduce sugar in jam recipes?
Traditional jam requires specific sugar ratios for safe preservation and proper setting. For lower sugar options, use specially formulated low-sugar pectin and follow package instructions precisely. Never simply reduce sugar in standard recipes.
Why did my jam turn dark during cooking?
Excessive heat or cooking in reactive pots (aluminum, copper) causes caramelization and discoloration. Use heavy-bottomed stainless steel and maintain a vigorous but controlled boil without scorching.
How do I prevent fruit from floating in jars?
Let cooked jam rest 5-10 minutes before jarring to allow fruit to distribute evenly. Stir gently when filling jars and avoid overpacking. Some settling is normal during storage.
Can I use frozen fruit for jam making?
Yes, frozen fruit works well—thaw completely and drain excess liquid first. Frozen berries often contain more natural pectin than fresh off-season fruit, potentially improving set.


 浙公网安备
33010002000092号
浙公网安备
33010002000092号 浙B2-20120091-4