
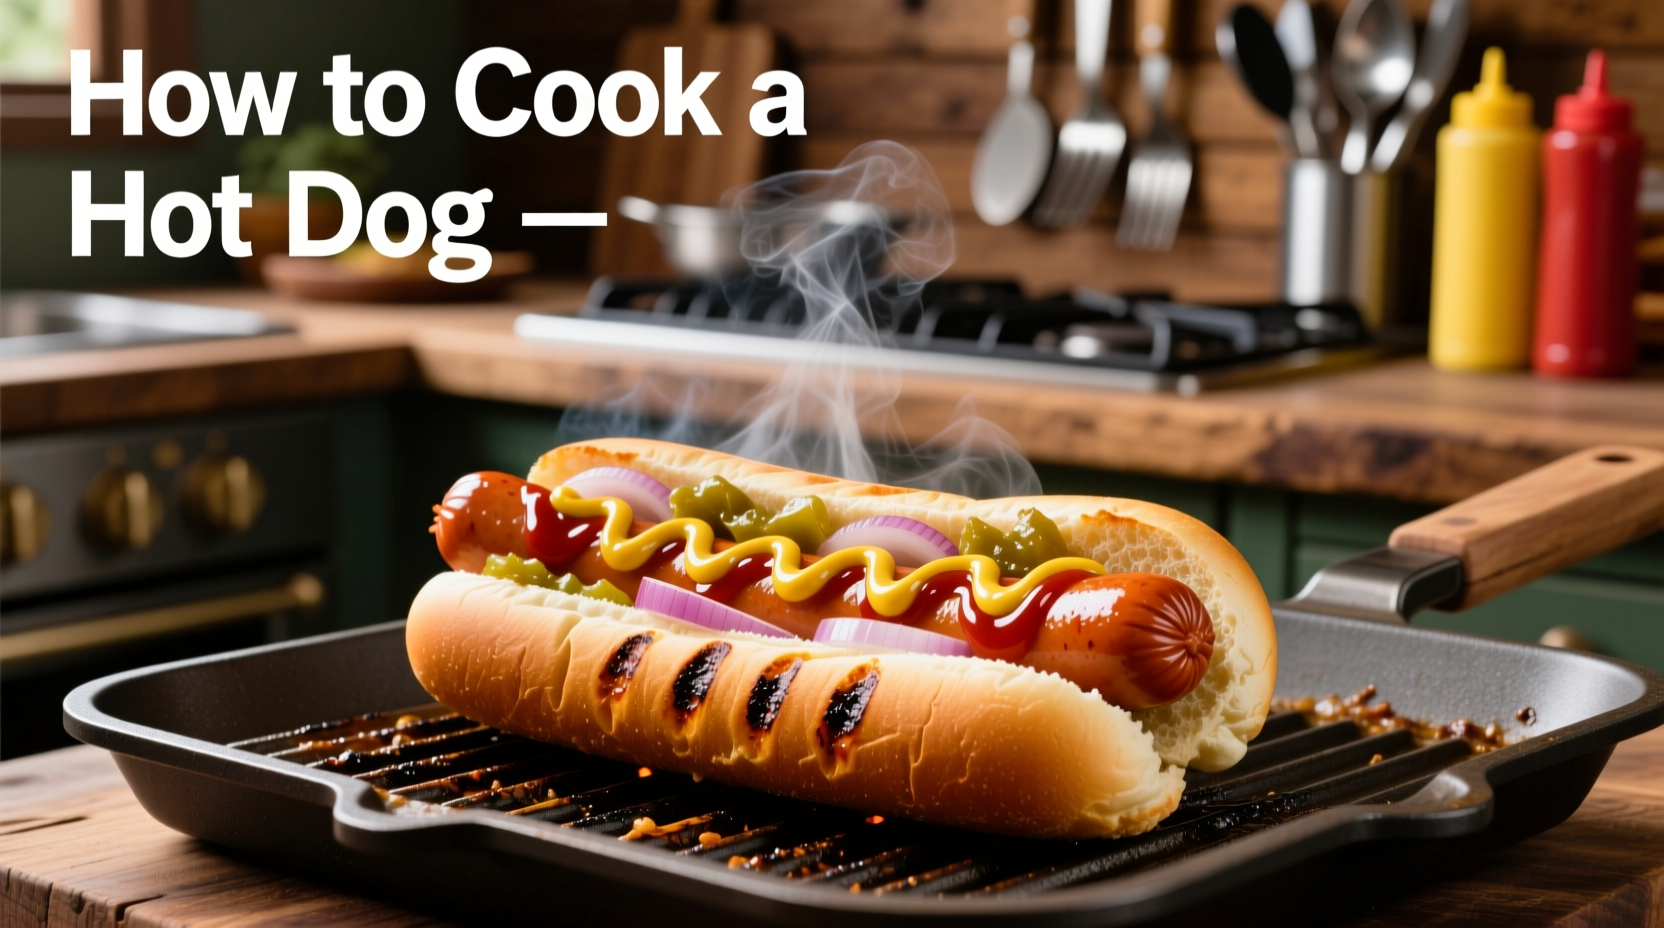
Hot dogs might seem simple, but mastering the perfect preparation transforms this classic American staple from ordinary to extraordinary. Whether you're hosting a backyard barbecue or need a quick weeknight meal, understanding the science behind cooking hot dogs ensures consistently delicious results every time.
Why Proper Hot Dog Cooking Technique Matters
Most people simply boil or microwave hot dogs, but these methods often result in soggy, unevenly cooked sausages that lack flavor complexity. Professional chefs know that the right cooking technique enhances texture, develops savory flavors through the Maillard reaction, and preserves the hot dog's natural juiciness. According to the USDA Food Safety and Inspection Service, properly cooked hot dogs should reach an internal temperature of 165°F (74°C) to ensure food safety while maintaining optimal texture.
Essential Preparation Steps
Before you start cooking, proper preparation sets the stage for success:
- Quality selection: Choose all-beef hot dogs for superior flavor and texture (avoid those with "byproducts" in ingredients)
- Temperature: Remove hot dogs from refrigerator 15 minutes before cooking to reduce cooking time variance
- Surface preparation: Pat dry with paper towels to ensure proper browning
- Knife technique: Make 3-4 shallow diagonal cuts (¼ inch deep) to prevent splitting while allowing heat penetration
Hot Dog Cooking Methods Compared
| Cooking Method | Time Required | Temperature | Best For | Pro Tips |
|---|---|---|---|---|
| Grilling | 7-10 minutes | Medium heat (350-400°F) | Weekend barbecues, outdoor entertaining | Rotate every 2 minutes; use indirect heat after initial sear |
| Stovetop | 5-8 minutes | Medium heat | Weeknight meals, small batches | Add ½ cup water to pan, cover for first 2 minutes |
| Air Fryer | 6-8 minutes | 375°F | Quick preparation, consistent results | Spray lightly with oil for better browning |
| Oven | 10-15 minutes | 400°F | Large gatherings, hands-off cooking | Place on wire rack over baking sheet |
| Boiling | 4-6 minutes | Gentle simmer | Emergency meals, soft texture preference | Add onion slices to water for flavor infusion |
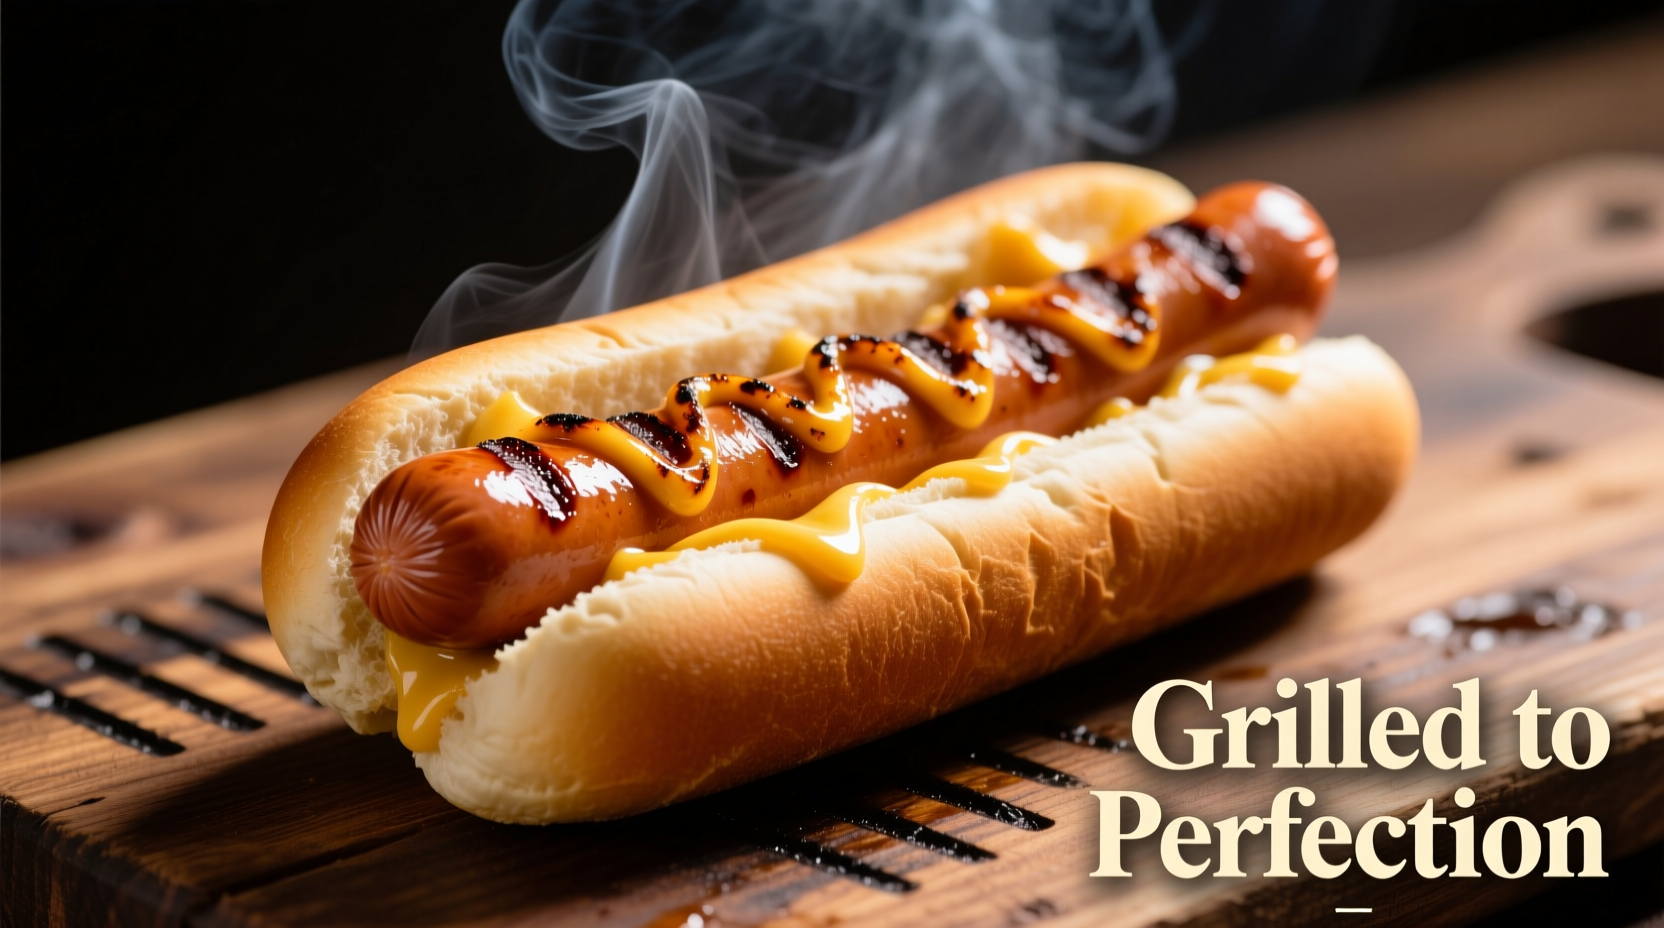
Mastering the Grill Method (Step-by-Step)
Grilling remains the gold standard for hot dog preparation, delivering that unmistakable smoky flavor and attractive char marks. Here's how to achieve restaurant-quality results:
- Preheat your grill to medium heat (350-400°F) with two-zone setup
- Place hot dogs directly over heat for 2 minutes to create initial sear marks
- Move to indirect heat side and continue cooking for 5-8 minutes
- Rotate every 2 minutes for even cooking and attractive crosshatch pattern
- Check internal temperature with instant-read thermometer (165°F minimum)
- Remove and let rest 1-2 minutes before serving
Pro Techniques for Perfect Results
Professional chefs use these science-backed methods to elevate hot dogs beyond basic preparation:
- The water trick: Add ½ cup of water to your skillet when pan-frying to create steam that cooks the interior while the exterior sears
- Temperature control: Never cook hot dogs over high heat - medium heat prevents casing rupture while ensuring thorough cooking
- The resting period: Allow hot dogs to rest for 1-2 minutes after cooking to redistribute juices
- Bun preparation: Lightly toast buns on the grill for 30-60 seconds to create a moisture barrier that prevents sogginess
Context Matters: Choosing Your Cooking Method
Different situations call for different cooking approaches. Understanding these context boundaries ensures optimal results:
- For backyard entertaining: Grilling provides visual appeal and smoky flavor that enhances the social experience
- For quick weeknight meals: Air fryer or stovetop methods deliver restaurant-quality results in under 10 minutes
- For large gatherings: Oven method allows cooking 20+ hot dogs simultaneously with minimal attention
- For food safety concerns: Always verify internal temperature reaches 165°F, especially with pre-cooked varieties
Common Mistakes to Avoid
Even experienced cooks make these hot dog preparation errors:
- Overcooking: Results in shrunken, rubbery texture and split casings - hot dogs only need 7-10 minutes total
- High heat cooking: Causes rapid expansion of interior moisture leading to splitting
- Serving cold buns: Creates temperature shock that makes hot dogs cool too quickly
- Ignoring resting time: Cutting immediately releases precious juices onto the plate
Serving Suggestions for Maximum Enjoyment
Elevate your hot dogs with these professional presentation techniques:
- Warm your buns by placing them cut-side down on the grill for 30 seconds
- Apply a thin layer of condiment directly to the bun interior before adding the hot dog
- Layer toppings strategically: onions first, then relish, then mustard for optimal flavor distribution
- Serve immediately after cooking for the best texture and temperature experience
Hot Dog Cooking Evolution Timeline
Understanding how hot dog preparation has evolved helps appreciate modern techniques:
- 1867: First documented hot dog sold by German immigrant Charles Feltman from a pushcart in Coney Island
- Early 1900s: Boiling became standard preparation method at street carts
- 1920s: Introduction of the first electric hot dog roller cookers
- Post-WWII: Rise of backyard grilling transformed hot dog preparation
- 1980s: Microwave cooking gained popularity despite quality compromises
- 2010s: Air fryer technology provided new option for crispy exterior with moist interior
- Today: Precision temperature control and multi-method approaches deliver optimal results


 浙公网安备
33010002000092号
浙公网安备
33010002000092号 浙B2-20120091-4