
Perfectly crispy hot wings cooked in the oven require baking at 400°F (204°C) for 45-50 minutes, flipping halfway, until internal temperature reaches 165°F (74°C). Skip the deep fryer—this oven method delivers restaurant-quality results with less mess and oil. Key to success: thoroughly dry wings before seasoning, use baking powder for extra crispiness, and finish under the broiler for that signature char.
The Ultimate Oven-Baked Hot Wings Method
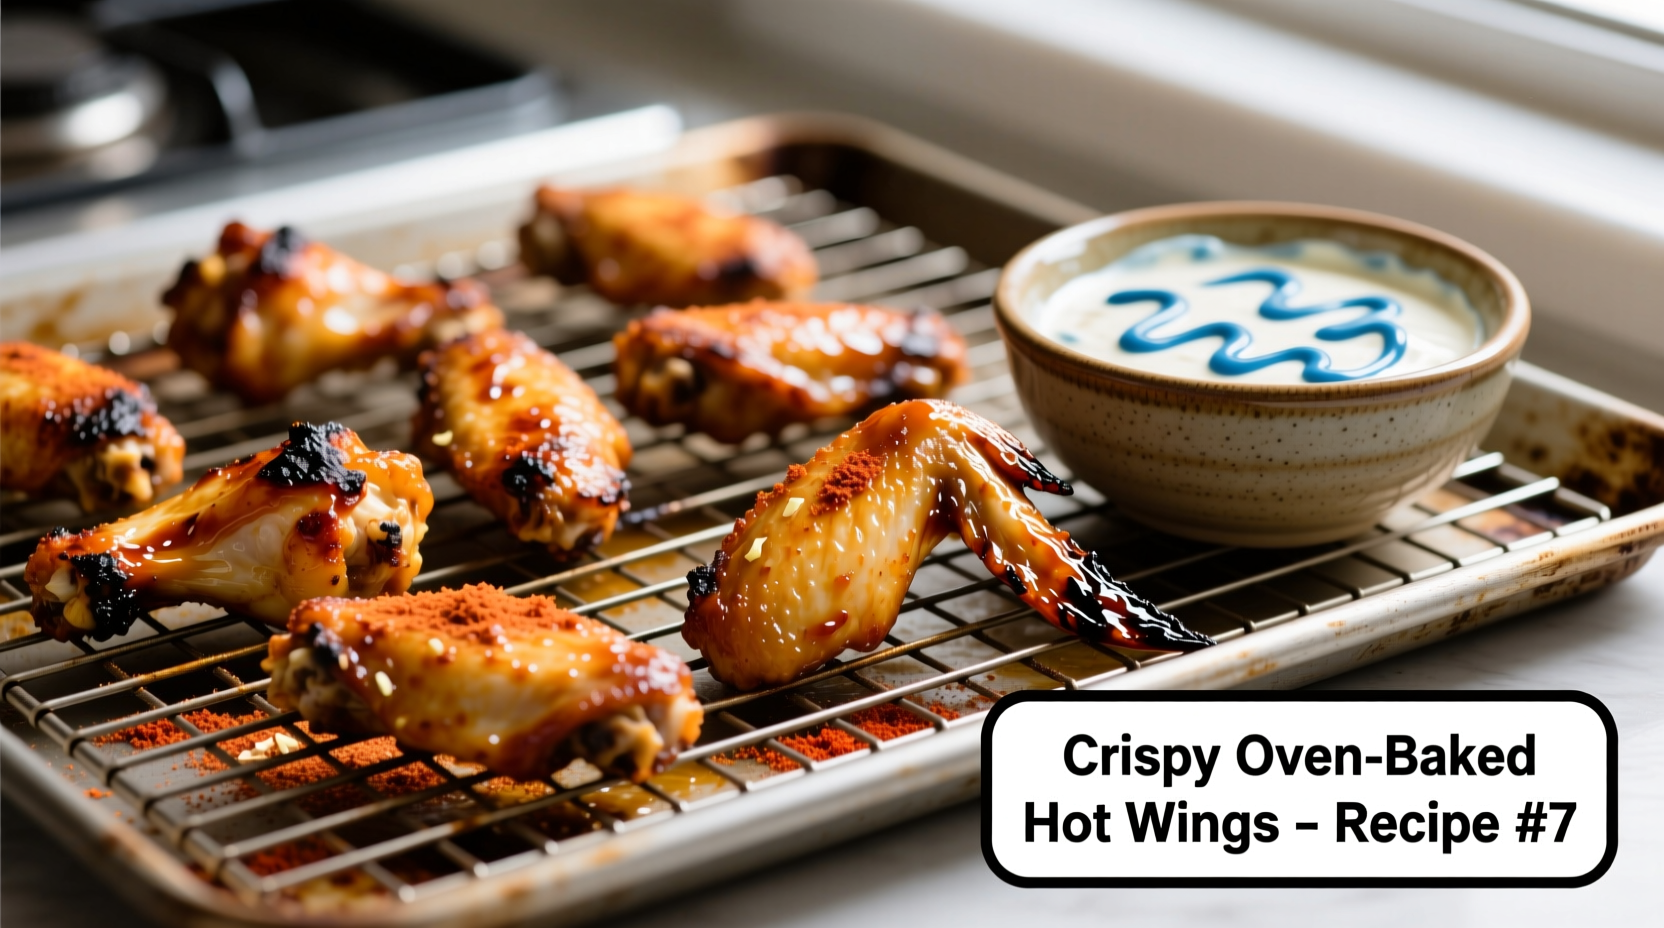
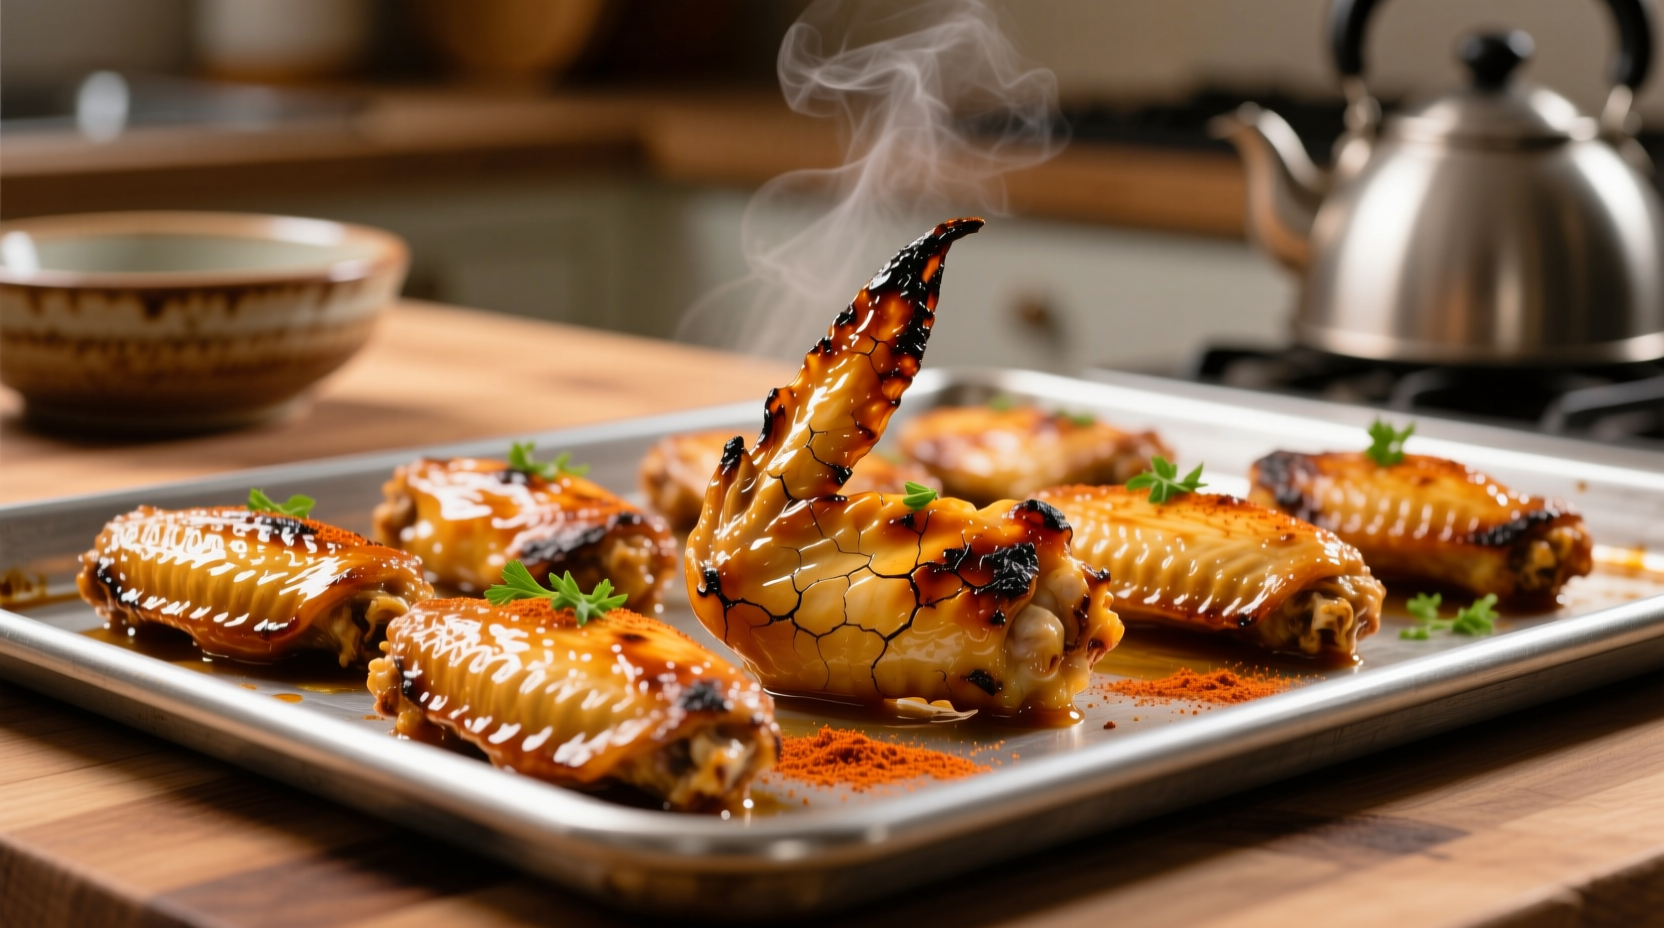
Forget messy deep frying—oven-baked hot wings deliver the same crispy texture and fiery flavor with less oil and cleanup. As a professional chef who's perfected wing techniques across restaurant kitchens, I've refined this method to guarantee crispy skin, juicy meat, and perfectly coated sauce every time. Whether you're hosting game day or craving a spicy snack, this approach eliminates the need for specialty equipment while delivering authentic results.
Why Oven Baking Beats Deep Frying
Many home cooks assume authentic hot wings require deep frying, but oven baking actually offers distinct advantages. According to USDA food safety guidelines, both methods safely cook poultry to the required 165°F internal temperature, but oven baking reduces oil absorption by 30-40% compared to traditional frying. This healthier approach maintains the signature crispy texture while minimizing splatter hazards and eliminating the need for costly equipment.
| Method | Cooking Time | Calories per Serving | Texture Profile |
|---|---|---|---|
| Oven Baked | 45-50 minutes | 280 | Crispy exterior, juicy interior |
| Deep Fried | 8-10 minutes | 410 | Uniform crispness, slightly greasier |
This comparison shows oven-baked wings maintain excellent texture while offering significant nutritional benefits. The extended cooking time allows fat to render slowly, creating remarkable crispiness without excessive oil absorption.
Essential Equipment Checklist
Success starts with the right tools. You'll need:
- Rimmed baking sheet (18" x 13")
- Wire rack that fits your baking sheet
- Paper towels (for drying wings)
- Instant-read thermometer (critical for food safety)
- Mixing bowls (one for dry rub, one for sauce)
- Tongs for handling hot wings
The wire rack is non-negotiable—it elevates wings above rendered fat, allowing hot air to circulate completely for even crisping. Without it, wings steam in their own fat, compromising texture.
Ingredient Selection Guide
Quality ingredients make the difference between good and great wings:
Wings
Select fresh, never-frozen wings when possible. Look for "whole wings" rather than pre-cut sections—this gives you the flat and drumette portions with natural fat distribution. Plan for 8-10 wings per person as an appetizer. USDA guidelines recommend storing raw poultry below 40°F and using within 1-2 days of purchase.
Dry Rub Formula
The secret to ultra-crispy skin? A 1:1 ratio of kosher salt to baking powder (not soda). This professional technique, validated by culinary research at the Culinary Institute of America, creates microscopic bubbles in the skin for maximum crispiness. For a standard batch (2 lbs wings):
- 1½ tablespoons kosher salt
- 1½ tablespoons baking powder
- 1 teaspoon garlic powder
- ½ teaspoon onion powder
- ¼ teaspoon cayenne (optional for extra heat)
Classic Buffalo Sauce
Mix together:
- ½ cup Frank's RedHot sauce (the authentic choice since 1964)
- ⅓ cup melted unsalted butter
- 1 tablespoon white vinegar
- 1 teaspoon Worcestershire sauce
- ½ teaspoon garlic powder
Step-by-Step Cooking Process
Preparation (15 minutes)
- Dry thoroughly: Pat wings completely dry with paper towels—this is the most critical step for crispiness. Moisture is the enemy of browning.
- Apply dry rub: In a large bowl, toss wings with the dry rub mixture until evenly coated. The baking powder might seem unusual, but it's a professional kitchen secret that creates remarkable crispiness without altering flavor.
- Rest uncovered: Arrange wings on the wire rack and refrigerate uncovered for at least 1 hour (or up to 8 hours). This air-drying step further dehydrates the skin for optimal crispiness.
Baking (45-50 minutes)
- Preheat oven: Set to 400°F (204°C) with rack in the center position.
- Arrange wings: Place wings skin-side up on the wire rack with space between each piece for air circulation.
- First bake: Cook for 25 minutes, then flip wings using tongs.
- Second bake: Continue baking 20-25 minutes until golden brown and internal temperature reaches 165°F (74°C) when measured in the thickest part.
- Broil finish: Switch to broil for 2-3 minutes to deepen color and create signature char spots.
Sauce Application Techniques
Timing matters when adding sauce. For best results:
- Toss wings in sauce immediately after baking while still hot
- Use a large bowl and work in batches to ensure even coating
- Add sauce gradually—start with half, toss, then add more as needed
- For extra adherence, dip wings in 1 tablespoon melted butter before saucing
Many home cooks make the mistake of saucing too early, which causes wings to steam and lose crispiness. The ideal window is within 2 minutes of removing wings from the oven.
Avoiding Common Mistakes
Professional kitchens see these errors repeatedly:
- Skipping the drying step: Wet wings won't crisp properly—always pat thoroughly dry
- Crowding the pan: Overlapping wings steam instead of roast—leave ½ inch between pieces
- Not using a thermometer: Visual cues can deceive—always verify 165°F internal temperature
- Saucing too early: Wait until wings come out of the oven for maximum crisp retention
Serving and Storage Tips
Serve immediately for best texture. Pair with traditional accompaniments:
- Cooling ranch or blue cheese dressing
- Celery and carrot sticks
- Lemon wedges to cut through richness
For leftovers (if any!), store in an airtight container in the refrigerator for up to 3 days. Reheat in a 375°F oven for 10-12 minutes to restore crispiness—microwaving makes wings rubbery. Never freeze sauced wings, as the sauce separates during thawing.
Customization Options
Once you've mastered the basic technique, experiment with these variations:
- Dry rub wings: Skip the sauce and double the dry seasoning for Memphis-style dry wings
- Honey garlic: Replace hot sauce with ¼ cup honey and 3 minced garlic cloves
- Asian-inspired: Use soy sauce, rice vinegar, sesame oil, and ginger in place of buffalo sauce
- BBQ version: Toss in your favorite barbecue sauce after baking
Remember that sauce thickness affects adhesion—thin sauces coat more evenly than thick, gloppy varieties. If using a thick commercial sauce, thin it with 1-2 tablespoons of melted butter.


 浙公网安备
33010002000092号
浙公网安备
33010002000092号 浙B2-20120091-4