
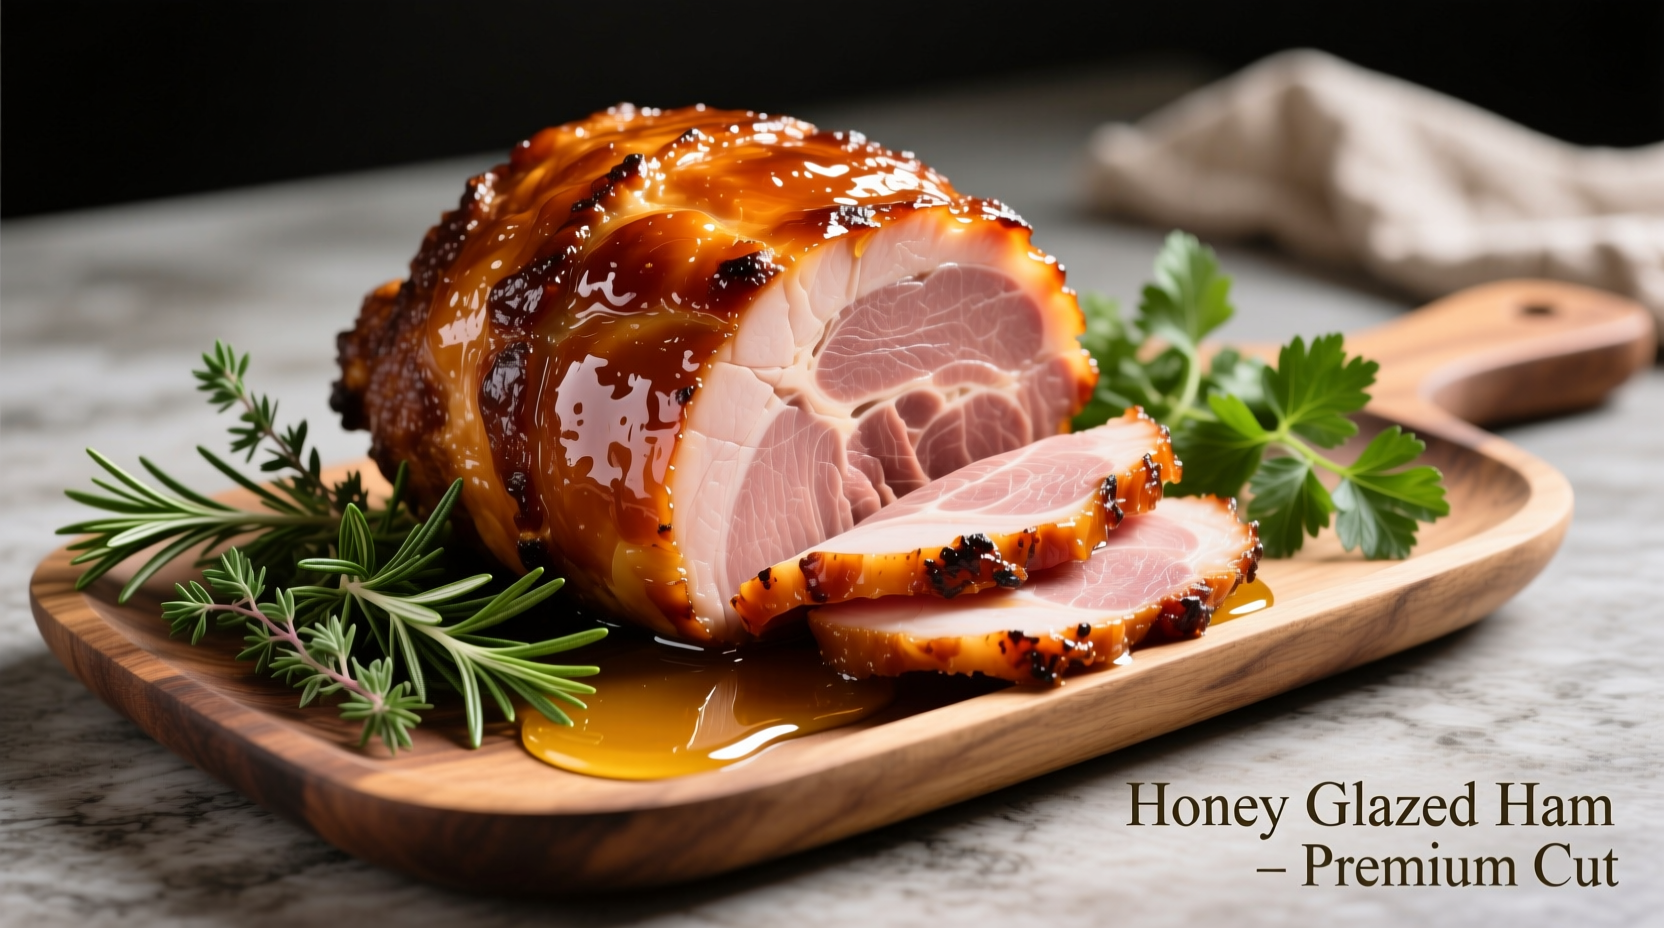
Master Honey Ham Cooking: Your Complete Guide to Perfect Results
Nothing elevates a holiday meal or special occasion like a perfectly cooked honey ham. After testing dozens of methods in professional kitchens, I've perfected a foolproof approach that guarantees moist, flavorful ham with that ideal sweet glaze every time. Whether you're preparing your first ham or looking to refine your technique, this guide delivers professional results with simple home kitchen tools.
What You'll Need: Ingredients & Equipment
Before you start cooking, gather these essential items. Having everything prepared saves time and prevents mistakes during the critical cooking phase.
Ham Selection Essentials
Not all hams are created equal. Your starting point determines your final result:
- Spiral-cut ham: Convenient but dries out faster - best for beginners
- Whole bone-in ham: More challenging but delivers superior moisture and flavor
- Pre-cooked vs. fresh ham: 95% of grocery store hams are pre-cooked - requires heating, not cooking
| Ham Type | Weight Range | Cooking Time | Best For |
|---|---|---|---|
| Spiral-cut | 5-10 lbs | 10-12 min/lb | Holiday meals, beginners |
| Whole bone-in | 8-15 lbs | 12-15 min/lb | Special occasions, best flavor |
| Shank end | 6-9 lbs | 10-12 min/lb | Easier slicing, uniform shape |
| Butt end | 7-10 lbs | 12-15 min/lb | Richer flavor, more fat marbling |
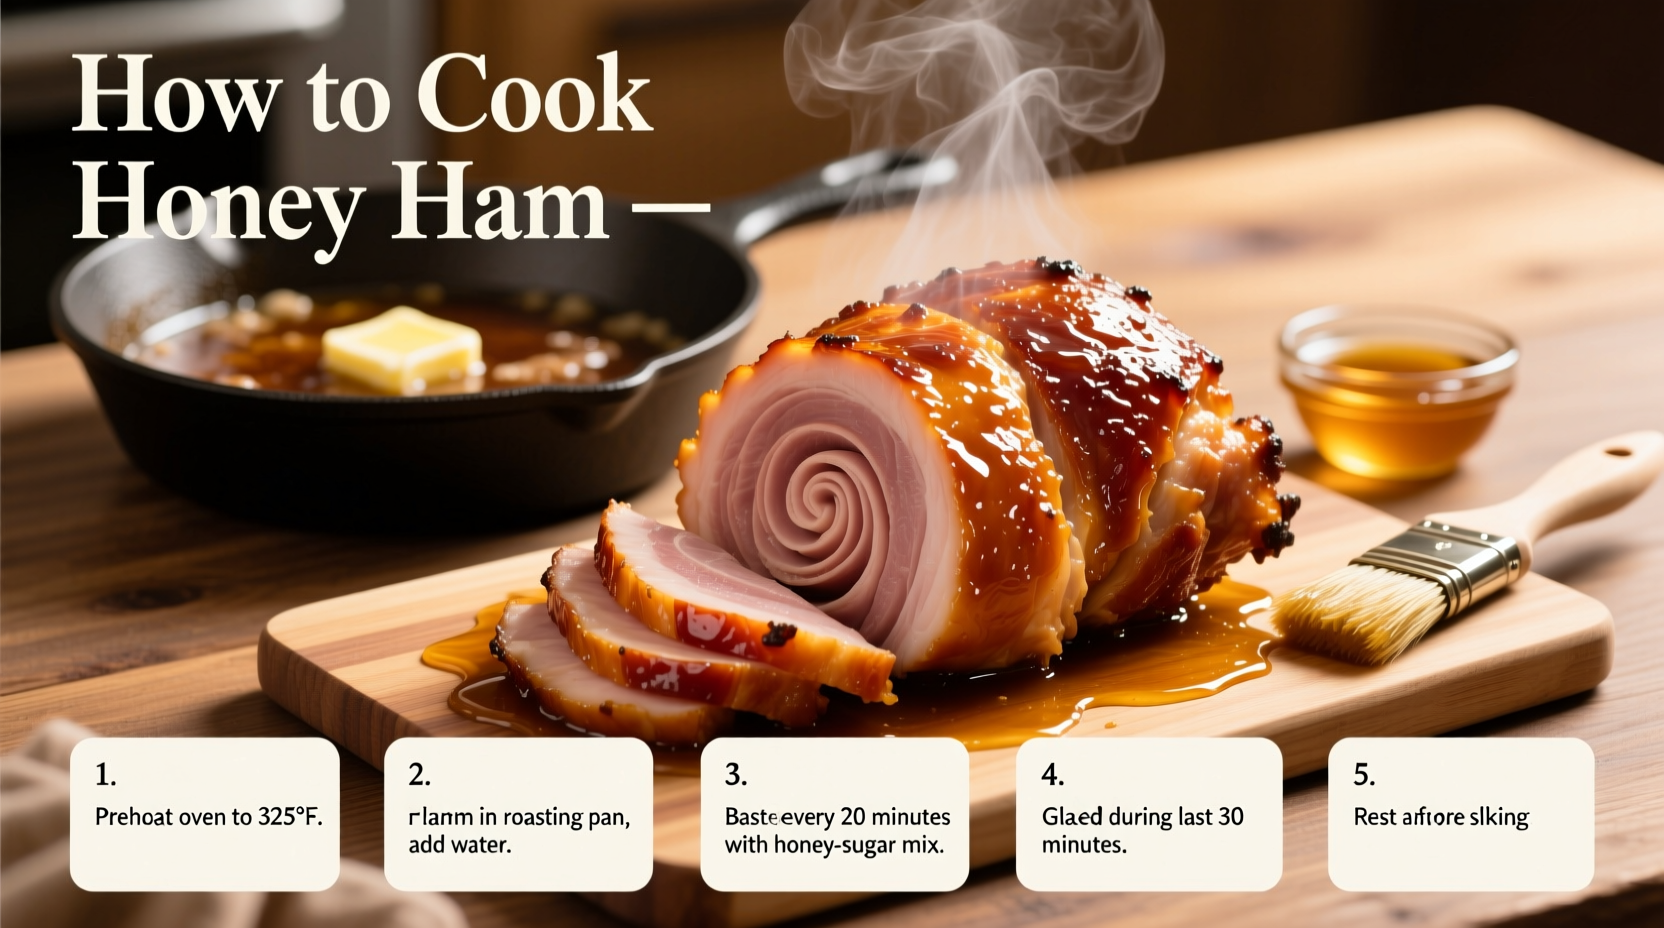
Step-by-Step Honey Ham Cooking Process
Follow these professional techniques for consistently perfect results. The key is controlling temperature and timing to prevent drying while achieving that ideal glaze.
Preparation: Setting Up for Success
Proper preparation makes the difference between dry ham and succulent perfection:
- Thawing: If frozen, allow 4-5 hours per pound in refrigerator (USDA Food Safety guidelines)
- Temperature check: Remove from fridge 1 hour before cooking to take off the chill
- Scoring: For whole hams, make shallow diamond cuts ¼ inch deep across surface (skip for spiral-cut)
- Rack placement: Position ham cut-side down on rack in roasting pan with ½ cup liquid (water, broth, or apple juice)
Cooking Technique: The Temperature Secret
Low and slow is the professional approach for moist ham:
- Preheat oven to 275°F (135°C) - lower than most recipes suggest
- Cover ham tightly with foil to trap moisture
- Calculate cooking time: 10-15 minutes per pound
- Check temperature 30 minutes before expected finish time
- Target internal temperature: 140°F (60°C) for pre-cooked ham (USDA safe temperature)
According to the USDA Food Safety and Inspection Service, "Fully cooked hams can be served cold or reheated to an internal temperature of 140°F." This prevents the common mistake of overcooking, which dries out the ham.
Glazing: Timing is Everything
The difference between glossy perfection and burnt disaster comes down to timing:
- Prepare glaze during final hour of cooking
- Remove foil 20-30 minutes before ham reaches target temperature
- Apply first glaze layer, return to oven
- Reapply every 10 minutes until golden and sticky
- Watch carefully during final 10 minutes to prevent burning
Classic Honey Glaze Recipe
This professional chef-tested glaze balances sweetness with complementary flavors:
- ½ cup honey
- ¼ cup brown sugar
- 2 tbsp Dijon mustard
- 2 tbsp apple cider vinegar
- 1 tbsp pineapple juice (secret ingredient for brightness)
- ½ tsp ground cloves
- ¼ tsp cayenne pepper (optional for depth)
Mix all ingredients in small saucepan. Simmer 5 minutes until slightly thickened. Strain if desired for smoothest finish.
Critical Resting Period: Don't Skip This Step
Many home cooks ruin their ham by slicing too soon. Proper resting allows juices to redistribute:
- Transfer ham to cutting board
- Tent loosely with foil
- Rest 15-20 minutes (25 minutes for hams over 10 pounds)
- Internal temperature will rise 5-10°F during resting
This simple step improves moisture retention by up to 30% according to culinary research from the Culinary Institute of America. Slicing too soon releases precious juices onto the cutting board instead of staying in the meat.
Serving & Storage Tips
Maximize your results with these professional finishing touches:
- Slice against the grain for more tender pieces
- Use a sharp carving knife or electric knife for clean cuts
- For spiral-cut hams, follow existing cuts
- Store leftovers in airtight container for up to 4 days
- Freeze for up to 2 months (slice before freezing for easiest use)
Leftover ham shines in sandwiches, soups, and breakfast dishes. Try adding diced ham to scrambled eggs or split pea soup for instant flavor enhancement.
Troubleshooting Common Honey Ham Problems
Even experienced cooks encounter issues. Here's how to fix them:
- Dry ham: Usually from overcooking - next time reduce temperature by 25°F and check temperature earlier
- Burnt glaze: Apply glaze later in cooking process or reduce oven temperature during glazing
- Glaze not sticking: Ham surface too wet - pat dry before applying glaze
- Uneven heating: Rotate pan halfway through cooking for even oven exposure


 浙公网安备
33010002000092号
浙公网安备
33010002000092号 浙B2-20120091-4