
Perfect pan-cooked hamburgers require medium-high heat (375°F/190°C), 3-4 minutes per side for medium doneness, and a rested patty to retain juices. This guide delivers restaurant-quality results with basic kitchen equipment.
The Ultimate Guide to Pan-Cooked Hamburgers
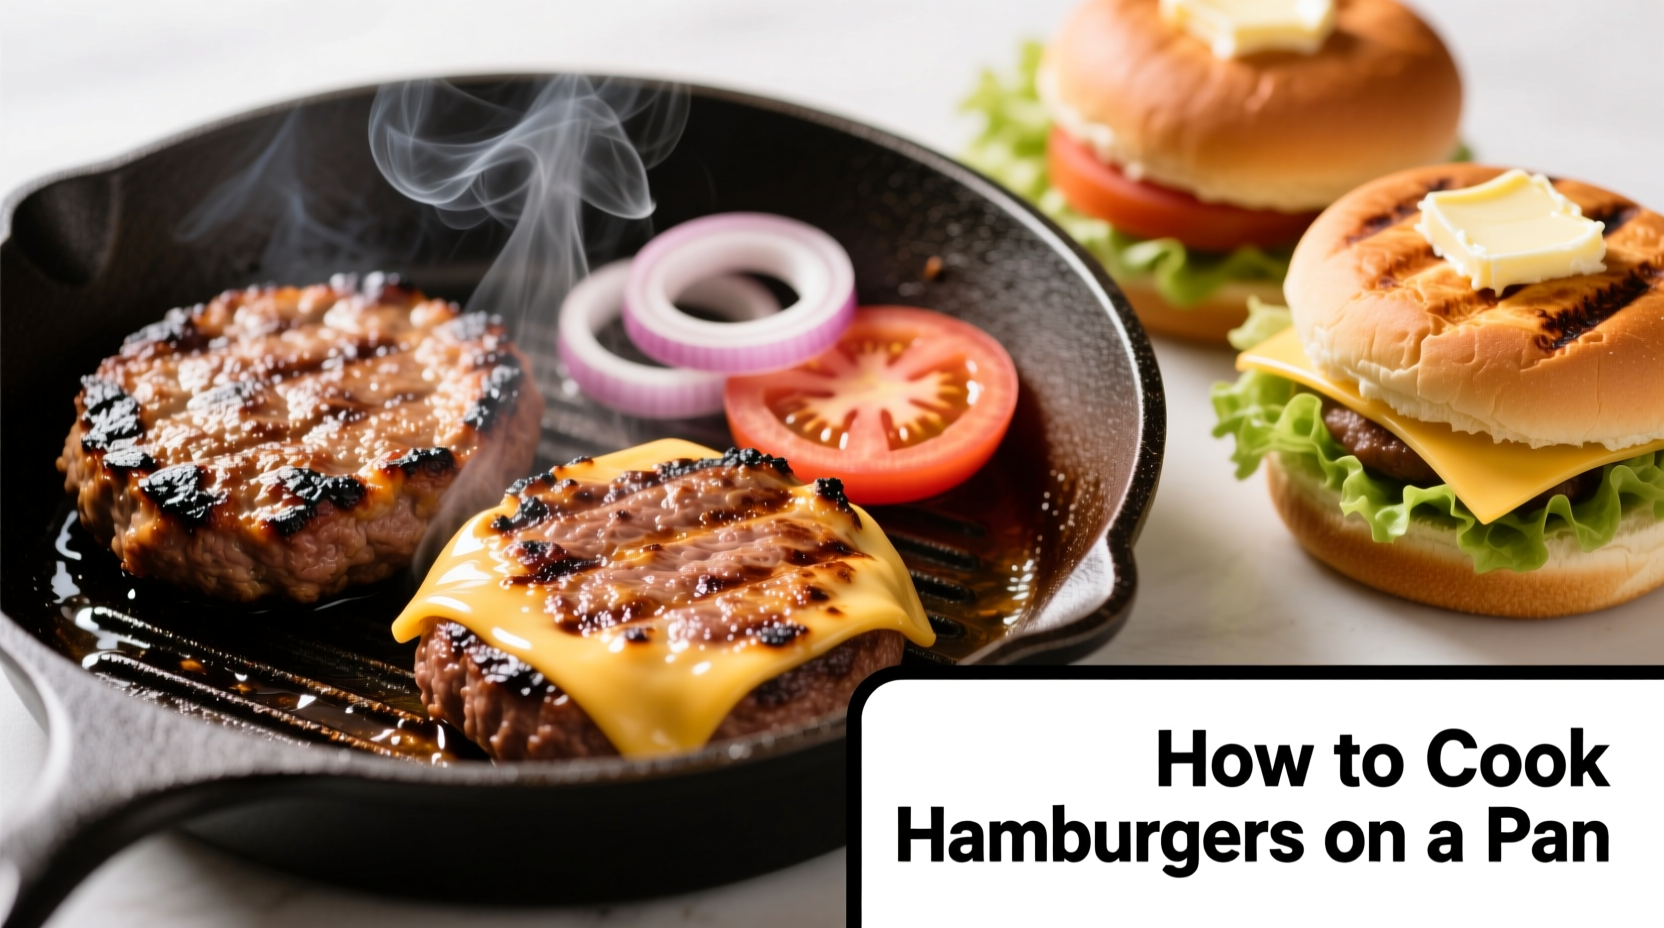
Nothing beats a juicy, flavorful hamburger cooked right in your kitchen. While grilling gets all the summer attention, pan-cooking delivers consistent, restaurant-quality results year-round—especially when outdoor cooking isn't an option. Master these techniques to transform basic ground beef into a culinary triumph.
Why Pan Cooking Beats Other Methods
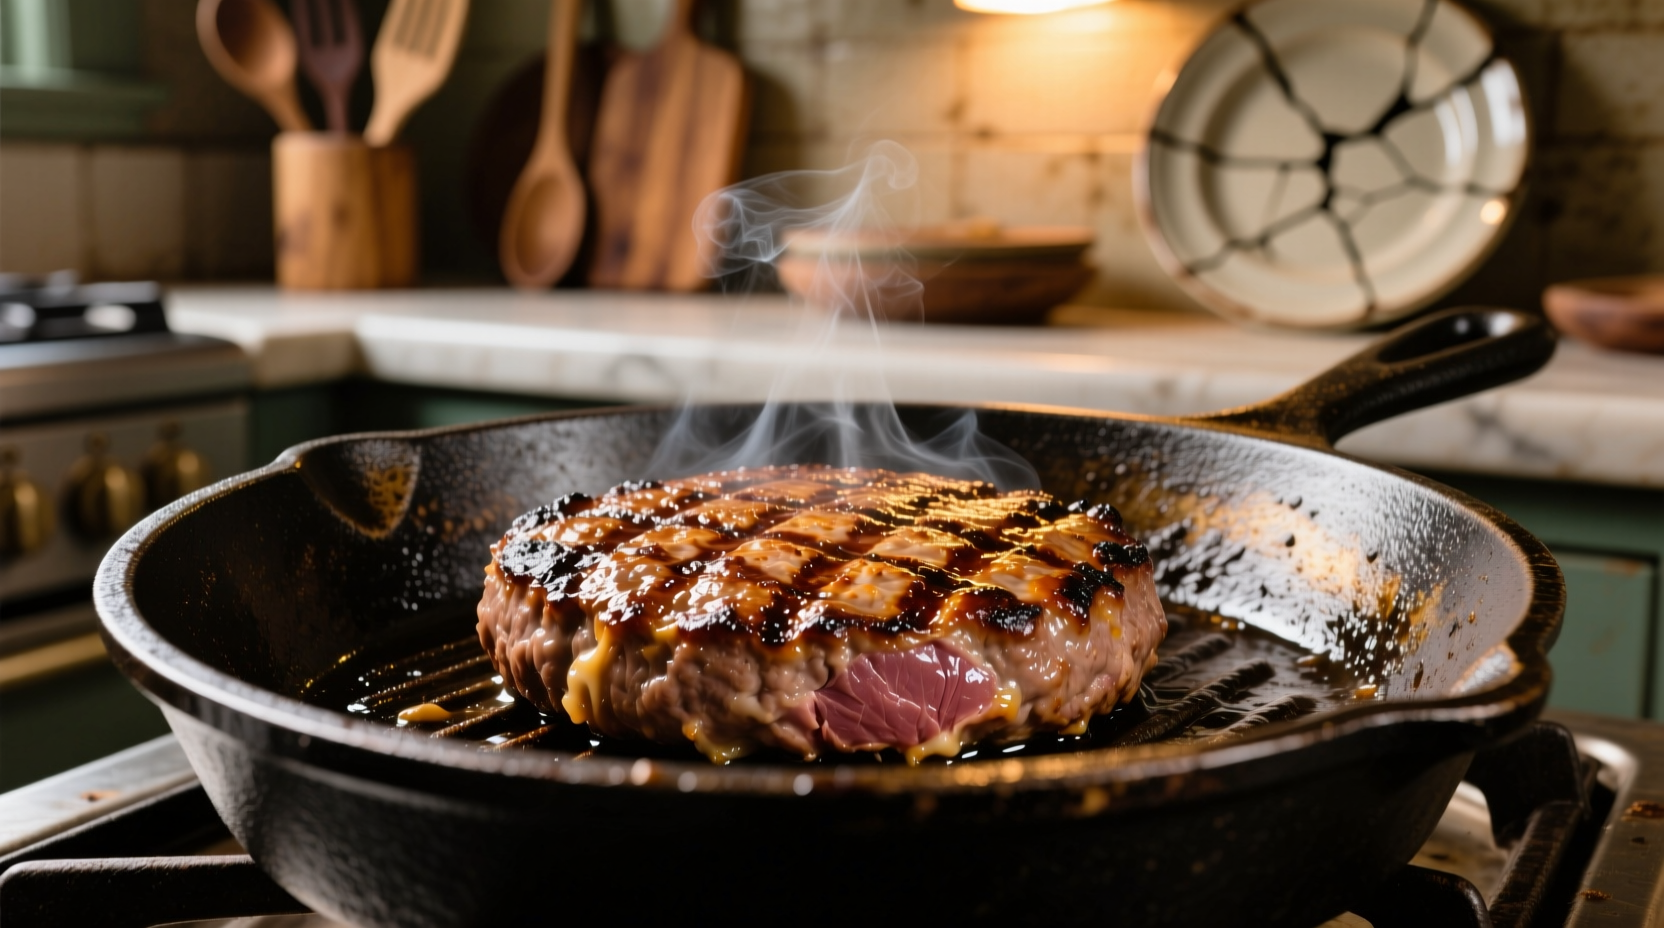
When outdoor grilling isn't possible or you need precise temperature control, the stovetop becomes your best kitchen ally. Unlike outdoor methods affected by weather, pan cooking offers consistent heat distribution and better moisture retention—critical for juicy results. Professional chefs often prefer cast iron skillets for their superior heat retention and natural non-stick properties when properly seasoned.
| Cooking Method | Best For | Temperature Control | Juiciness Factor |
|---|---|---|---|
| Cast Iron Skillet | Indoor cooking, consistent results | Excellent (even heat distribution) | ★★★★★ |
| Stainless Steel Pan | Quick cooking, easy cleanup | Good (requires oil management) | ★★★★☆ |
| Outdoor Grill | Summer cooking, smoky flavor | Fair (weather dependent) | ★★★☆☆ |
| Oven Broiling | Hands-off cooking, multiple patties | Poor (limited adjustment) | ★★☆☆☆ |
Essential Equipment Checklist
Before you start, gather these kitchen essentials:
- Heavy-bottomed skillet (cast iron preferred)
- Instant-read thermometer (critical for food safety)
- Spatter screen (reduces cleanup)
- Thin metal spatula (for clean flipping)
- Resting plate (with wire rack if possible)
Perfect Patty Preparation
Quality begins before the meat hits the pan. Choose ground beef with 15-20% fat content for optimal juiciness—leaner blends dry out during cooking. Form patties slightly larger than your bun diameter (they'll shrink), about ¾-inch thick with a subtle dimple in the center to prevent bulging.
Season generously with coarse salt and freshly ground pepper just before cooking—adding salt too early draws out moisture. Avoid over-handling the meat, which compacts the proteins and creates tough burgers. The USDA Food Safety and Inspection Service recommends cooking ground beef to 160°F (71°C) for safety, though many chefs pull patties at 155°F (68°C) for medium doneness, allowing residual heat to reach the safe temperature during resting.
Step-by-Step Cooking Process
Phase 1: Preheating (Critical First Step)
Place your empty skillet over medium-high heat for 3-5 minutes until properly preheated. Test readiness by sprinkling a few water droplets—they should dance and evaporate instantly. Add just enough high-smoke point oil (avocado or canola) to coat the surface.
Phase 2: The Sear (First 2 Minutes)
Place patties in the hot skillet without crowding. Listen for that satisfying sizzle—the sound of the Maillard reaction creating complex flavor compounds. Resist the urge to press down; this squeezes out precious juices. Cook undisturbed for 2 minutes to develop a proper crust.
Phase 3: Flipping and Finishing (Minutes 2-6)
Flip once using a thin metal spatula, pressing gently to ensure even contact. For medium doneness, cook 3-4 minutes on the second side. Add cheese during the final minute if desired, covering briefly to melt. Insert thermometer horizontally into the side of the patty.
Phase 4: The Essential Rest (3-5 Minutes)
Transfer patties to a wire rack (not directly on a plate) and rest for 3-5 minutes. This critical step allows juices to redistribute—cutting too soon releases moisture onto your plate instead of staying in the burger.
Avoid These Common Mistakes
Even experienced cooks make these critical errors:
- Over-flipping: Flip only once for optimal crust development
- Cold meat: Bring patties to room temperature before cooking
- Crowded pan: Cook in batches to maintain proper temperature
- Skipping the rest: Never skip the resting period—juiciness depends on it
Temperature Guide for Perfect Doneness
Internal temperatures determine your burger's final texture and safety. Use an instant-read thermometer inserted horizontally from the side for accuracy:
| Doneness | Internal Temperature | Visual Characteristics | USDA Safety Note |
|---|---|---|---|
| Rare | 120-125°F (49-52°C) | Very red center, extremely soft | Not recommended for ground beef |
| Medium Rare | 130-135°F (54-57°C) | Warm red center, soft texture | Higher risk for vulnerable populations |
| Medium | 140-145°F (60-63°C) | Pink center, slightly firm | Safe for most adults |
| Medium Well | 150-155°F (66-68°C) | Slightly pink center, firm texture | Recommended for food safety |
| Well Done | 160°F+ (71°C+) | No pink, very firm | USDA minimum safe temperature |
The USDA Food Safety and Inspection Service maintains that ground beef must reach 160°F (71°C) to eliminate potential pathogens like E. coli. While many chefs prefer slightly lower temperatures for better texture, vulnerable populations (children, elderly, immunocompromised) should consume burgers cooked to the USDA minimum.
Serving Your Masterpiece
Place your rested burger on a lightly toasted bun—buttered and grilled on the pan for extra flavor. Add your favorite toppings, but remember that simplicity often showcases the quality of your perfectly cooked patty. Classic combinations include:
- Traditional: Lettuce, tomato, onion, pickles, ketchup, mustard
- Gourmet: Caramelized onions, aged cheddar, arugula, garlic aioli
- Restaurant Style: Crispy bacon, melted Swiss, sautéed mushrooms
For optimal eating experience, serve immediately while the bun remains crisp and the patty stays hot and juicy. Pair with classic sides like hand-cut fries or a crisp green salad.


 浙公网安备
33010002000092号
浙公网安备
33010002000092号 浙B2-20120091-4