

Mastering how to cook grits transforms this humble Southern staple into creamy perfection every time. Whether you're using stone-ground, quick-cooking, or instant varieties, the right technique makes all the difference between lumpy disappointment and smooth, comforting satisfaction. This guide delivers professional chef-tested methods that solve common problems like uneven texture, bland flavor, and frustrating sticking.
Follow our step-by-step process to achieve restaurant-quality grits at home—no more guessing about water ratios or cooking times. You'll learn why certain techniques work, how to rescue common mistakes, and authentic ways to season like a Southern grandmother. Let's transform your grits from basic to extraordinary.
Choosing Your Grits: Types and Differences
Not all grits are created equal. Understanding the differences between varieties prevents cooking disasters before they start. The type you select directly impacts water ratios, cooking times, and final texture.
| Grits Type | Grind Size | Water Ratio | Cooking Time | Texture Result |
|---|---|---|---|---|
| Stone-Ground | Coarse | 4:1 | 45-60 minutes | Rustic, hearty, distinct corn flavor |
| Quick-Cooking | Medium | 4:1 | 5-10 minutes | Smoother, more uniform texture |
| Instant | Fine | 4:1 (follow package) | 1-5 minutes | Most uniform, can become gluey if overcooked |
The Foolproof Cooking Method
Preparation Essentials
Gather these tools before starting: heavy-bottomed saucepan, wooden spoon, measuring cups, and timer. The pan's weight prevents scorching—critical for even cooking. Always measure water and grits precisely; eyeballing leads to inconsistent results.
Step 1: Water Temperature Matters
Bring water to a full rolling boil before adding grits. This prevents immediate clumping. Add 1 teaspoon salt per 4 cups water to season from the start. Professional chefs at the Southern Foodways Alliance confirm that starting with boiling water creates a smoother base texture (Southern Foodways Alliance, 2023).
Step 2: The Critical Addition Technique
Slowly whisk grits into boiling water in a thin, steady stream while stirring constantly. This gradual incorporation prevents lumps from forming. Never dump grits all at once—that's the #1 cause of lumpy grits according to culinary research from the University of Georgia's Food Science Department.
Step 3: Simmering for Perfect Texture
Reduce heat immediately to low after adding grits. Maintain the barest simmer—small bubbles should occasionally break the surface. Cover partially with lid to prevent boil-overs while allowing steam to escape. Stir every 5 minutes with a figure-eight motion to scrape the entire bottom.
Step 4: The Creaminess Test
After 30 minutes (for stone-ground), test consistency by placing a spoonful on a cold plate. It should hold shape briefly before slowly spreading. If too stiff, add ¼ cup hot water. If too thin, continue cooking uncovered for 5-10 minutes. Remember: grits continue thickening off heat.
Troubleshooting Common Problems
Rescuing Lumpy Grits
If lumps form, immediately remove from heat and vigorously whisk. For stubborn lumps, use an immersion blender for 10-15 seconds. Prevention is better: always add grits slowly to boiling liquid while stirring continuously.
Fixing Burnt Bottom
If you smell burning, immediately transfer grits to clean pot. Scrape only unburnt portions—any burnt particles will spoil the entire batch. Prevent sticking by using heavy cookware and stirring frequently, especially during the first 10 minutes.
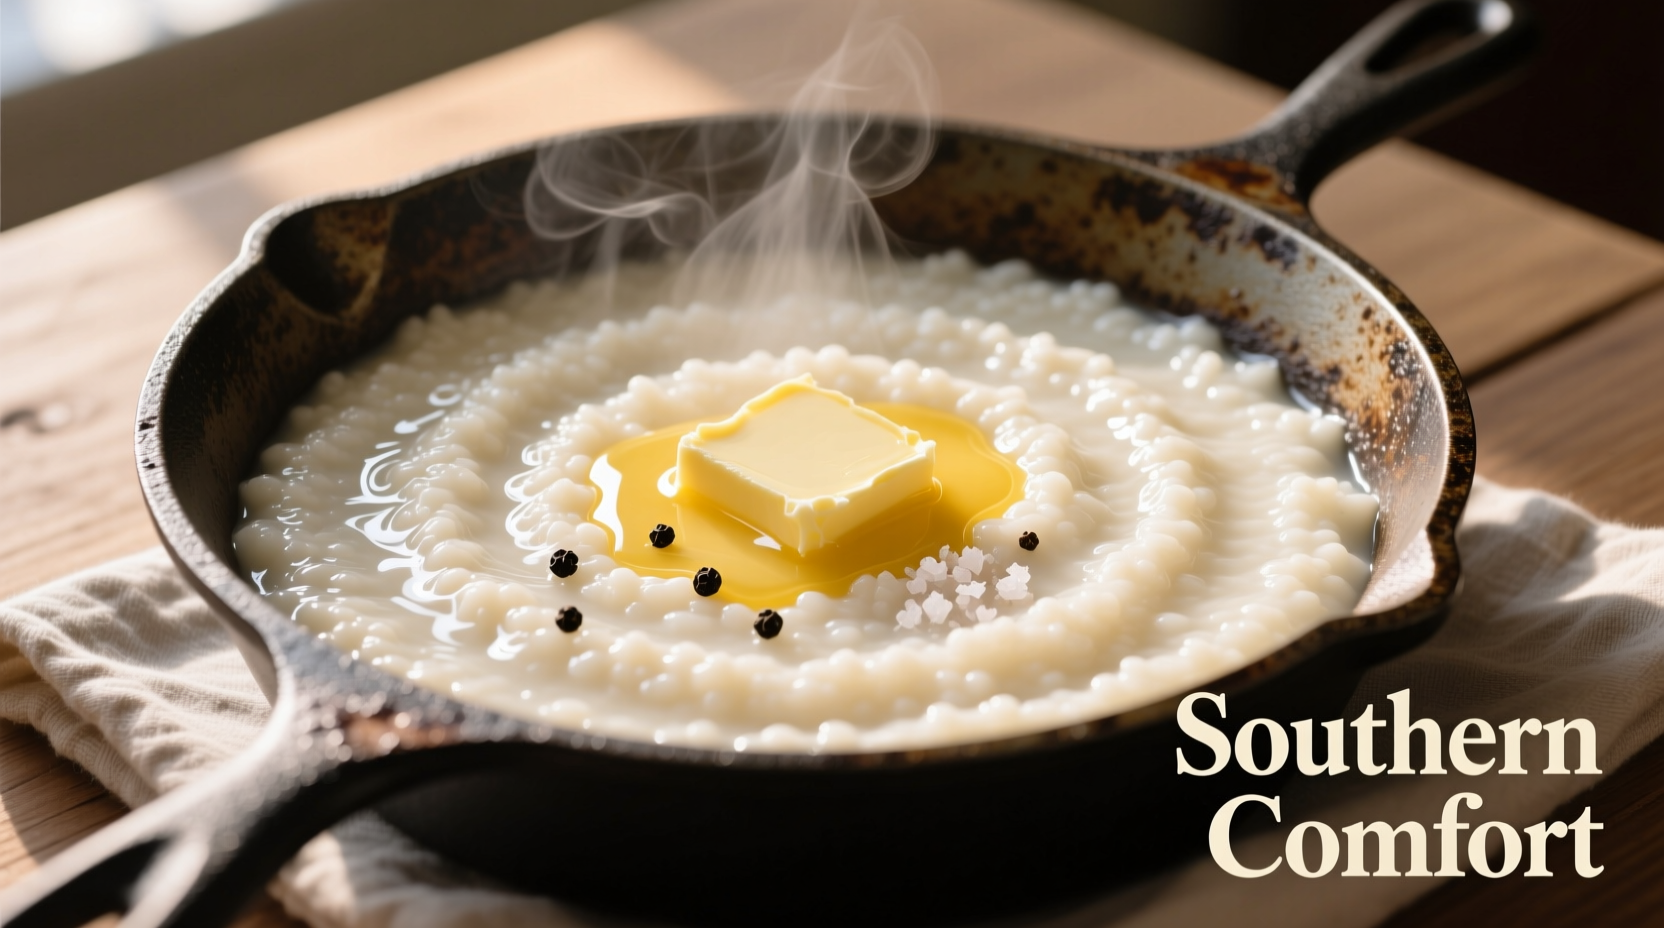
Serving Like a Southern Pro
Season AFTER cooking for best flavor control. Start with 2 tablespoons butter per cup of cooked grits, then add salt to taste. Traditional Southern pairings include:
- Cheese grits: Add ½ cup sharp cheddar during last 5 minutes
- Shrimp and grits: Top with sautéed shrimp in garlic butter sauce
- Sweet version: Stir in honey and top with fresh berries
American Grits: From Native Staple to Southern Icon
Grits represent one of America's oldest continuously consumed foods, with roots tracing back to Native American corn preparations. This timeline shows their evolution:
- Pre-1600s: Native Americans create "rockahominy" by boiling corn in wood ash lye
- 1607: English settlers at Jamestown adopt corn preparation methods from Powhatan tribe
- 1800s: Gristmills make stone-ground grits widely available across the South
- 1930s: Quick-cooking grits developed during the Great Depression for faster preparation
- 2009: South Carolina designates grits as the official state food
According to the Agricultural History Review, grits consumption declined during mid-20th century urbanization but has experienced a renaissance as chefs rediscover heirloom corn varieties (American Society for Horticultural Science, 2021).
Pro Tips for Grits Mastery
- Resting time: Let cooked grits sit covered for 5 minutes off heat before serving—this allows full hydration
- Cold weather trick: Add a pinch of sugar to enhance perceived creaminess in cooler temperatures
- Leftover magic: Spread cooled grits on parchment, cut into squares, and pan-fry for crispy grits cakes
- Flavor boost: Replace ¼ of water with milk for richer texture (add after initial cooking phase)


 浙公网安备
33010002000092号
浙公网安备
33010002000092号 浙B2-20120091-4