
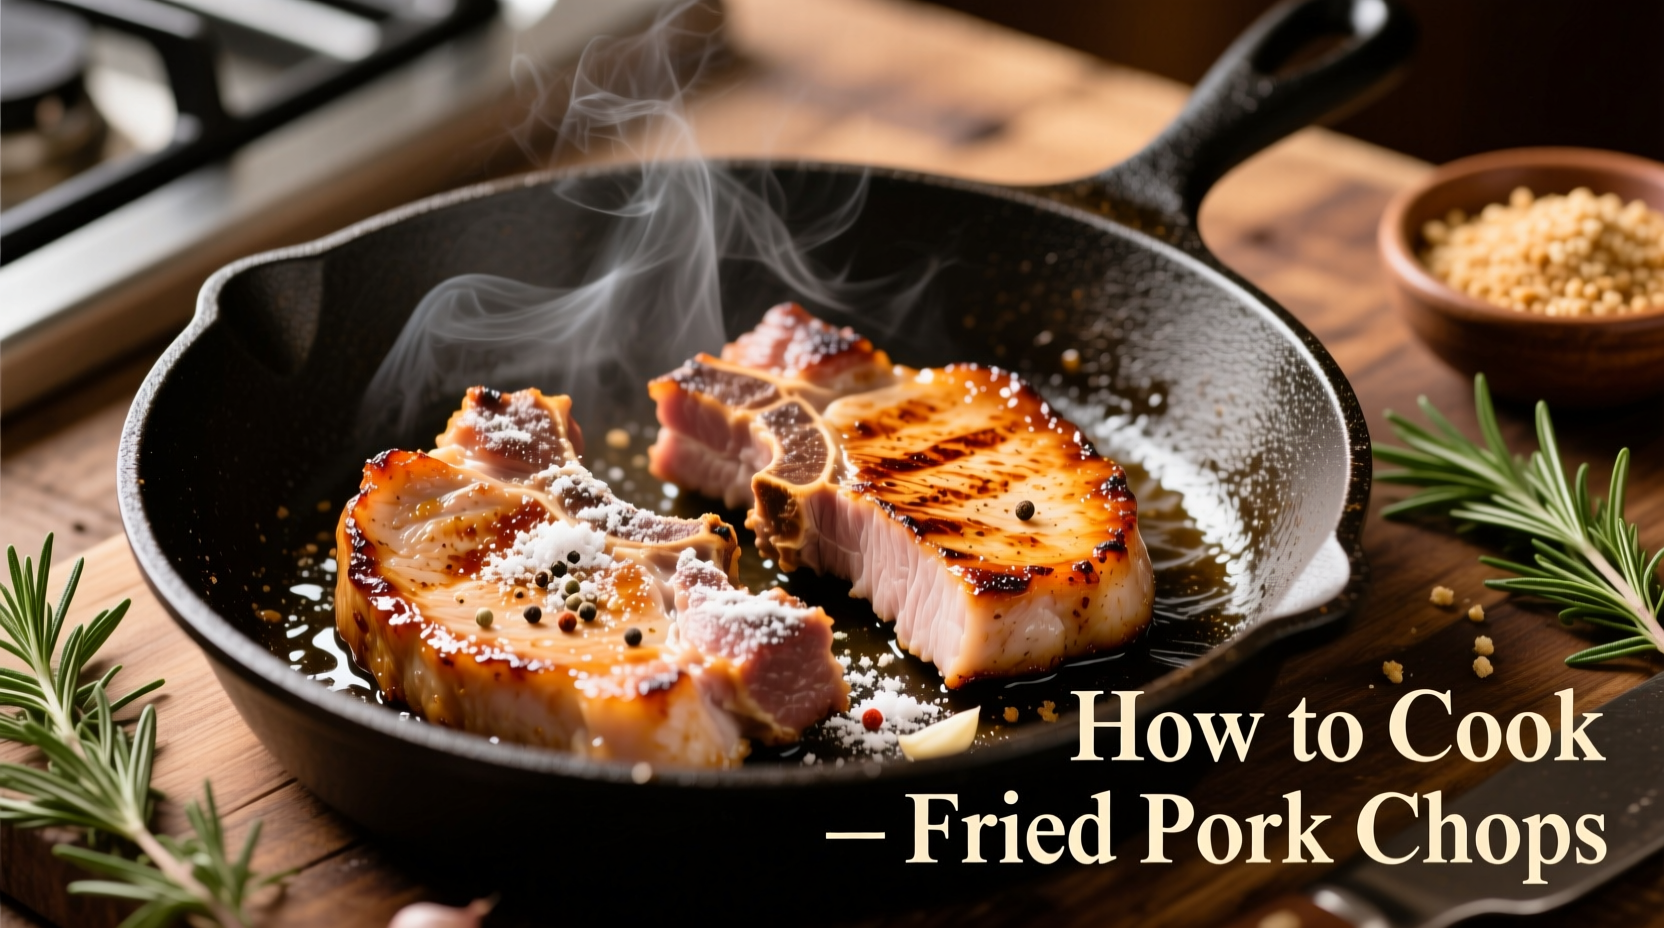
If you've ever struggled with dry, tough, or unevenly cooked fried pork chops, you're not alone. Many home cooks make critical mistakes that compromise texture and flavor—using thin cuts, skipping proper resting time, or frying at incorrect temperatures. This guide reveals the exact techniques professional chefs use to achieve golden-brown exteriors with succulent, perfectly cooked interiors.
Essential Preparation: Setting Up for Success
Before you even heat your oil, proper preparation determines your outcome. Start with the right cut: bone-in pork chops between 1 and 1.5 inches thick provide the ideal balance of meat and fat for frying. According to USDA food safety guidelines, pork should reach a minimum internal temperature of 145°F (63°C) with a 3-minute rest period to ensure safety while maintaining juiciness.
| Cut Type | Recommended Thickness | Cooking Time |
|---|---|---|
| Bone-in loin chop | 1-1.5 inches | 8-10 minutes total |
| Boneless center cut | 0.75-1 inch | 6-8 minutes total |
| Butterfly cut | 0.5 inch | 4-5 minutes total |
Your equipment matters too. Use a heavy-bottomed skillet (cast iron works best) that retains heat evenly. Fill with enough neutral oil (like canola or peanut) to reach one-third up the side of the chop—typically 1/2 to 3/4 inch. A thermometer is essential; maintaining 350°F (175°C) prevents greasy results from oil that's too cool or burnt exteriors from oil that's too hot.
The Professional Frying Process
Follow this sequence for optimal results:
- Dry thoroughly: Pat chops completely dry with paper towels—moisture prevents proper browning
- Season generously: Use kosher salt and freshly ground pepper at least 30 minutes before cooking
- Three-step breading: Dredge in flour, dip in beaten eggs with a splash of milk, then coat in seasoned breadcrumbs
- Rest before frying: Let breaded chops sit 5 minutes to set the coating
- Fry at precise temperature: 350°F (175°C) for 4-5 minutes per side for 1-inch chops
- Check temperature: Insert thermometer horizontally into thickest part
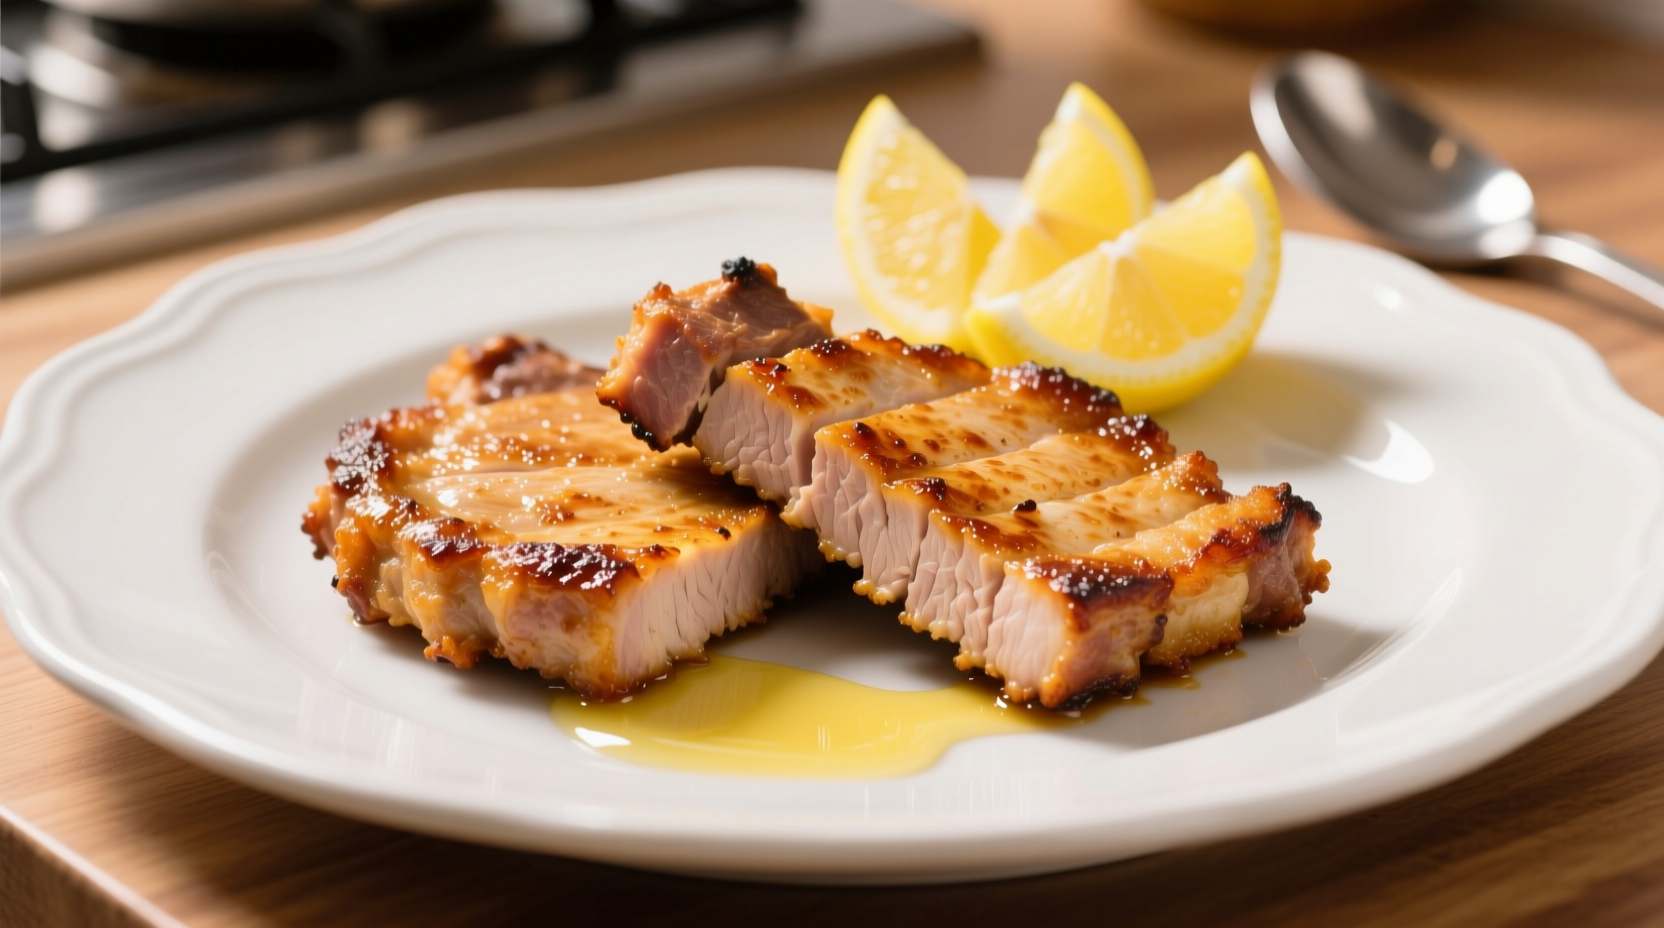
- Rest properly: Transfer to wire rack and rest 5 minutes before serving
This method evolved from traditional European schnitzel techniques to modern American comfort food. Culinary historians note that the three-step breading process became popular in the early 20th century as home kitchens gained access to consistent oil temperatures. Unlike pan-searing which works best for thinner cuts, deep frying maintains even heat distribution around thicker chops.
Troubleshooting Common Problems
Even experienced cooks encounter issues. Here's how to fix them:
- Soggy coating: Oil temperature dropped below 325°F—use a thermometer and don't overcrowd the pan
- Dry interior: Overcooking or using lean cuts—always use a thermometer and choose chops with visible marbling
- Burning exterior: Oil too hot—maintain 350°F and adjust heat as needed
- Uneven cooking: Inconsistent chop thickness—ask your butcher for uniformly cut chops
Professional chefs emphasize that resting time is non-negotiable. During this period, residual heat continues cooking the meat while juices redistribute. Skipping this step causes precious moisture to escape when you cut into the chop.
Expert Variations and Serving Suggestions
Once you've mastered the basic technique, experiment with these chef-approved variations:
- Herb-infused breadcrumbs: Mix fresh parsley, thyme, and rosemary into your crumbs
- Spice-rubbed: Add paprika, garlic powder, and cayenne to your flour mixture
- Cheese crust: Combine panko with finely grated parmesan for extra crunch
Serve with classic accompaniments like applesauce, mashed potatoes, or a simple green salad. For wine pairing, a medium-bodied white like Chardonnay or light red like Pinot Noir complements the richness without overwhelming the delicate pork flavor.


 浙公网安备
33010002000092号
浙公网安备
33010002000092号 浙B2-20120091-4