
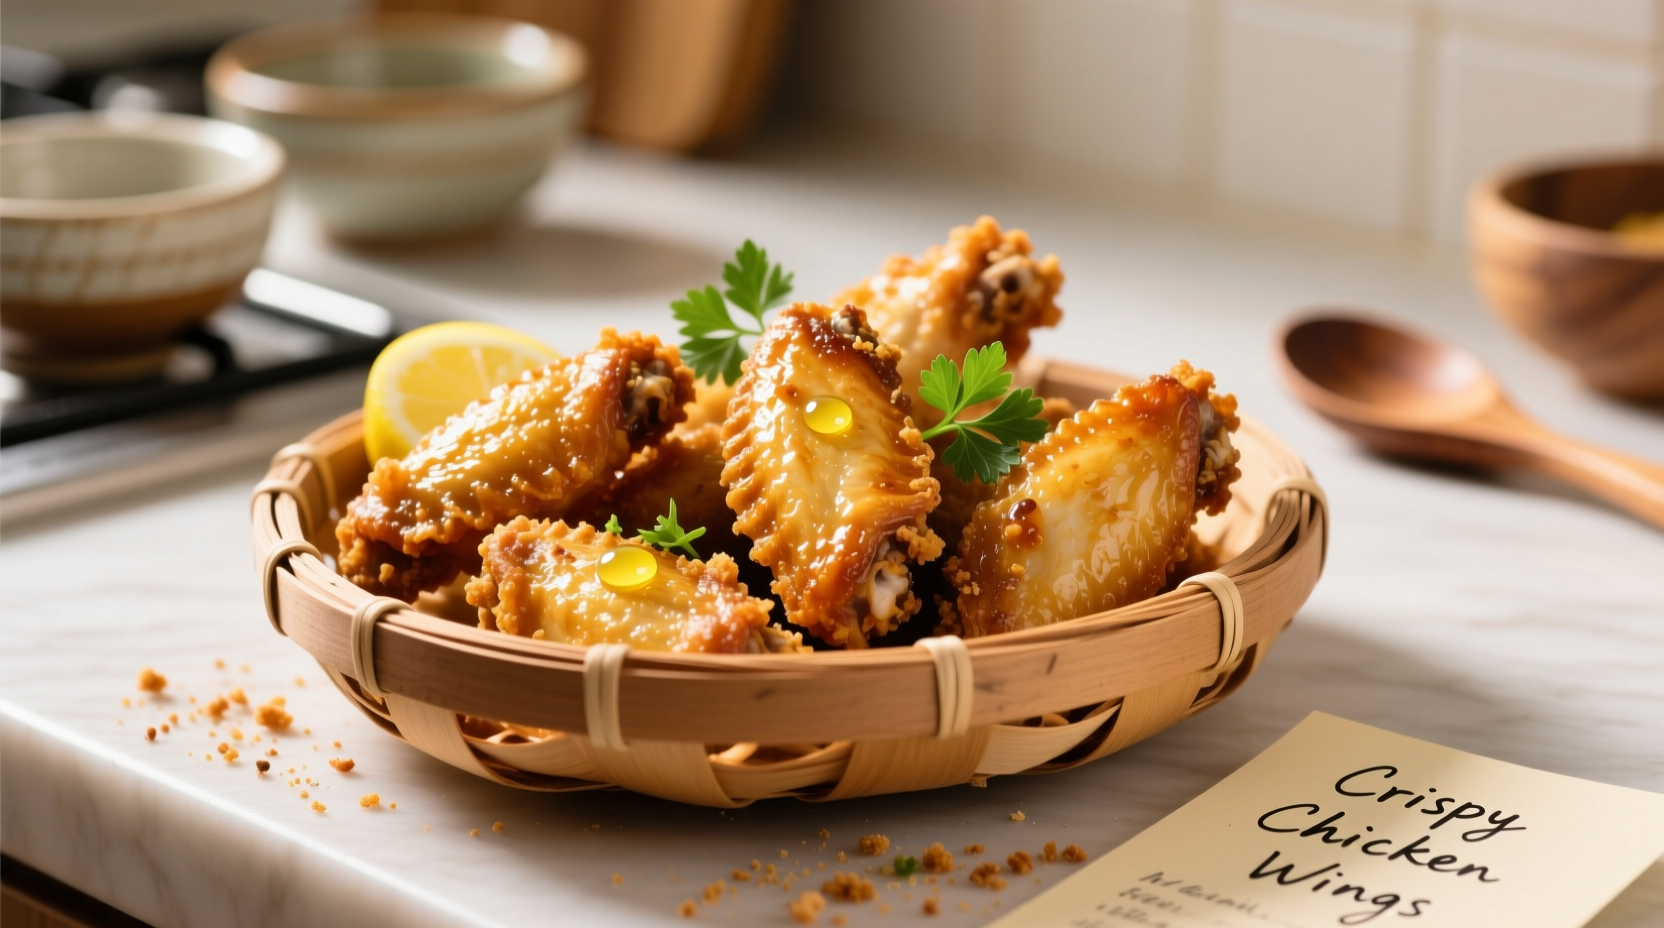
The Secret to Crispy Chicken Wings Starts Before Cooking
Most home cooks struggle with soggy chicken wings because they skip the critical drying phase. Professional kitchens achieve that perfect crunch through moisture control - the key factor in crispy skin development. According to USDA food safety guidelines, poultry must reach 165°F (74°C) internal temperature, but achieving crispiness requires additional techniques beyond safe cooking temperatures.
Why Traditional Wing Methods Fail
Standard baking instructions often produce rubbery skin because conventional ovens don't effectively remove surface moisture. When wings steam in their own juices, the Maillard reaction (the chemical process creating browning and crispiness) can't occur properly. This explains why many home attempts result in wings that look cooked but lack that satisfying crunch.
| Cooking Method | Time Required | Crispiness Level | Best For |
|---|---|---|---|
| Oven Baking (wire rack) | 45-50 minutes | ★★★★☆ | Health-conscious cooks |
| Air Fryer | 25-30 minutes | ★★★★★ | Small batches |
| Deep Frying | 10-12 minutes | ★★★★★ | Traditional texture |
| Standard Baking | 40-45 minutes | ★★☆☆☆ | Beginner cooks |
Essential Preparation: The 24-Hour Drying Secret
For truly crispy wings, start preparation 24 hours before cooking. After separating wings into flats and drumettes, arrange them on a wire rack set over a baking sheet. Refrigerate uncovered - this dry-brining process draws out surface moisture through evaporation. Food science research from America's Test Kitchen confirms that drier skin creates better browning and crispiness during cooking.
Step-by-Step Crispy Wing Method
Pre-Cooking Preparation (15 minutes + drying time)
- Pat wings completely dry with paper towels
- Arrange on wire rack, refrigerate uncovered for 8-24 hours
- Mix seasoning: 1 tsp salt, 1 tsp garlic powder, 1 tsp onion powder, 1 tbsp baking powder
Cooking Process (45 minutes)
- Preheat oven to 425°F (220°C) with convection setting if available
- Place wire rack with wings in oven (no need to flip)
- Bake 45-50 minutes until golden brown and internal temperature reaches 165°F
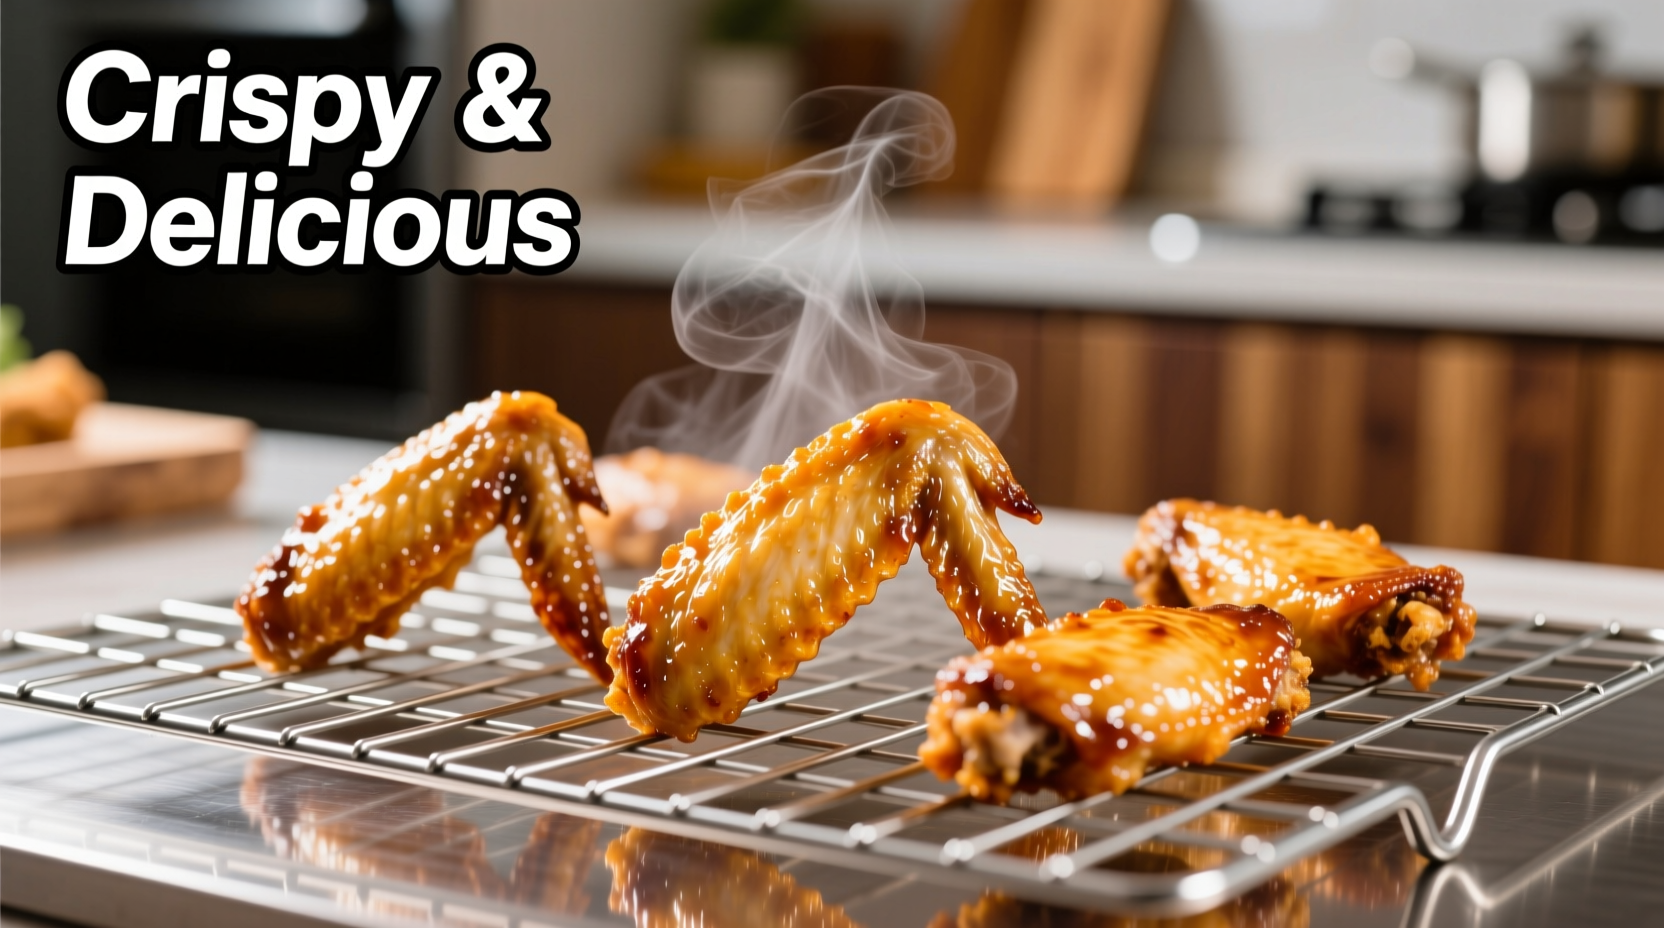
- Rest 5 minutes before tossing in sauce
Why Baking Powder Makes the Difference
The surprising ingredient that transforms oven-baked wings is baking powder - not baking soda. According to food science experts at Serious Eats, baking powder raises the skin's pH level, accelerating the Maillard reaction while drawing out additional moisture. Use aluminum-free baking powder to avoid any metallic taste. This technique, originally developed for oven-fried chicken, works exceptionally well for wings.
Avoid These Common Crispy Wing Mistakes
- Skipping the drying phase - moisture is the enemy of crispiness
- Overcrowding the pan - prevents proper air circulation
- Using baking soda instead of powder - creates unpleasant flavor
- Adding sauce too early - steams the crispy skin
- Not using a wire rack - wings cook in their own fat
Method Comparison: When to Use Each Technique
Your cooking method should match your equipment and desired outcome. The oven method with baking powder works best for health-conscious cooks wanting minimal oil. Air fryers excel for small batches with faster cooking times. Deep frying remains the traditional choice for maximum crispiness but requires careful oil temperature management. Each method has specific temperature requirements to achieve both food safety and optimal texture.
Serving and Storage Tips
Toss wings in sauce immediately before serving to maintain crispiness. For storage, keep cooked wings in an airtight container in the refrigerator for up to 3 days. Reheat in a 400°F oven for 10-12 minutes to restore crispiness - microwaving will make them soggy. Never store wings in sauce, as this breaks down the crispy texture.


 浙公网安备
33010002000092号
浙公网安备
33010002000092号 浙B2-20120091-4