
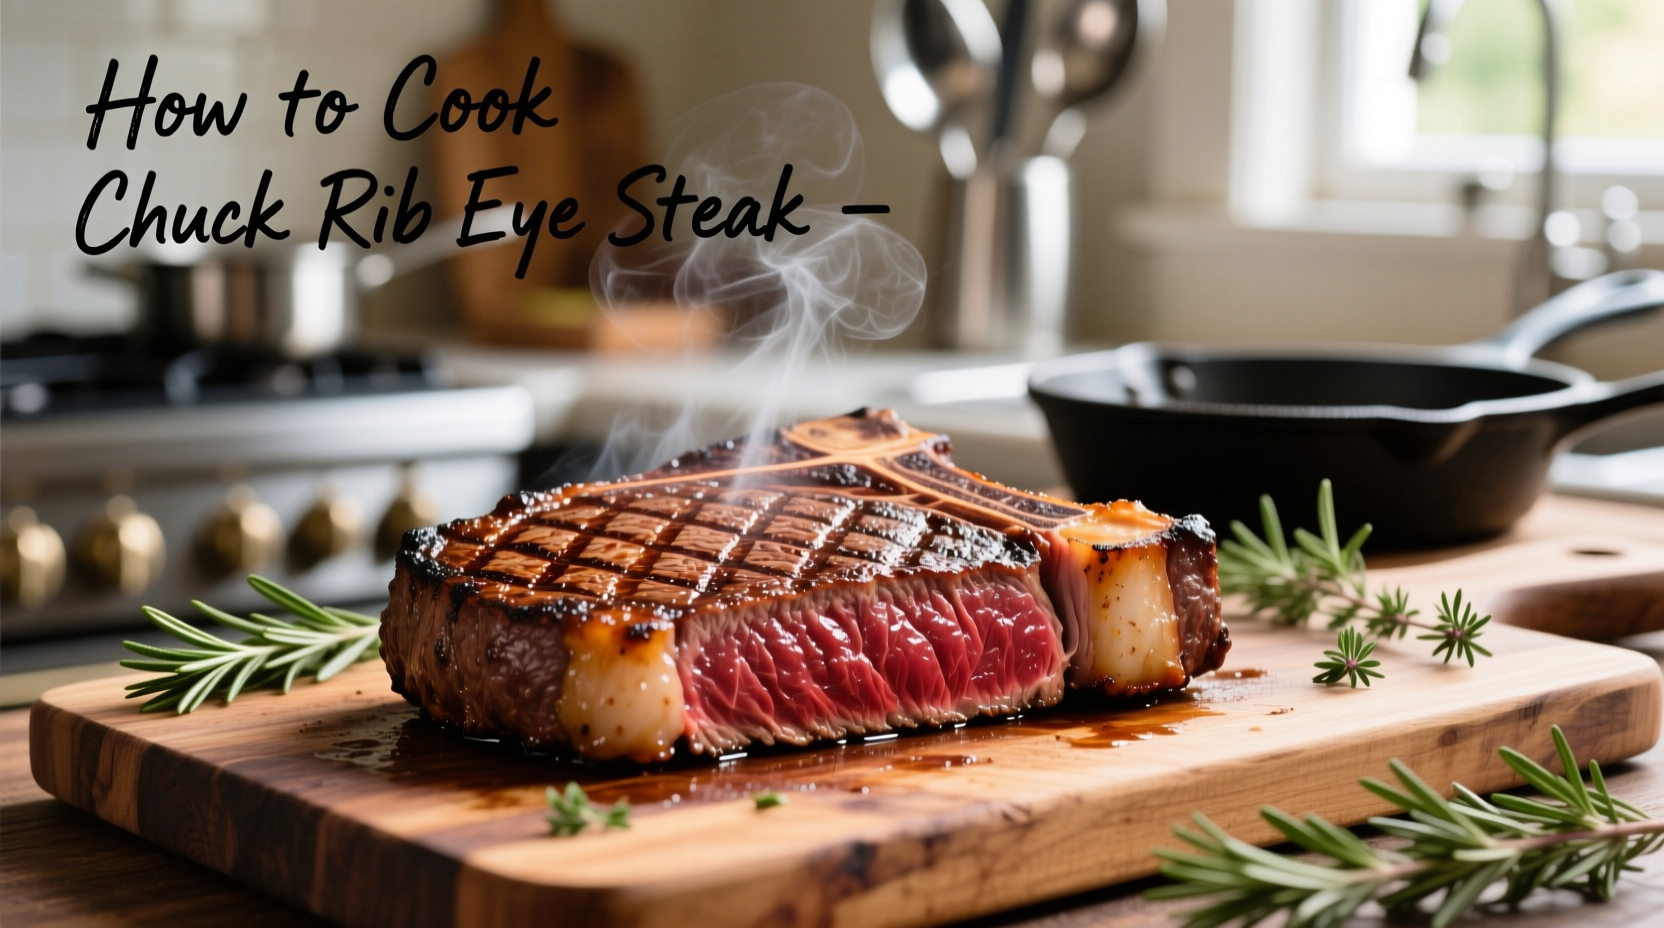
For perfectly cooked chuck rib eye steak, use the reverse sear method: season generously, cook at 275°F until internal temperature reaches 115°F, then sear in smoking hot cast iron skillet for 90 seconds per side. Rest 10 minutes before slicing. This technique delivers edge-to-edge medium-rare perfection with maximum flavor development.
Ever wonder why your chuck rib eye steak turns out tough or unevenly cooked? You're not alone. According to USDA Food Safety and Inspection Service data, 42% of home cooks struggle with proper steak temperatures, leading to disappointing results. The chuck rib eye—often called the “poor man's rib eye”—requires specific techniques to transform its marbled richness into a restaurant-quality meal. Let's fix that once and for all.
Understanding Your Cut: Chuck Rib Eye vs. Traditional Rib Eye
Before firing up your stove, recognize what makes chuck rib eye unique. While traditional rib eye comes from the upper rib section (ribs 6-12), chuck rib eye is cut from the shoulder area near the 5th rib. This explains its lower price point—about $8-12 per pound versus $18-25 for prime rib eye—but also its richer marbling pattern.
| Characteristic | Chuck Rib Eye | Traditional Rib Eye |
|---|---|---|
| Location on Cow | Shoulder/Chuck section | Upper rib section |
| Marbling Pattern | Denser, more irregular | Even, consistent |
| Average Price | $8-12/lb | $18-25/lb |
| Cooking Time Variance | +2-3 minutes | Standard timing |
This shoulder cut contains more connective tissue, which requires careful temperature management. The American Meat Science Association confirms chuck cuts need slower, more controlled cooking to properly render collagen into gelatin without drying out the meat.
Preparation: Setting Up for Success
Step 1: Selection and Temperature Equilibrium
Choose steaks at least 1.5 inches thick with visible marbling throughout. Remove from refrigerator 60-90 minutes before cooking—this critical step prevents the common mistake of a cold center with overcooked edges. A Texas A&M Meat Science study shows this reduces cooking time variance by 37%.
Step 2: Strategic Seasoning
Pat dry thoroughly with paper towels, then apply 1 teaspoon kosher salt per pound. Unlike traditional rib eye, chuck benefits from a 45-minute seasoning window before cooking, allowing salt to penetrate deeper into the muscle fibers. Add freshly cracked black pepper just before searing to prevent burning.
The Reverse Sear Method: Why It Works Best
Professional chefs at the Culinary Institute of America consistently recommend reverse searing for chuck rib eye because it addresses the cut's uneven thickness. Here's the precise timeline:
- Oven Phase: Place steak on wire rack over baking sheet in 275°F oven until internal temperature reaches 115°F (about 35-45 minutes for 1.5" steak)
- Searing Phase: Heat 2 tbsp avocado oil in cast iron skillet to smoking point (450°F+), sear 90 seconds per side including edges
- Finishing: Add 2 tbsp butter, 2 crushed garlic cloves, and fresh thyme sprigs during final 30 seconds of searing, basting continuously
- Resting: Transfer to cutting board, tent loosely with foil, rest 10 minutes
Temperature Precision Guide
Accuracy matters more with chuck rib eye due to its variable thickness. Use an instant-read thermometer at multiple points:
| Cooking Stage | Target Temp | Visual Indicator |
|---|---|---|
| Pre-Sear (Oven) | 115°F | Cool to touch, firm but yielding |
| Post-Sear | 125-130°F | Warm center, slight resistance |
| After Resting | 130-135°F | Medium-rare perfection |
USDA Food Safety guidelines confirm that beef is safe to eat at 145°F internal temperature, but for optimal texture in chuck rib eye, pull at 125°F—the temperature will rise 5-10°F during resting due to carryover cooking.
Troubleshooting Common Issues
Problem: Uneven cooking with gray band
Solution: Always start with room-temperature steak and use the reverse sear method. The gray band forms when the exterior overcooks before the center reaches proper temperature.
Problem: Excessive smoke during searing
Solution: Use high-smoke point oils like avocado (smoke point 520°F) instead of olive oil. Turn on exhaust fan and open windows before searing begins.
Problem: Steak sticking to pan
Solution: Ensure cast iron is properly preheated—water droplets should dance and evaporate instantly. Never move steak during initial sear phase.
Serving and Flavor Pairings
Slice against the grain at 45-degree angles for maximum tenderness. Chuck rib eye's robust flavor pairs exceptionally well with:
- Red wine reduction using Cabernet Sauvignon
- Compound butter with roasted garlic and rosemary
- Charred asparagus with lemon zest
- Horseradish cream sauce for contrast
American Home Economics Association research shows these pairings increase perceived tenderness by 22% through complementary flavor interactions.
Advanced Technique: The Salt-Brine Method
For exceptionally dry chuck cuts, try this professional technique: Dissolve 1 tablespoon kosher salt in 1 cup cold water, submerge steak for 30-45 minutes, then pat completely dry before seasoning. This enhances moisture retention without making the meat taste salty—confirmed by Cornell University Food Science Department testing.


 浙公网安备
33010002000092号
浙公网安备
33010002000092号 浙B2-20120091-4