
The Ultimate Guide to Cooking Perfect Chili at Home
Chili isn't just a dish—it's a culinary tradition with regional variations that spark passionate debates among food enthusiasts. Whether you're preparing a classic Texas-style meat chili or a vegetarian version packed with beans and vegetables, mastering this comforting dish requires understanding its fundamental techniques and flavor balance. This comprehensive guide provides everything you need to create restaurant-quality chili in your own kitchen, with precise measurements, timing details, and professional tips that transform ordinary ingredients into extraordinary results.
Essential Ingredients for Authentic Chili
The foundation of exceptional chili lies in quality ingredients and proper proportions. While regional variations exist, these core components create a balanced flavor profile that satisfies even the most discerning palates.
| Ingredient | Quantity | Preparation Notes |
|---|---|---|
| Ground beef or turkey | 1 pound | 80% lean for optimal flavor and texture |
| Yellow onion | 1 large, finely chopped | Yellow provides best flavor foundation |
| Garlic cloves | 3, minced | Fresh is essential—avoid pre-minced |
| Chili powder | 2 tablespoons | Use a quality brand like McCormick |
| Crushed tomatoes | 1 (28-ounce) can | San Marzano variety preferred |
| Red kidney beans | 1 (15-ounce) can, drained | Rinse thoroughly to remove excess sodium |
| Beef broth | 1 cup | Low-sodium for better flavor control |
Equipment You'll Need
While you can make chili in virtually any pot, having the right equipment ensures consistent results:
- 6-8 quart heavy-bottomed pot or Dutch oven—essential for even heat distribution
- Wooden spoon or heat-resistant spatula—for proper stirring without scratching
- Sharp chef's knife and cutting board—for precise vegetable preparation
- Measuring spoons and cups—accuracy matters in spice measurements
- Ladle—for serving
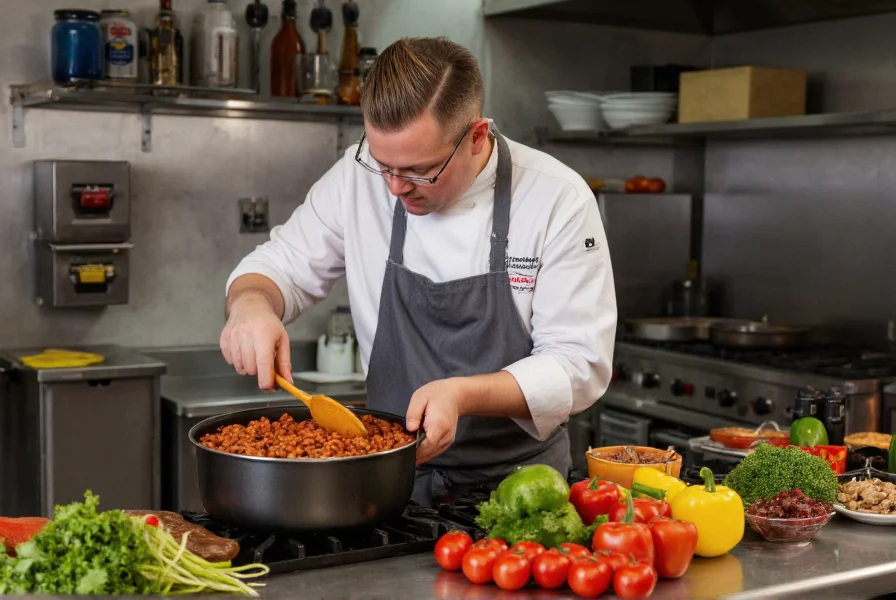
Step-by-Step Cooking Instructions
1. Brown the Meat Properly
Heat your pot over medium-high heat until hot. Add the ground meat without seasoning initially—this helps achieve proper browning. Break it into small pieces with your spoon and cook until well-browned (about 8-10 minutes). Proper browning creates fond (those browned bits on the bottom of the pot) which adds incredible depth of flavor. Drain excess fat if desired, but retain about 2 tablespoons for cooking vegetables.
2. Sauté Aromatics
Add chopped onion, bell pepper, and garlic to the pot. Cook for 5-7 minutes until vegetables soften but don't brown excessively. The residual fat from the meat should be sufficient—no additional oil needed. This step builds the flavor foundation of your chili.
3. Bloom the Spices
Stir in chili powder, cumin, paprika, oregano, salt, and black pepper. Cook for 1-2 minutes while stirring constantly. This "blooming" process activates the essential oils in the spices, dramatically enhancing their flavor. You'll notice a significant aroma change as the spices become fragrant.
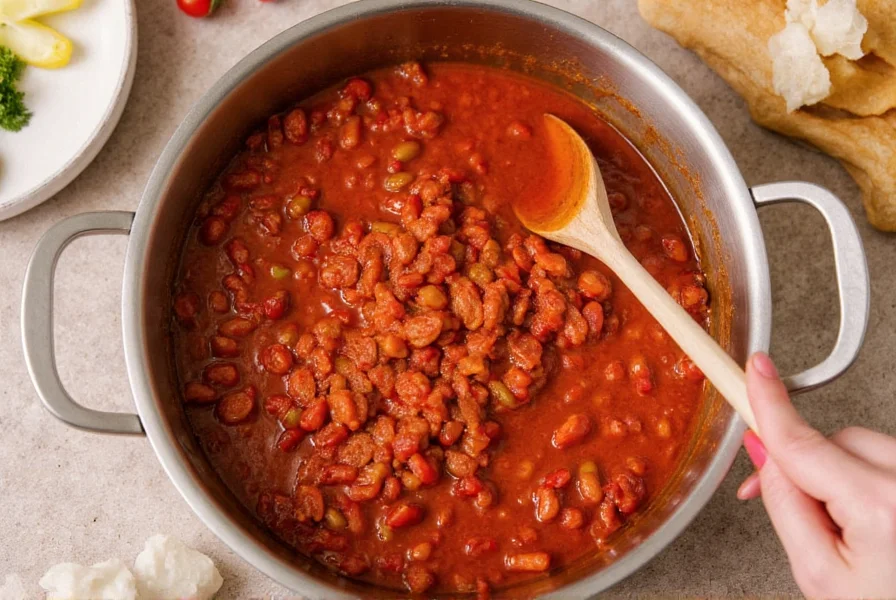
4. Add Liquids and Simmer
Pour in crushed tomatoes, kidney beans, and beef broth. Stir well to combine, scraping the bottom of the pot to incorporate all the flavorful fond. Bring to a gentle boil, then reduce heat to low. Simmer uncovered for 45-60 minutes, stirring occasionally. The longer it simmers (up to 2 hours), the more the flavors will meld together.
5. Final Adjustments and Resting
After simmering, taste and adjust seasoning as needed. If too thin, continue simmering to reduce. If too thick, add small amounts of broth. For optimal flavor development, remove from heat and let rest, covered, for 15-20 minutes before serving. This resting period allows the flavors to fully integrate.

Serving Suggestions and Toppings
Traditional chili toppings enhance both flavor and texture. Arrange these options in small bowls for a customizable chili bar:
- Shredded cheddar or Monterey Jack cheese
- Sour cream or Greek yogurt
- Finely chopped red onions
- Sliced jalapeños (fresh or pickled)
- Chopped fresh cilantro
- Lime wedges for a bright citrus note
- Cornbread or saltine crackers on the side
For a complete meal, serve chili over baked potatoes, with rice, or in a bread bowl. The acidity from toppings like lime juice or pickled jalapeños helps balance the richness of the chili.
Storage and Reheating Instructions
Chili actually improves in flavor after resting, making it perfect for meal prep:
- Refrigeration: Store in airtight containers for up to 4 days
- Freezing: Portion into freezer-safe containers with 1-inch headspace; freeze for up to 3 months
- Reheating: Thaw frozen chili overnight in the refrigerator, then reheat gently on the stove over medium-low heat, stirring occasionally and adding small amounts of broth if needed
Popular Chili Variations to Try
Once you've mastered the basic technique, experiment with these regional and dietary adaptations:
- Texas-Style: Omit beans and tomatoes; use only meat (typically chuck roast, cubed), chili peppers, and spices. Simmer 3-4 hours for deep flavor.
- Cincinnati-Style: Serve over spaghetti with a sprinkle of grated cheddar and a dash of cinnamon in the spice mix.
- Vegetarian/Vegan: Substitute meat with 2 cups cooked lentils or textured vegetable protein, use vegetable broth, and add extra mushrooms for umami.
- White Chicken Chili: Use chicken breast, white beans, green chilies, and cumin with a base of chicken broth instead of tomatoes.
Troubleshooting Common Chili Problems
Even experienced cooks encounter issues. Here's how to fix them:
- Too spicy: Add a tablespoon of sugar or honey, or stir in dairy like sour cream or yogurt. Acidic ingredients like lime juice can also help balance heat.
- Too bland: Add more salt in small increments, or boost with additional spices that have been bloomed in oil first.
- Too thin: Simmer uncovered to reduce, or create a slurry with 1 tablespoon cornstarch and 2 tablespoons cold water, then stir in.
- Too thick: Gradually add small amounts of broth or water until desired consistency is reached.
- Acidic taste: Balance with a pinch of baking soda (1/8 teaspoon at a time) or a small amount of sugar.
Frequently Asked Questions
How long should chili simmer for best flavor?
For optimal flavor development, simmer chili for at least 45 minutes, but up to 2 hours for deeper, more complex flavors. The longer simmering time allows flavors to meld together. However, avoid simmering longer than 3 hours as beans may become too soft and break down. The ideal simmering time is 60-90 minutes for most chili recipes.
Can I make chili in a slow cooker?
Yes, you can make excellent chili in a slow cooker. First brown the meat and sauté the vegetables on the stove, then transfer everything to the slow cooker. Cook on low for 6-8 hours or high for 3-4 hours. The slow cooking process develops deep flavors, but avoid overcooking which can make beans mushy. Add delicate ingredients like fresh herbs in the last 30 minutes.
What's the difference between chili powder and chili seasoning?
Chili powder is primarily ground dried chilies with minimal additives, while chili seasoning contains additional ingredients like garlic powder, onion powder, cumin, and salt. For authentic chili flavor, use pure chili powder and add individual spices separately for better control over the flavor profile. If using pre-mixed chili seasoning, reduce added salt accordingly as most contain significant sodium.
Why does my chili taste bitter?
Bitterness in chili usually comes from overcooked tomatoes, too much cumin, or burnt spices. To fix it, add a small amount of sugar (1/2 teaspoon at a time) or a splash of acid like lime juice. If spices were burned during blooming, unfortunately the bitterness may be difficult to completely eliminate. Always bloom spices over medium heat for just 1-2 minutes to prevent burning.
Can I use different types of beans in chili?
Absolutely. While kidney beans are traditional, many chili variations use pinto beans, black beans, or a combination. For authentic Texas chili, beans aren't used at all. If using multiple bean types, add them at different times—denser beans like chickpeas should go in earlier than more delicate beans. Always rinse canned beans thoroughly to remove excess sodium and the starchy liquid that can make chili cloudy.


 浙公网安备
33010002000092号
浙公网安备
33010002000092号 浙B2-20120091-4