
Master stovetop chicken cooking in under 30 minutes with this professional chef-tested method. You'll learn exactly how to achieve juicy, flavorful chicken every time while avoiding common mistakes that lead to dry or undercooked results. This complete guide covers everything from selecting the right cut to proper temperature control and food safety practices.
Why Stovetop Chicken Cooking Matters
Cooking chicken on stovetop offers unparalleled control compared to oven or grill methods. Professional chefs rely on this technique for its speed, versatility, and ability to develop complex flavors through proper searing. Unlike other methods, stovetop cooking allows you to monitor the process closely and adjust heat instantly when needed.
Essential Preparation Before Cooking
Proper preparation makes the difference between mediocre and exceptional results. Follow these critical steps before heating your pan:
- Dry your chicken thoroughly - moisture prevents proper browning. Pat with paper towels until no visible moisture remains
- Bring to room temperature - take chicken out of refrigerator 20-30 minutes before cooking for even cooking
- Season properly - use 3/4 teaspoon salt per pound of chicken at minimum, applied at least 15 minutes before cooking
- Select the right oil - use high smoke point oils like avocado (smoke point 520°F), canola (400°F), or refined olive oil (465°F)
| Chicken Cut | Thickness | Recommended Cooking Time |
|---|---|---|
| Boneless, skinless breast | 1-1.5 inches | 10-14 minutes total |
| Bone-in breast | 1.5-2 inches | 18-22 minutes total |
| Thighs (boneless) | 0.75-1 inch | 8-12 minutes total |
| Thighs (bone-in) | 1-1.5 inches | 15-18 minutes total |
The Perfect Stovetop Chicken Technique
Step 1: Pan Selection and Heating
Choose a heavy-bottomed skillet (cast iron or stainless steel works best) that distributes heat evenly. Heat 1-2 tablespoons of oil over medium-high heat for 2-3 minutes until shimmering but not smoking. Test by adding a small breadcrumb - it should sizzle immediately.
Step 2: Searing for Flavor Development
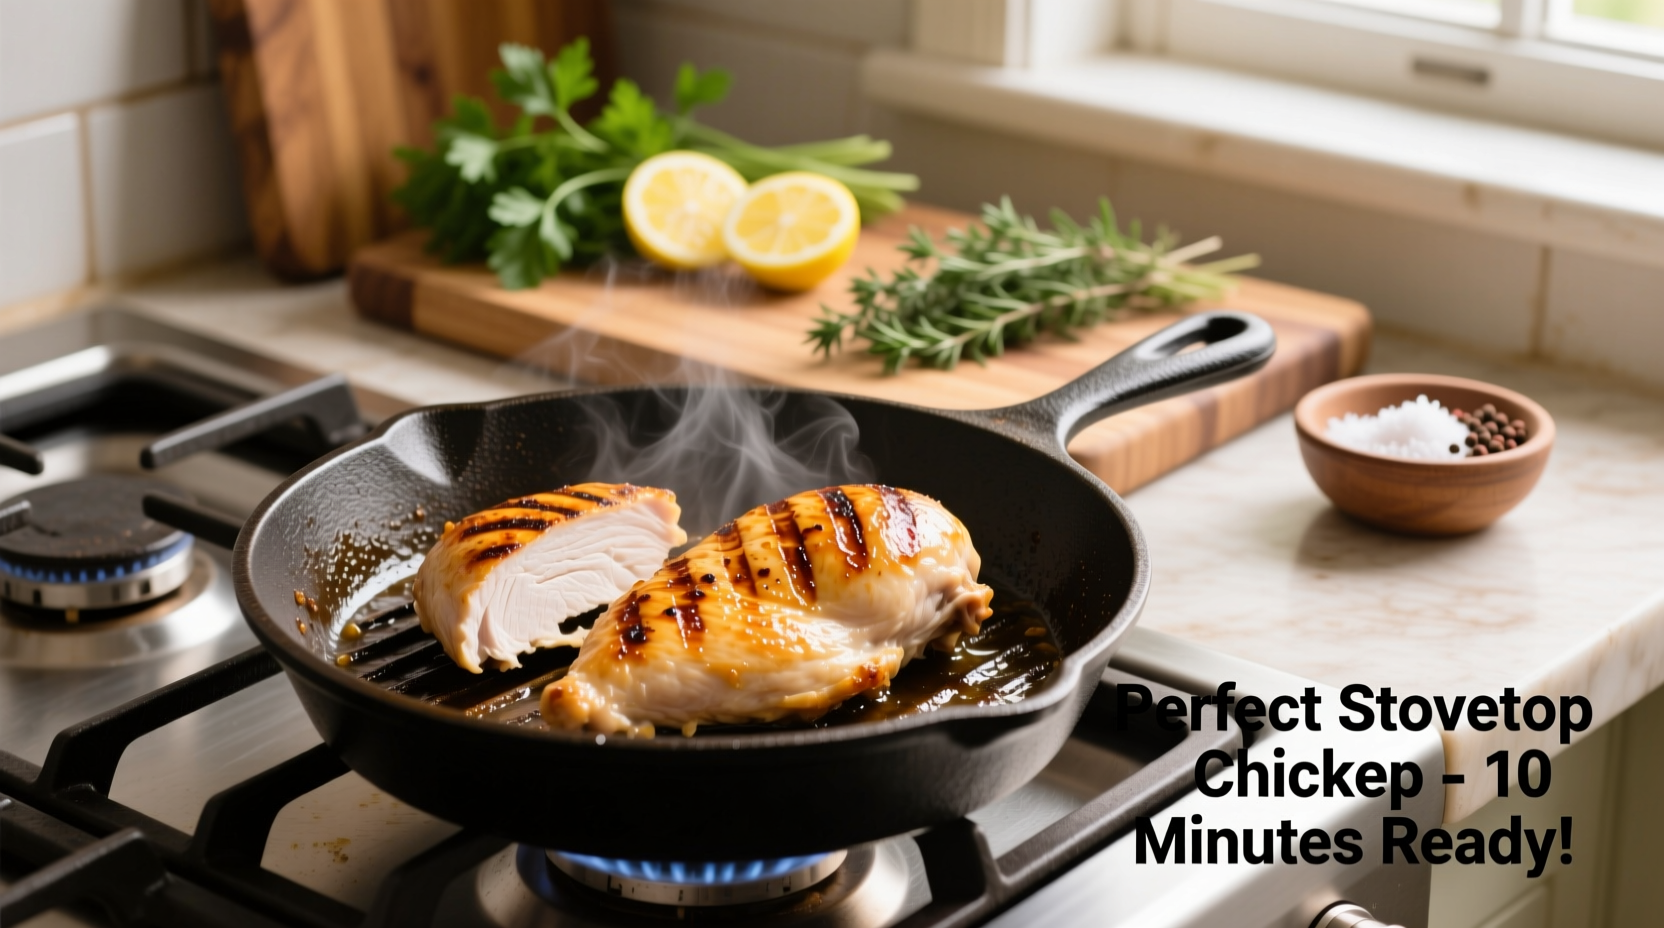
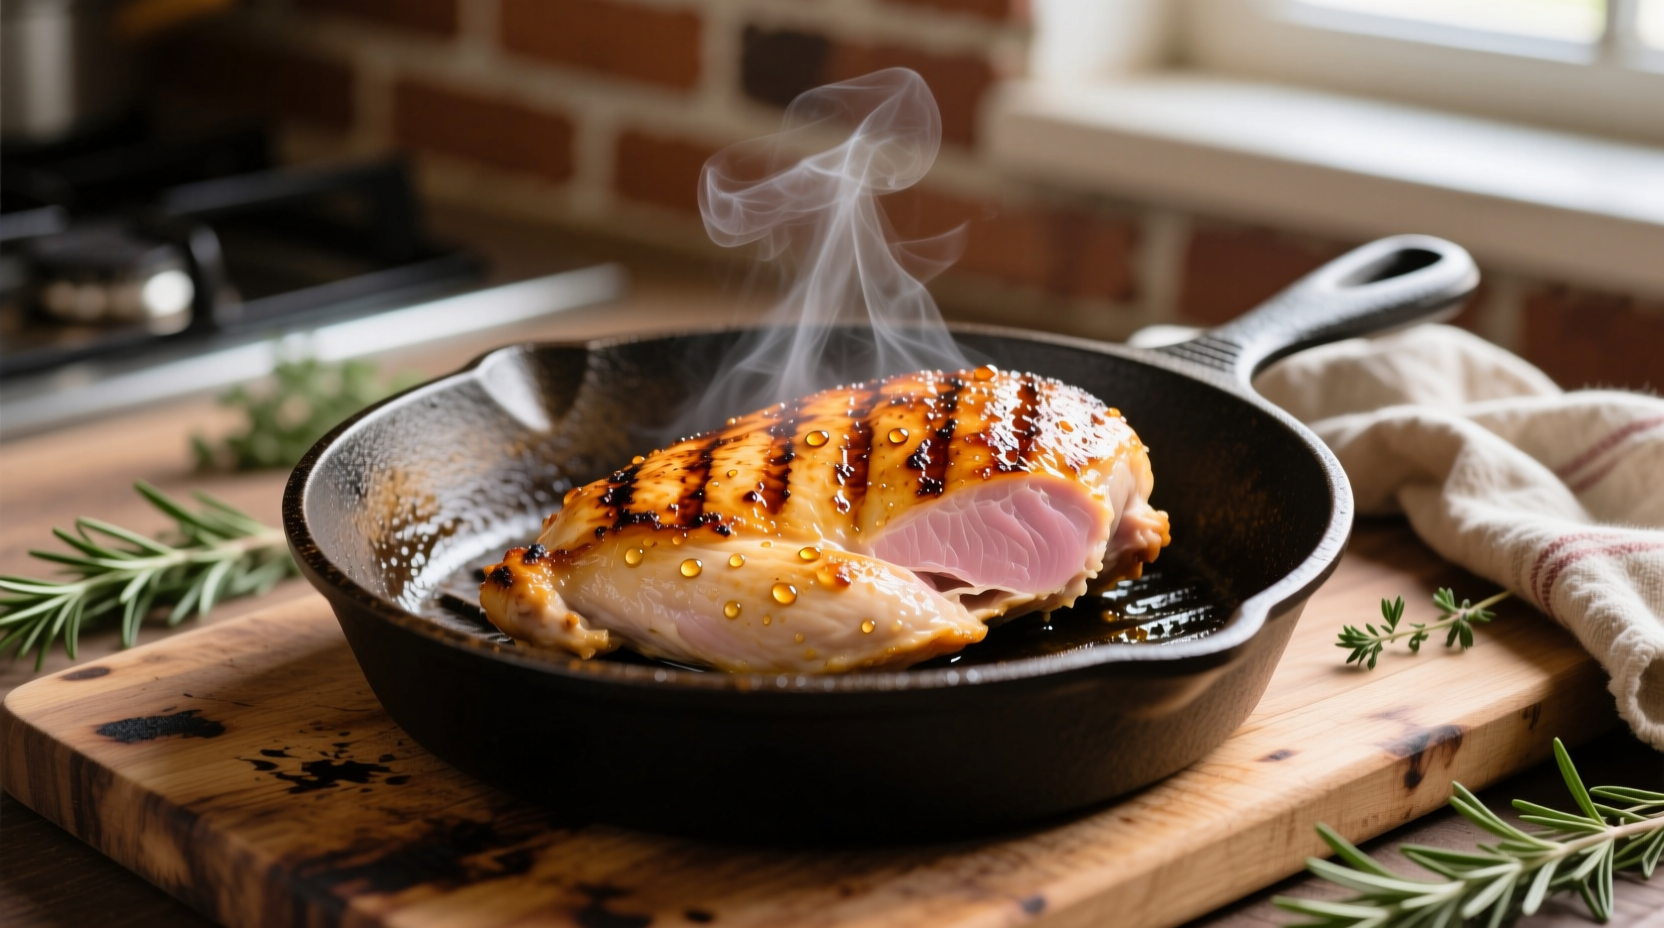
Place chicken in the hot pan without crowding (cook in batches if necessary). Press gently with a spatula for first 30 seconds to ensure full contact. Cook undisturbed for 5-7 minutes until golden brown and releases naturally from the pan. This Maillard reaction creates complex flavor compounds that elevate your dish.
Step 3: Finishing the Cooking Process
Flip chicken and reduce heat to medium. Continue cooking 8-12 minutes depending on thickness. For thicker cuts, tilt the pan and spoon hot oil over the top to promote even cooking. The USDA Food Safety and Inspection Service recommends cooking poultry to a minimum internal temperature of 165°F (74°C) to eliminate harmful bacteria.
Step 4: The Critical Resting Period
Transfer cooked chicken to a clean cutting board or plate and let rest for 5-7 minutes. This allows juices to redistribute throughout the meat. Cutting too soon causes precious juices to escape, resulting in dry chicken. During this time, carryover cooking will raise the internal temperature 3-5°F.
Avoid These Common Stovetop Chicken Mistakes
- Moving chicken too soon - Wait until it releases naturally from the pan to prevent tearing
- Crowding the pan - Causes steaming instead of searing; cook in batches if needed
- Guessing doneness - Always use an instant-read thermometer for accuracy
- Skipping the rest period - Essential for juicy results; don't skip this step
- Using low-quality oil - Choose oils with high smoke points to prevent burning
Food Safety Considerations When Cooking Chicken
Proper food handling prevents cross-contamination and foodborne illness. The Centers for Disease Control and Prevention recommends separating raw poultry from other foods, using separate cutting boards, and washing hands thoroughly after handling. Never place cooked chicken back on the plate that held raw chicken.
Troubleshooting Your Stovetop Chicken Results
If your chicken is burning:
Reduce heat immediately. If using cast iron, consider switching to stainless steel which offers more precise temperature control. Ensure your burner isn't too powerful for your pan size.
If your chicken is sticking:
Your pan isn't hot enough or you're moving the chicken too soon. Properly preheat the pan and wait until the chicken releases naturally before flipping.
If your chicken is dry:
You've likely overcooked it. Use a thermometer to verify 165°F internal temperature, not just timing. Remember carryover cooking continues to raise temperature after removal from heat.
If your chicken isn't browning:
Moisture is preventing proper searing. Pat chicken extremely dry before cooking and ensure your pan is sufficiently hot before adding chicken.
Adapting for Different Chicken Cuts
Each cut requires slight technique adjustments. Bone-in pieces need 25-30% more cooking time than boneless. Thighs can handle higher temperatures and longer cooking times than breasts due to higher fat content. For wings and drumettes, start skin-side down and cook longer at lower heat to render fat properly.
Flavor Enhancement Techniques
Elevate your basic chicken with these professional techniques:
- Add aromatics like garlic, thyme, or rosemary during the last 2 minutes of cooking
- Create a pan sauce by deglazing with wine or broth after removing chicken
- Finish with a pat of compound butter for added richness and flavor complexity
- Use the reverse sear method for thicker cuts: cook gently first, then sear at the end
Stovetop Chicken Cooking Timeline
Understanding the cooking process timeline helps prevent mistakes:
- 0-5 minutes: Initial sear - crucial for flavor development
- 5-10 minutes: Continued cooking at medium-high heat
- 10-15 minutes: Heat reduction and finishing cooking
- 15-17 minutes: Temperature check with thermometer
- 17-22 minutes: Resting period before serving
When Stovetop Isn't the Best Method
While versatile, stovetop cooking has limitations. For whole chickens, bone-in pieces over 2 inches thick, or when cooking for large groups, consider combining methods. Start on stovetop for searing, then finish in a 375°F oven to ensure even cooking without burning the exterior.
Essential Tools for Perfect Stovetop Chicken
Invest in these tools to improve your results:
- Instant-read thermometer (Thermapen recommended)
- Heavy-bottomed skillet (10-12 inch)
- Fish spatula for easy flipping
- Splatter screen to contain mess
- Metal basting spoon for spooning hot oil
Final Thoughts on Mastering Stovetop Chicken
Perfect stovetop chicken requires attention to detail but delivers restaurant-quality results at home. By understanding the science behind searing, proper temperature control, and food safety practices, you'll consistently produce juicy, flavorful chicken. Remember that practice improves results - your fifth attempt will be noticeably better than your first. Keep a cooking journal to track variables like heat levels and timing for your specific stove and cookware.


 浙公网安备
33010002000092号
浙公网安备
33010002000092号 浙B2-20120091-4