
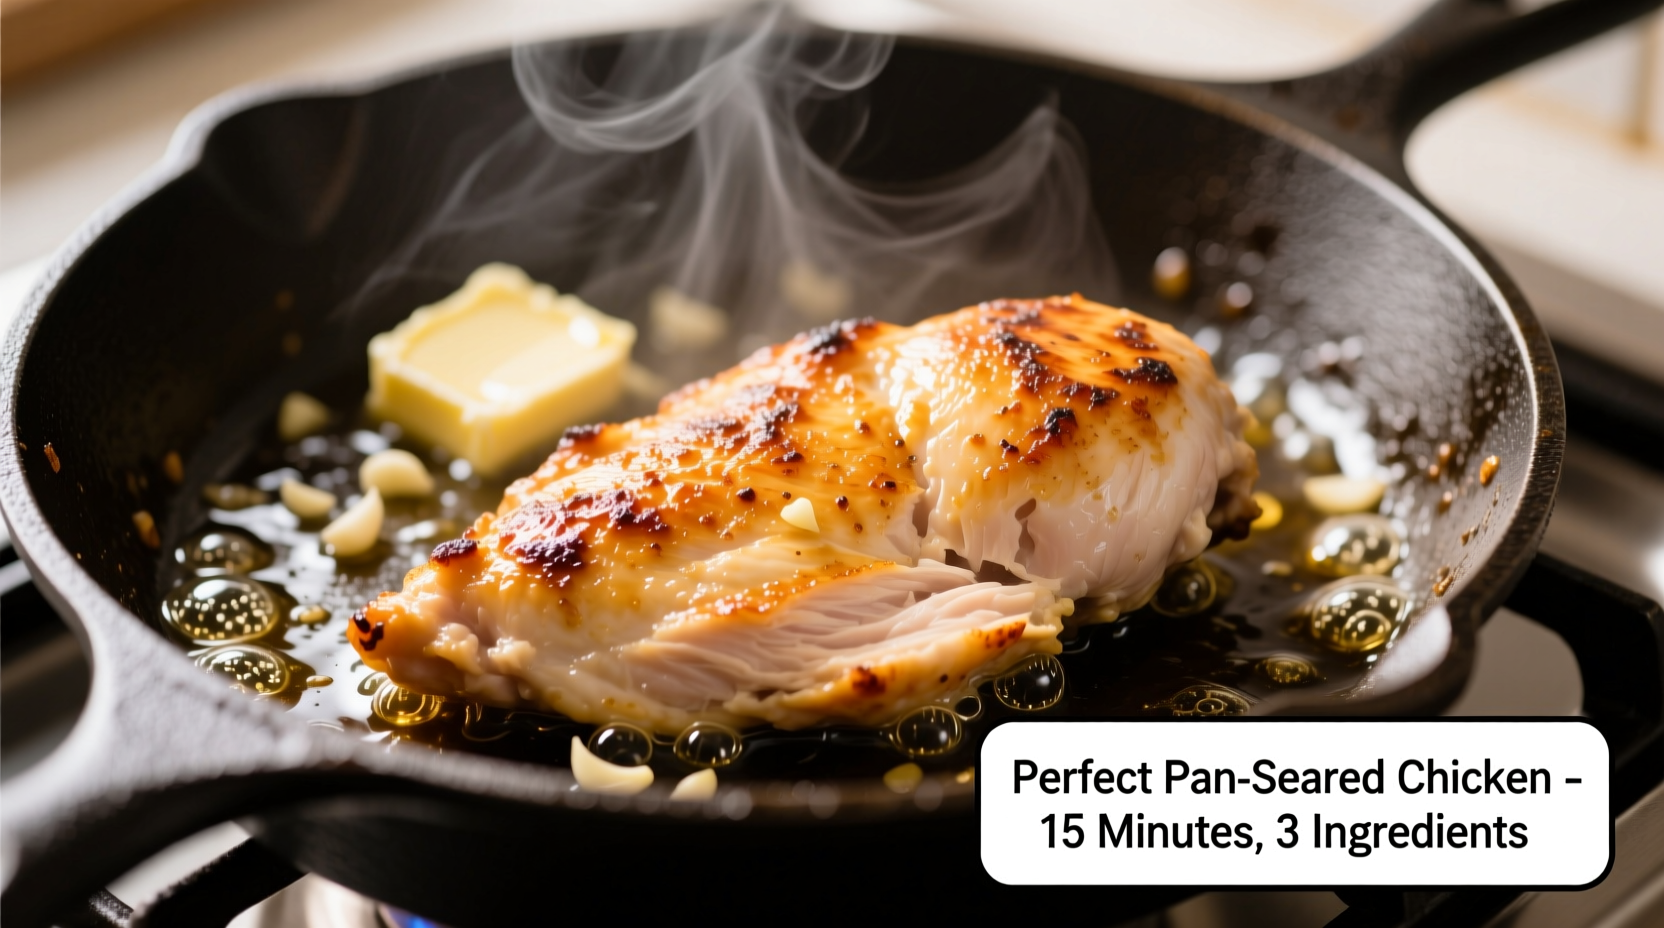
The perfect method for cooking chicken in a pan requires starting with properly dried chicken breasts, heating oil to 350°F (177°C) in a preheated skillet, cooking for 5-7 minutes per side until internal temperature reaches 165°F (74°C), and resting for 5 minutes before serving. This technique delivers golden-brown, juicy chicken every time with minimal equipment.
Want restaurant-quality chicken without firing up your oven or grill? Pan-cooking delivers perfectly seared, juicy results in under 30 minutes using equipment you already own. Whether you're a weeknight dinner hero or a kitchen novice, mastering this fundamental technique unlocks endless meal possibilities—from simple weeknight dinners to impressive date-night entrees.
Why Pan Cooking Beats Other Methods
While baking and grilling have their place, pan-searing provides unmatched browning and control. The direct heat contact creates that coveted golden crust through the Maillard reaction, locking in juices while developing complex flavors. Unlike oven methods that require preheating and monitoring, pan cooking gives you immediate visual feedback on doneness. Plus, you build flavorful pan sauces in the same vessel—maximizing taste while minimizing cleanup.
| Cooking Method | Time Required | Texture Result | Equipment Needed |
|---|---|---|---|
| Pan-searing | 15-20 minutes | Golden crust, juicy interior | Single skillet |
| Baking | 25-35 minutes | Evenly cooked, less browning | Oven + baking dish |
| Grilling | 15-25 minutes | Charred exterior, potential dryness | Outdoor grill |
Essential Preparation: The Secret Most Home Cooks Skip
Proper preparation determines your success more than any cooking step. USDA Food Safety and Inspection Service confirms chicken must reach 165°F internally to be safe, but texture depends on preparation. Start by removing chicken from packaging and patting thoroughly dry with paper towels—moisture is the enemy of browning. Let it sit at room temperature for 15-20 minutes; cold chicken lowers pan temperature, causing sticking and uneven cooking.
Season generously with salt at least 40 minutes before cooking. America's Test Kitchen research shows this timing allows salt to penetrate the meat rather than just seasoning the surface. For best results, use kosher salt which adheres better and provides more even coverage than table salt.
The Step-by-Step Pan Cooking Process
Follow this professional chef technique for foolproof results:
- Preheat your pan over medium-high heat for 3-5 minutes until evenly hot. Professional kitchens use infrared thermometers to verify 350°F surface temperature.
- Add oil (not butter yet—its milk solids burn at high temps). Use avocado, canola, or refined olive oil with high smoke points.
- Test oil readiness by flicking a few water droplets—if they sizzle and evaporate immediately, you're ready.
- Place chicken in pan away from you to prevent oil splatter. Don't overcrowd—leave space between pieces.
- Cook undisturbed for 5-7 minutes until golden brown and releases easily from the pan.
- Flip once using tongs, pressing gently to ensure full contact with the pan.
- Cook second side 5-7 minutes until internal temperature reaches 165°F.
- Rest 5 minutes before slicing to redistribute juices.
Problem-Solving Common Cooking Challenges
Even experienced cooks face these issues—here's how to fix them:
- Chicken sticks to pan: Your pan wasn't hot enough before adding oil. Proper preheating creates a temporary non-stick surface through the Leidenfrost effect.
- Burnt exterior, raw interior: Heat was too high. Medium-high is ideal—adjust if oil smokes excessively.
- Dry, tough chicken: Overcooking or skipping the resting period. Use a thermometer and rest properly.
- Uneven browning: Chicken wasn't patted dry or pan temperature inconsistent. Rotate chicken halfway through cooking.
Perfecting Your Technique: Pro Tips
Understanding the evolution of pan cooking techniques reveals why certain methods work best. Traditional cast iron has been used for centuries, but modern non-stick and carbon steel offer advantages. Here's how different pans perform:
- Cast iron: Best heat retention but requires seasoning. Ideal for thick chicken breasts.
- Stainless steel: Excellent browning but trickier to prevent sticking. Requires proper preheating.
- Non-stick: Forgiving for beginners but limits browning. Not suitable for high-heat searing.
For maximum flavor, add aromatics like garlic and herbs during the last two minutes of cooking. Deglaze the pan with chicken broth or wine to create an instant sauce using the flavorful browned bits (fond) left behind.
Safety and Doneness Verification
Never guess when chicken is done. The USDA Food Safety and Inspection Service mandates 165°F internal temperature for safety. Insert an instant-read thermometer horizontally into the thickest part:
- 150-155°F: Very juicy but requires resting to reach safe temperature
- 160°F: Slightly pink, safe after resting
- 165°F: Fully safe, optimal texture when properly rested
- 170°F+: Risk of dryness
Visual cues include clear juices when pierced and firm but springy texture. Remember that chicken continues cooking while resting—remove it from heat at 160°F for perfect 165°F results after resting.
Flavor Variations to Try
Once you've mastered the basic technique, experiment with these simple variations:
- Lemon herb: Add thyme, rosemary, and lemon slices during last 5 minutes
- Garlic butter: Finish with butter, garlic, and parsley for rich flavor
- Spice crust: Coat chicken in paprika, garlic powder, and cumin before cooking
For best results when adapting recipes, maintain the core cooking technique while adjusting seasonings. The proper pan temperature and timing remain constant regardless of flavor variations.


 浙公网安备
33010002000092号
浙公网安备
33010002000092号 浙B2-20120091-4