
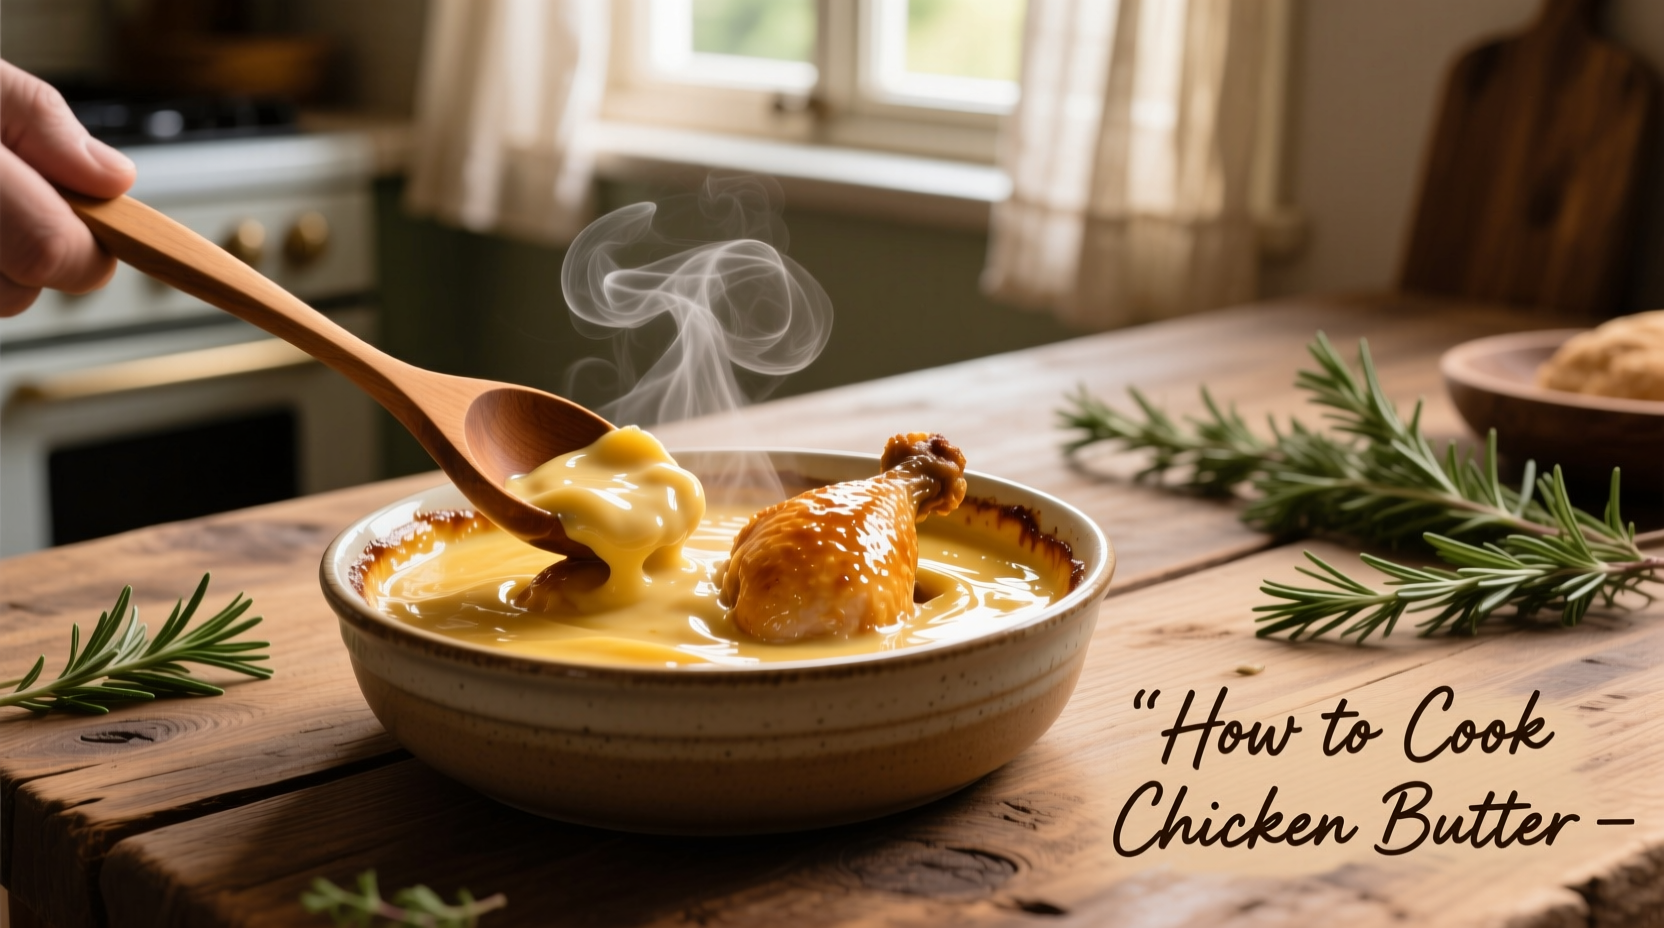
Chicken cooked with butter creates a rich, flavorful dish with a golden crust and moist interior. The optimal method involves pan-searing chicken breasts in clarified butter at 350°F (175°C) for 6-7 minutes per side, reaching an internal temperature of 165°F (74°C). This technique combines proper temperature control, butter clarification to prevent burning, and resting time for maximum juiciness.
Ever wonder why restaurant chicken tastes so much better than your home-cooked version? The secret often lies in how professional chefs use butter to elevate simple chicken dishes. In this guide, you'll learn the exact techniques that transform ordinary chicken into a restaurant-quality meal using butter as your flavor amplifier.
Why Butter Makes All the Difference in Chicken Cooking
Butter isn't just fat—it's a flavor catalyst. When properly used, butter creates the Maillard reaction that develops complex flavors while keeping chicken moist. The milk solids in butter brown beautifully, creating a rich crust, while the fat carries and enhances other seasonings. However, regular butter burns at 300°F, which is below the ideal searing temperature for chicken. That's why understanding butter chemistry is crucial for perfect results.
| Butter Type | Smoke Point | Best For Chicken | Flavor Impact |
|---|---|---|---|
| Unclarified Butter | 300°F (150°C) | Finishing only | Rich dairy notes |
| Clarified Butter | 450°F (230°C) | Pan-searing | Clean butter flavor |
| Ghee | 485°F (250°C) | High-heat cooking | Nutty, caramelized |
| Compound Butter | 300°F (150°C) | Finishing | Custom flavor boost |
According to culinary research from the Culinary Institute of America, clarified butter's higher smoke point allows for proper browning without burning, which is essential for developing the complex flavor compounds that make chicken irresistible. This scientific approach separates amateur attempts from professional results.
Essential Tools and Ingredients Checklist
Before you start cooking, gather these essentials:
- 8-ounce boneless, skin-on chicken breasts (USDA recommends at least 1-inch thickness for even cooking)
- 4 tablespoons unsalted butter, clarified
- 1½ teaspoons kosher salt (twice as flavorful as table salt)
- Freshly ground black pepper
- Cast-iron or stainless steel skillet (non-stick won't create proper sear)
- Instant-read thermometer (critical for food safety)
Professional chefs like those trained at Le Cordon Bleu emphasize that ingredient quality directly impacts your final dish. For optimal results, choose chicken with even thickness and room-temperature butter for proper emulsification.
Step-by-Step Perfect Chicken Cooking Process
Preparation Phase: The Foundation of Success
Dry your chicken thoroughly with paper towels—moisture is the enemy of browning. Season generously with salt and pepper on all sides, then let sit at room temperature for 20-30 minutes. This critical step, documented in Harold McGee's On Food and Cooking, allows salt to penetrate while bringing the chicken to optimal cooking temperature.
Searing Phase: Creating the Flavor Foundation
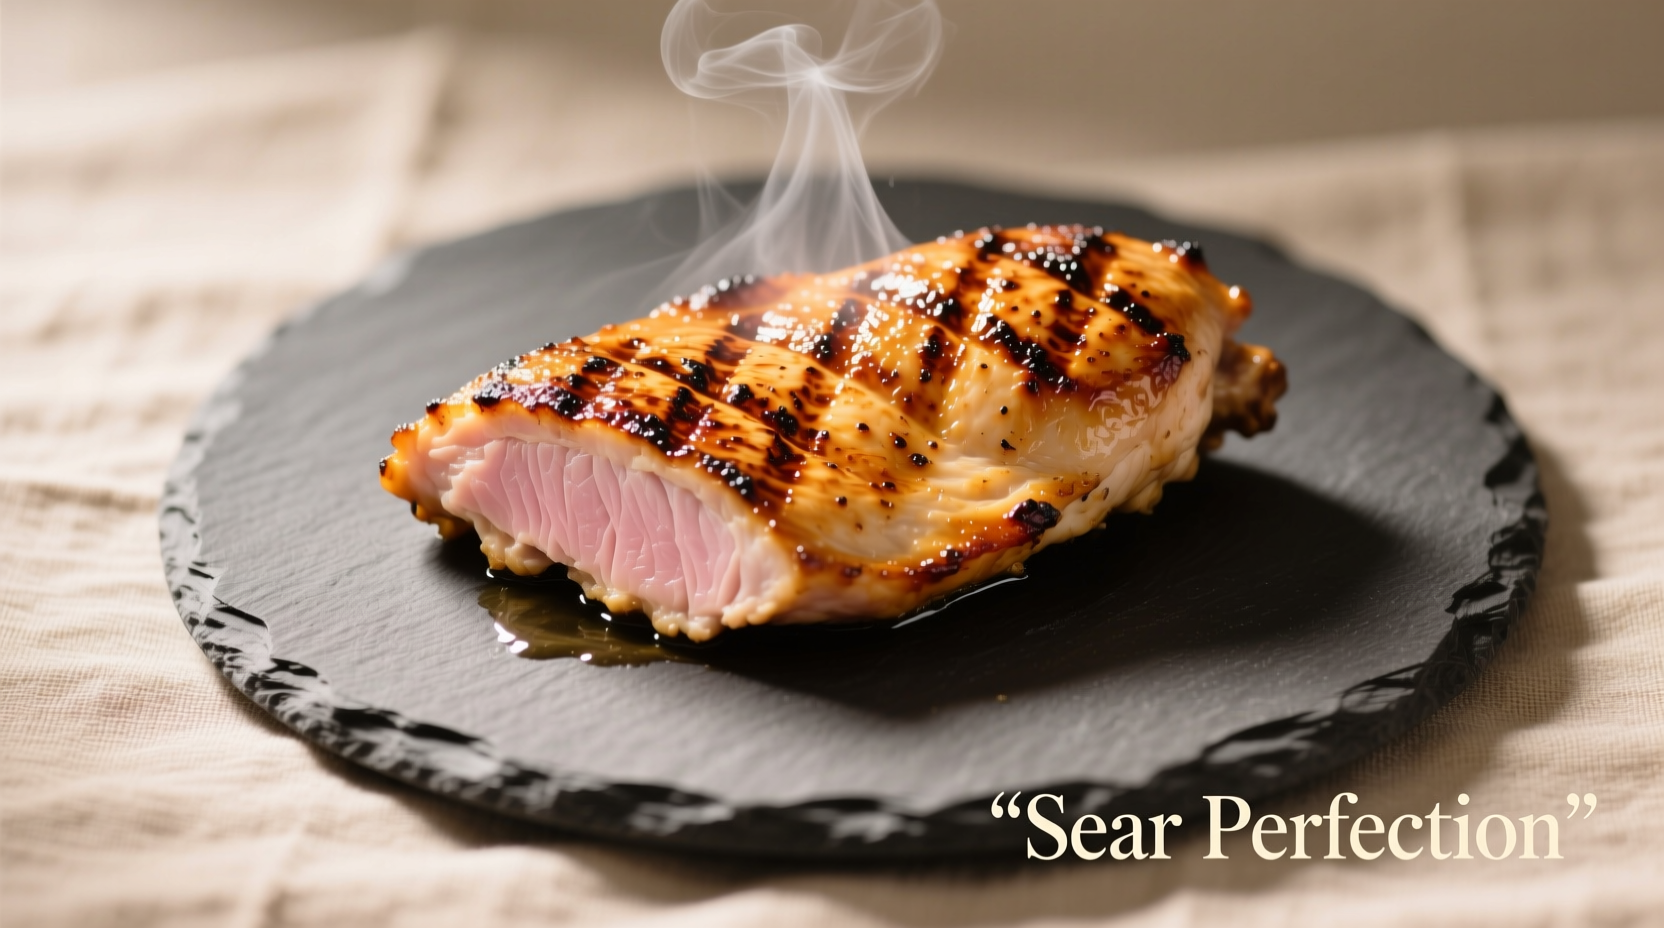
Heat your skillet over medium-high heat until a drop of water sizzles immediately. Add clarified butter and wait until it shimmers but doesn't smoke. Place chicken skin-side down with adequate space between pieces. Resist the urge to move it—this initial sear creates the crust that locks in juices. After 6-7 minutes, when the chicken releases easily from the pan, flip using tongs.
Finishing Phase: Achieving Perfect Doneness
Cook the second side for 5-6 minutes, then add aromatics like garlic and thyme to the pan. Tilt the skillet and spoon hot butter continuously over the chicken for another 2-3 minutes. This basting technique, used in French cuisine for centuries, infuses additional flavor while ensuring even cooking. Remove when internal temperature reaches 160°F—the chicken will carryover cook to the safe 165°F during resting.
Resting Phase: The Critical Final Step
Transfer chicken to a wire rack and rest for 5-7 minutes. This allows juices to redistribute—skipping this step causes 20-30% moisture loss when cutting, according to food science research from America's Test Kitchen. During this time, you can make a simple pan sauce using the flavorful fond left in the skillet.
Troubleshooting Common Butter Chicken Problems
Burnt butter: Your pan was too hot. Next time, reduce heat to medium and use clarified butter.
Pale chicken: Your chicken wasn't dry enough or pan wasn't hot enough. Pat chicken thoroughly and preheat pan for full 3-4 minutes.
Dry chicken: Overcooking is the culprit. Always use a thermometer and remove at 160°F.
Sticking chicken: You moved it too soon. Wait until it releases naturally from the pan surface.
When Butter Isn't the Best Choice
While butter creates exceptional flavor, it's not always appropriate. For high-heat methods like grilling or roasting above 400°F, combine butter with a higher smoke point oil (1 part butter to 2 parts oil). For dietary restrictions, ghee provides similar flavor with higher heat tolerance. The FDA's Food Code specifies that butter should not be used for deep frying due to its low smoke point and potential for harmful compounds at high temperatures.
Serving Suggestions for Maximum Impact
Slice chicken against the grain at a 45-degree angle for optimal tenderness. Pair with roasted vegetables that complement butter's richness—asparagus, mushrooms, or potatoes work particularly well. Finish with a lemon-butter sauce or fresh herb compound butter for an elegant touch that impresses without complicating your cooking process.
Frequently Asked Questions
Can I use salted butter for cooking chicken?
While you can use salted butter, we recommend unsalted for better control of seasoning. Salted butter varies in salt content between brands, making consistent results difficult. Professional chefs typically use unsalted butter to precisely control sodium levels in their dishes.
How do I clarify butter at home?
To clarify butter: melt 1 cup (225g) unsalted butter over low heat without stirring. After 10-15 minutes, the milk solids will settle at the bottom. Carefully skim off foam, then pour clarified butter through a cheesecloth-lined strainer, leaving solids behind. One cup butter yields about ¾ cup clarified butter.
Why does my chicken stick to the pan when using butter?
Chicken sticks when the pan isn't hot enough or when you move it too soon. Proper technique: heat pan until water droplets dance, add butter until it shimmers, then place chicken without moving it for 2-3 minutes until it releases naturally. This creates the necessary crust that prevents sticking.
How can I prevent butter from burning while cooking chicken?
Use clarified butter or ghee which have higher smoke points (450°F+). If using regular butter, combine with 1 part high-heat oil like avocado oil. Keep heat at medium (not medium-high) and monitor butter closely—when it stops foaming and turns golden, it's ready for chicken.
What's the best internal temperature for perfectly cooked chicken?
Remove chicken from heat at 160°F (71°C)—it will carry over cook to the safe 165°F (74°C) during the 5-7 minute resting period. Cooking directly to 165°F often results in dry chicken due to continued cooking off-heat. The USDA Food Safety and Inspection Service confirms this approach maintains safety while maximizing juiciness.


 浙公网安备
33010002000092号
浙公网安备
33010002000092号 浙B2-20120091-4