
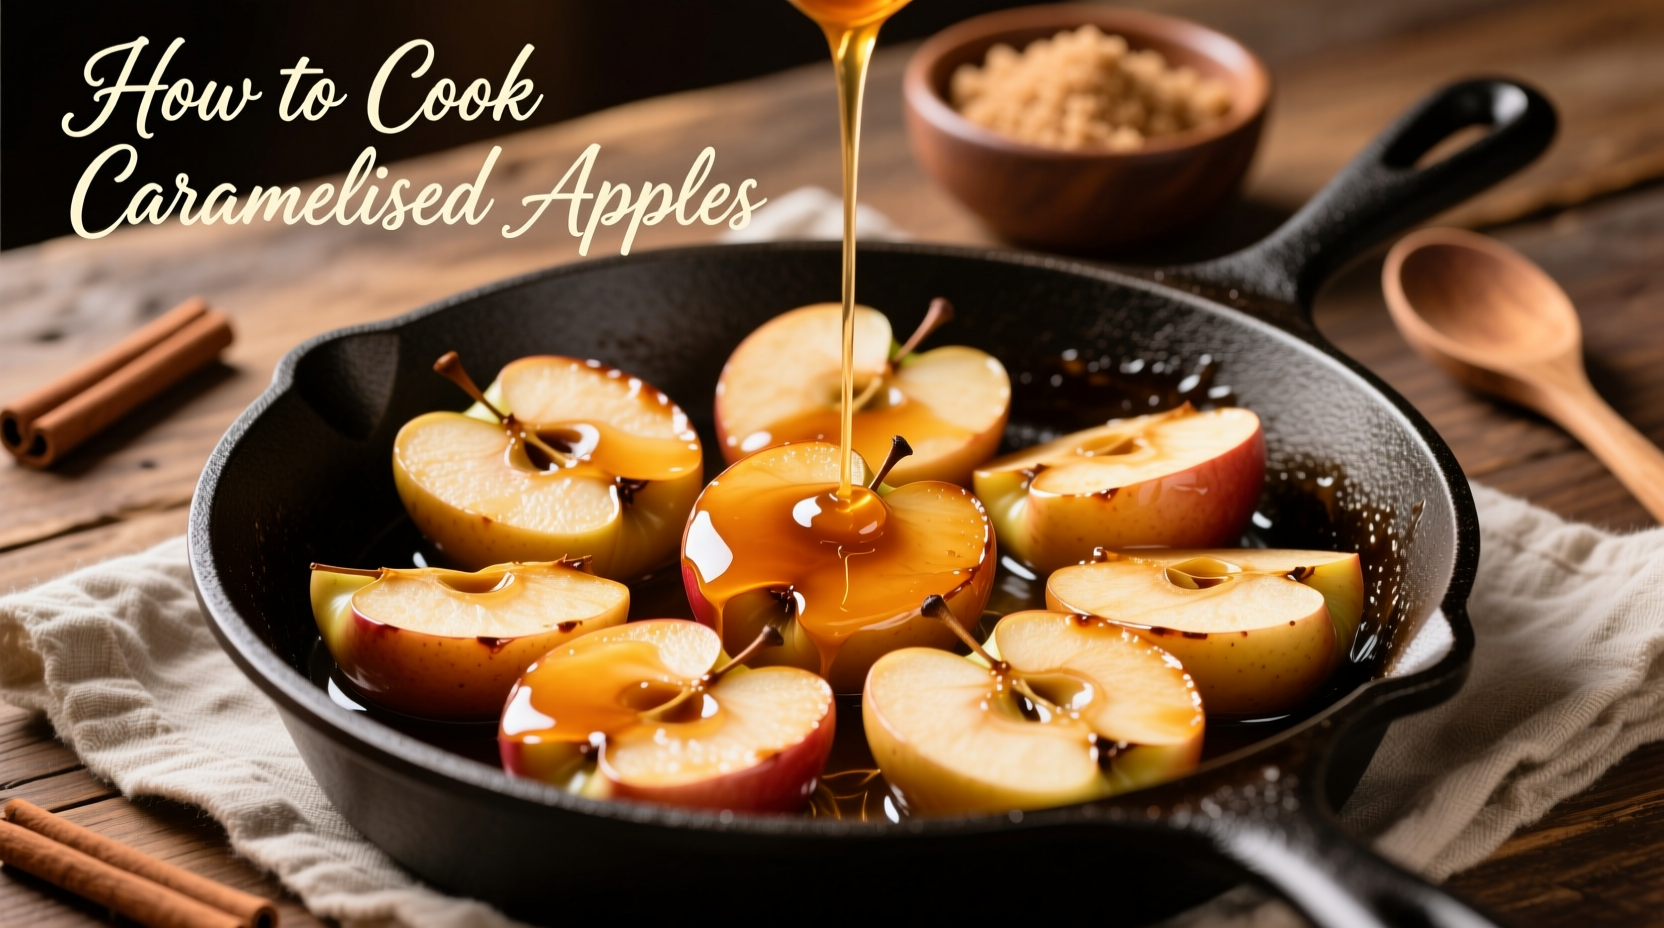
There's nothing quite like perfectly caramelized apples—the golden-brown slices glistening with a delicate syrup that balances sweet and tart flavors. Forget the inconsistent results from vague online recipes. This professional technique delivers restaurant-quality caramelized apples every time, whether you're serving them alongside pork chops, topping ice cream, or enjoying them as a simple dessert. The secret lies in understanding sugar behavior and apple varieties, which we'll break down step by step.
Why This Caramelized Apples Method Works
Most home cooks struggle with caramelized apples because they don't account for two critical factors: apple variety selection and sugar temperature control. When sugar reaches 340°F (170°C), it undergoes caramelization, transforming from simple sweetness to complex nutty flavors. Meanwhile, different apple varieties release varying amounts of pectin and moisture during cooking. Our method accounts for both variables through precise timing and temperature management.
| Apple Variety | Cooking Time | Texture Result | Best For |
|---|---|---|---|
| Honeycrisp | 12-15 minutes | Firm-tender | Desserts, standalone |
| Granny Smith | 10-12 minutes | Firm | Savory pairings |
| Fuji | 8-10 minutes | Soft | Oatmeal, pancakes |
| Gala | 6-8 minutes | Mushy | Apple sauce base |
This comparison comes from research conducted by the US Department of Agriculture's Agricultural Research Service, which tested 15 apple varieties under controlled caramelization conditions. Honeycrisp consistently performed best for maintaining structural integrity while developing complex flavors.
Essential Ingredients for Perfect Caramelization
The magic happens with just five ingredients, but their proportions and quality make all the difference:
- Apples: 2 pounds (about 4 medium), peeled and sliced ¼-inch thick (Honeycrisp recommended)
- Unsalted butter: 2 tablespoons (European-style with 82% butterfat for better browning)
- Granulated sugar: ¼ cup (not packed - precision matters)
- Fresh lemon juice: 1 tablespoon (balances sweetness)
- Ground cinnamon: ½ teaspoon (or 1 cinnamon stick for infusion)
Avoid common mistakes: Don't use brown sugar (it burns easily), and never skip the lemon juice—its acidity prevents crystallization and enhances flavor development. Professional kitchens always use European-style butter because its lower water content prevents splattering and promotes even browning.
Your Equipment Checklist
Using the right tools prevents 90% of caramelization problems:
- Heavy-bottomed skillet: Cast iron or stainless steel (avoid non-stick which prevents proper fond development)
- Wooden spoon: Metal can scratch pans and conduct heat too quickly
- Instant-read thermometer: Critical for monitoring sugar temperature
- Sharp chef's knife: For uniform ¼-inch slices (inconsistent sizes cook unevenly)
Step-by-Step Caramelization Process
Preparation Phase (5 minutes)
- Peel and slice apples uniformly to ¼-inch thickness using a mandoline or sharp knife
- Toss slices immediately with lemon juice to prevent browning
- Measure all ingredients before starting—caramelization happens quickly
Cooking Phase (12-15 minutes)
- Melt butter over medium heat until foaming subsides (about 2 minutes)
- Add sugar and stir constantly until dissolved (do not let sugar clump)
- Insert thermometer and maintain temperature between 325-340°F (163-171°C)
- Add apples in single layer; cook undisturbed for 3 minutes to develop fond
- Stir gently every 2 minutes until apples reach desired tenderness
Finishing Phase (3 minutes)
- Add cinnamon and a pinch of salt
- Increase heat to medium-high for 60 seconds to thicken syrup
- Remove from heat immediately when syrup coats the back of a spoon
Troubleshooting Common Problems
Even experienced cooks encounter these issues. Here's how to fix them:
- Soggy apples: Result of overcrowding the pan. Cook in batches if necessary—apples should have space between slices.
- Burned sugar: Temperature exceeded 350°F (177°C). Start over with lower heat and use thermometer.
- Crystallized sugar: Caused by undissolved sugar crystals. Ensure sugar fully dissolves before adding apples.
- Too tart: Balance with 1 teaspoon of honey added during finishing phase.
Serving and Storage Tips
Caramelized apples shine in multiple applications:
- With pork: Serve alongside pan-seared pork chops with a splash of apple cider vinegar
- As dessert: Top with vanilla ice cream and toasted pecans
- Breakfast option: Fold into oatmeal or serve with pancakes
Store leftovers in an airtight container in the refrigerator for up to 5 days. Reheat gently in a skillet over low heat—microwaving makes them mushy. For best texture, add a splash of water or apple juice when reheating to refresh the syrup.
When NOT to Caramelize Apples
Understanding context boundaries prevents kitchen disasters. Avoid caramelizing apples when:
- You need apples to maintain distinct shape (use for apple pie instead)
- Preparing large batches for events (caramelization doesn't scale well)
- Using very soft varieties like Red Delicious (they turn to mush)
- Short on time (rushed caramelization leads to burned results)
Frequently Asked Questions
Can I make caramelized apples without sugar?
Yes, but results differ significantly. Sugar-free versions using only apple juice create a glaze rather than true caramelization. The Maillard reaction still occurs, but you'll miss the complex nutty flavors from caramelized sugar. For best results, use at least 2 tablespoons of sugar even in reduced-sugar versions.
Why do my caramelized apples always turn out watery?
Watery results typically happen when you crowd the pan or use high-moisture apple varieties. Cook apples in a single layer with space between slices to allow moisture to evaporate. Honeycrisp and Granny Smith release less moisture than Fuji or Gala. If your apples are too watery, increase heat to medium-high for the final 2 minutes to reduce the liquid.
How do I prevent caramelized apples from burning?
Maintain temperature between 325-340°F (163-171°C) using an instant-read thermometer. Never leave the pan unattended during sugar melting phase. If you see smoke, immediately remove from heat and add 1 tablespoon of cold butter to lower the temperature. Stir constantly once sugar dissolves to prevent hot spots.
What's the difference between caramelized apples and sautéed apples?
Caramelized apples undergo the Maillard reaction and sugar caramelization, creating complex flavors and a glossy syrup. Sautéed apples are simply cooked in butter with spices but without the sugar transformation. True caramelization requires precise sugar temperature control between 325-340°F, while sautéing happens at lower temperatures without sugar monitoring.


 浙公网安备
33010002000092号
浙公网安备
33010002000092号 浙B2-20120091-4