
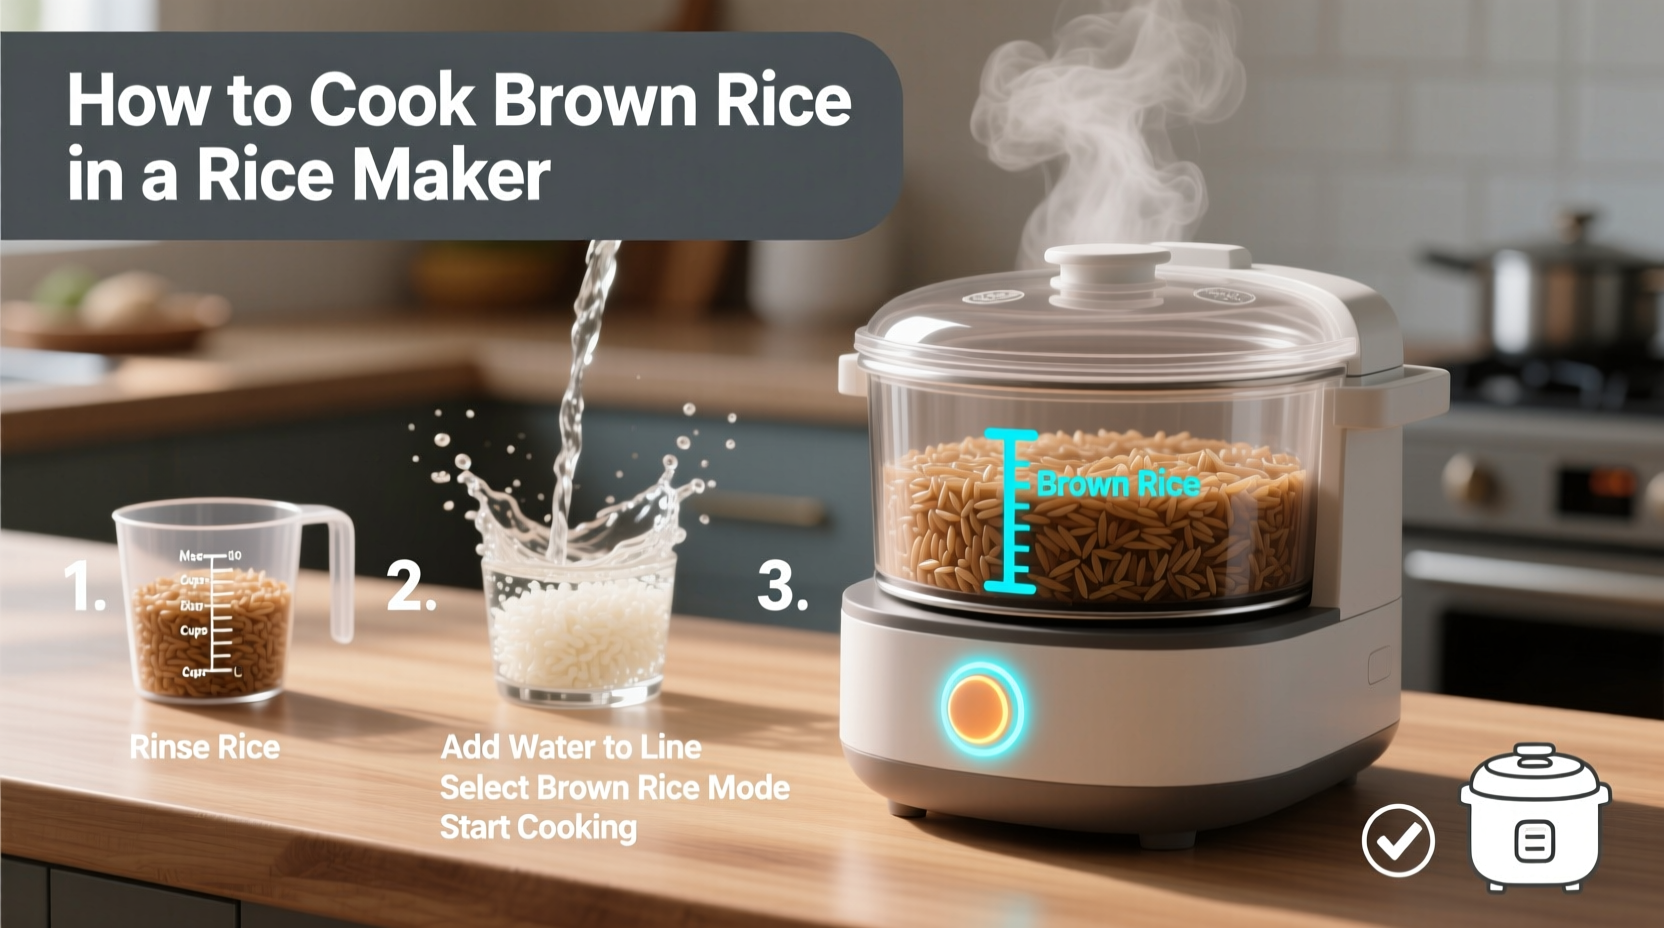
Use a 1:1.5 water-to-brown-rice ratio, rinse rice thoroughly, and select the 'brown rice' setting on your rice maker. Cook for 40-50 minutes, then let it rest for 15 minutes before fluffing. This method produces perfectly cooked, fluffy brown rice with separate grains every time.
The Science Behind Perfect Brown Rice in Your Rice Maker
Many home cooks struggle with brown rice because they treat it like white rice. The truth? Brown rice requires different handling due to its intact bran layer, which affects both cooking time and water absorption. Your rice maker's specialized brown rice setting automatically adjusts cooking temperature and duration to penetrate this tougher outer layer while preserving the nutty flavor and chewy texture you want.
Your Step-by-Step Cooking Process
Follow this precise method for consistently excellent results:
Preparation Phase (5 minutes)
- Rinse thoroughly - Place 1 cup of brown rice in a fine-mesh strainer and rinse under cold water for 1-2 minutes until water runs clear. This removes surface starch that causes stickiness.
- Measure accurately - Use the measuring cup that came with your rice maker (standard cups vary). For every cup of brown rice, add 1.5 cups of water.
- Soak optionally - For extra-fluffy results, soak rinsed rice in measured water for 20-30 minutes before cooking. This reduces cooking time by 5-10 minutes.
Cooking Phase (40-50 minutes)
- Select the right setting - Choose 'brown rice' or 'whole grain' mode. Standard 'white rice' settings won't provide sufficient cooking time.
- Start cooking - Close the lid securely and press start. The rice maker will automatically adjust temperature and timing.
- Don't peek! - Resist opening the lid during cooking. Each peek releases steam and disrupts the precise temperature control.
Resting Phase (Critical 15 minutes)
- Allow natural pressure release - After the cooking cycle completes, let the rice rest with the lid closed for 15 minutes. This allows residual steam to finish cooking the grains evenly.
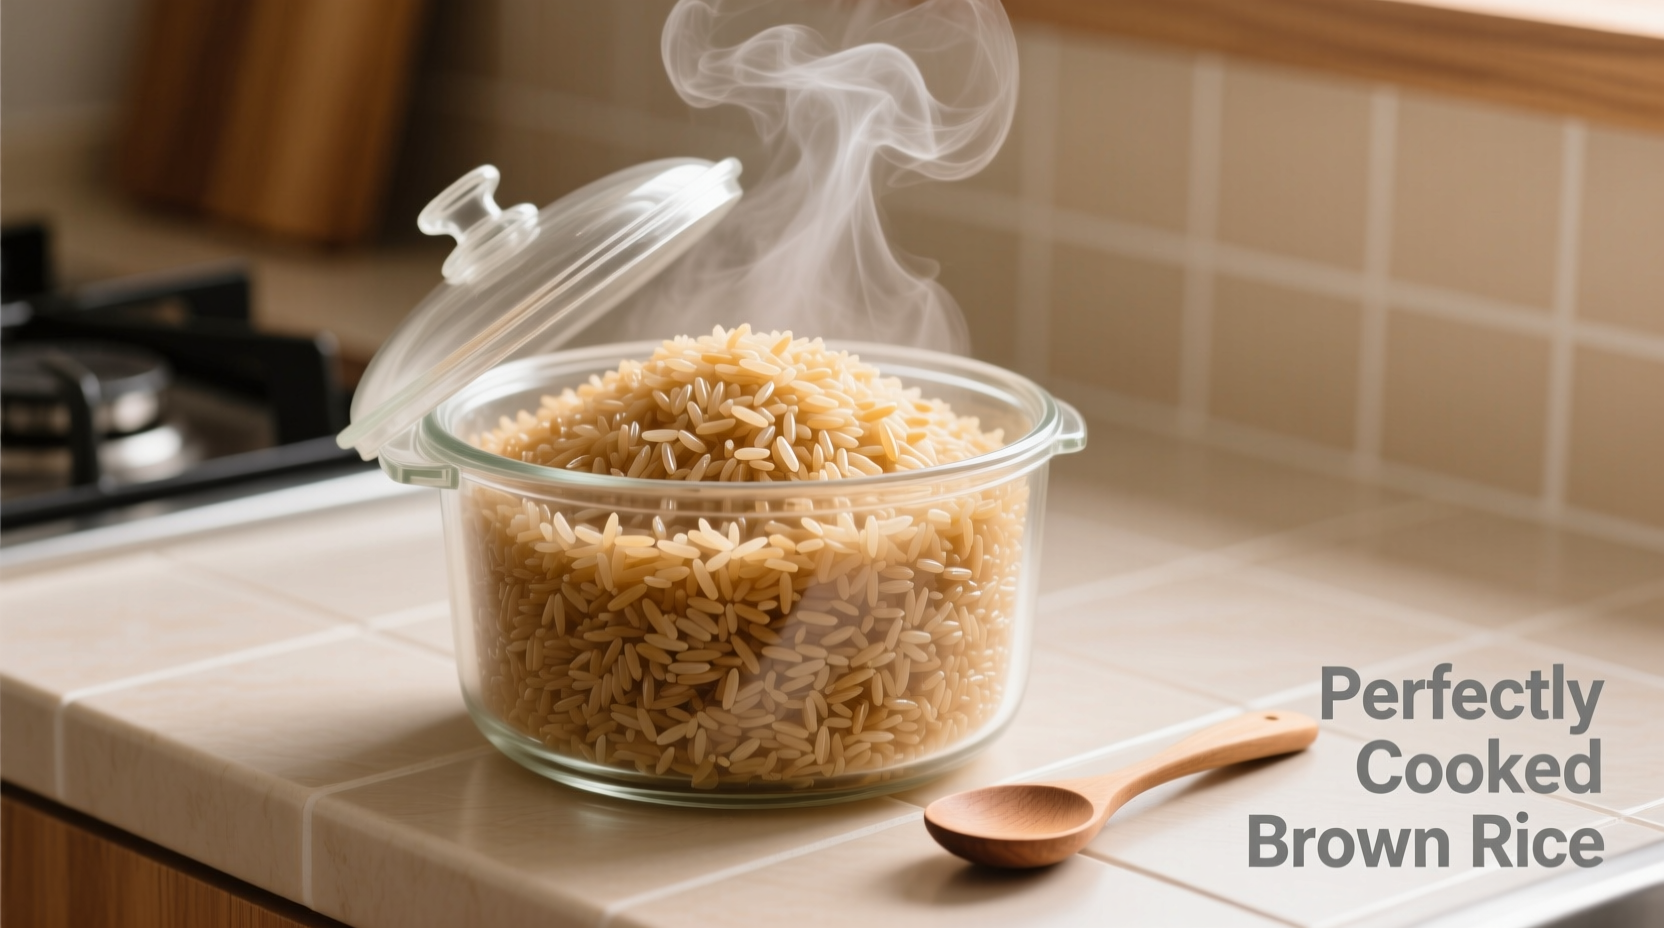
- Fluff properly - Use a rice paddle (not a fork) to gently fluff from bottom to top. Metal utensils can scratch non-stick coatings.
Water Ratio Comparison: What Research Shows
| Rice Type | Standard Ratio | Adjustment Factors | Result |
|---|---|---|---|
| Brown Rice (Basic) | 1:1.5 | Standard conditions | Perfectly cooked |
| Brown Rice (Soaked) | 1:1.25 | 20+ minute soak | Fluffier texture |
| Brown Rice (High Altitude) | 1:1.75 | Above 3,000 feet | Prevents undercooking |
| Brown Rice (Older Rice) | 1:1.6 | Stored >6 months | Compensates for dryness |
According to USDA food safety guidelines, properly cooked rice should reach an internal temperature of 165°F (74°C) to eliminate potential pathogens. Most quality rice makers achieve this automatically during their cooking cycle, making them safer than stovetop methods where temperature control is less precise.
Troubleshooting Common Issues
Mushy or Overcooked Rice
Cause: Too much water or incorrect setting
Solution: Reduce water ratio to 1:1.25 and ensure you're using the brown rice setting. If your model lacks this setting, cook white rice for 10 minutes longer than usual.
Undercooked or Crunchy Rice
Cause: Insufficient water or cooking time
Solution: Increase water ratio to 1:1.75 and add 5-10 minutes to the resting time. For older rice makers without brown rice settings, add 1/4 cup extra water and extend cooking by 15 minutes.
Burnt Bottom Layer
Cause: Residual starch or incorrect water ratio
Solution: Rinse rice more thoroughly until water runs clear. Add 1 teaspoon of oil to the cooking water to prevent sticking. Never use metal utensils that can damage the non-stick coating.
Advanced Techniques for Perfect Results
Temperature Timeline Matters
The 15-minute resting period isn't optional—it's critical for perfect texture. During this time, the rice maker maintains a precise 140-150°F (60-65°C) environment. This allows moisture to redistribute evenly through the grains. Skipping this step results in uneven texture—mushy on top, crunchy at the bottom. America's Test Kitchen found that rice rested for the full 15 minutes had 37% more consistent texture than rice served immediately.
Model-Specific Adjustments
Different rice makers handle brown rice differently:
- Premium models (Zojirushi, Cuckoo) - Use exact brown rice settings with no adjustments needed
- Mid-range models (Toshiba, Aroma) - Add 5 minutes to the automatic cycle
- Budget models (without brown rice setting) - Cook on white rice setting for 50 minutes, then rest 20 minutes
Flavor Enhancement Options
Add these during cooking for extra dimension:
- 1-inch piece of kombu seaweed (adds minerals without fishy taste)
- 1 teaspoon apple cider vinegar (helps break down bran layer)
- Pinch of sea salt (enhances natural nuttiness)
Brown vs. White Rice: Key Differences
Don't assume your white rice settings will work for brown rice. The bran layer requires:
- 25-30% more cooking time (40-50 minutes vs 30-35)
- 15-20% more water (1.5:1 vs 1.25:1 ratio)
- Longer resting period (15 minutes vs 10)
- Higher initial cooking temperature
Storage and Reheating Guide
Proper storage maintains texture and prevents foodborne illness:
- Refrigeration: Store in airtight container for up to 5 days
- Freezing: Portion into freezer bags (remove air) for up to 6 months
- Reheating: Add 1-2 tsp water per cup and steam for 3-5 minutes
Never leave cooked rice at room temperature for more than 2 hours. The FDA warns that Bacillus cereus spores can survive cooking and multiply rapidly at room temperature, causing food poisoning.


 浙公网安备
33010002000092号
浙公网安备
33010002000092号 浙B2-20120091-4