

The Complete Guide to Making Perfect Beef Jerky in Your Dehydrator
There's nothing quite like homemade beef jerky – packed with protein, perfectly seasoned, and made exactly to your taste preferences. While store-bought options exist, they often contain unnecessary preservatives and lack the depth of flavor you can achieve at home. Using a dehydrator gives you precise temperature control that's essential for both food safety and consistent results. This guide walks through every step of the process, from selecting the right cut of meat to storing your finished product.
Why Your Dehydrator Is the Secret Weapon for Perfect Jerky
Unlike oven methods that struggle with maintaining low, consistent temperatures, dehydrators provide the ideal environment for jerky production. The USDA Food Safety and Inspection Service recommends drying meat at temperatures between 130°F and 140°F, but first heating it to 160°F to destroy harmful bacteria. Dehydrators maintain this critical temperature range without fluctuation, preventing spoilage while allowing proper moisture removal. This precise control prevents the common pitfalls of homemade jerky – either too dry and brittle or dangerously under-dried.
Choosing the Right Cut: Your Foundation for Success
The meat you select determines your jerky's texture and fat content. Lean cuts work best because fat can become rancid during storage. Here's how your options compare:
| Cut of Beef | Lean Percentage | Texture Result | Prep Time |
|---|---|---|---|
| Eye of Round | 95% | Firm, traditional | 20 minutes |
| Top Round | 93% | Slightly more tender | 25 minutes |
| Flank Steak | 85% | Chewier, more intense beef flavor | 30 minutes |
| Sirloin Tip | 90% | Balanced tenderness | 22 minutes |
According to USDA guidelines, eye of round provides the optimal balance of leanness and flavor for safe jerky production. Fat content above 10% increases spoilage risk during storage. For best results, partially freeze your meat for 1-2 hours before slicing – this firms it up for cleaner, more consistent cuts.
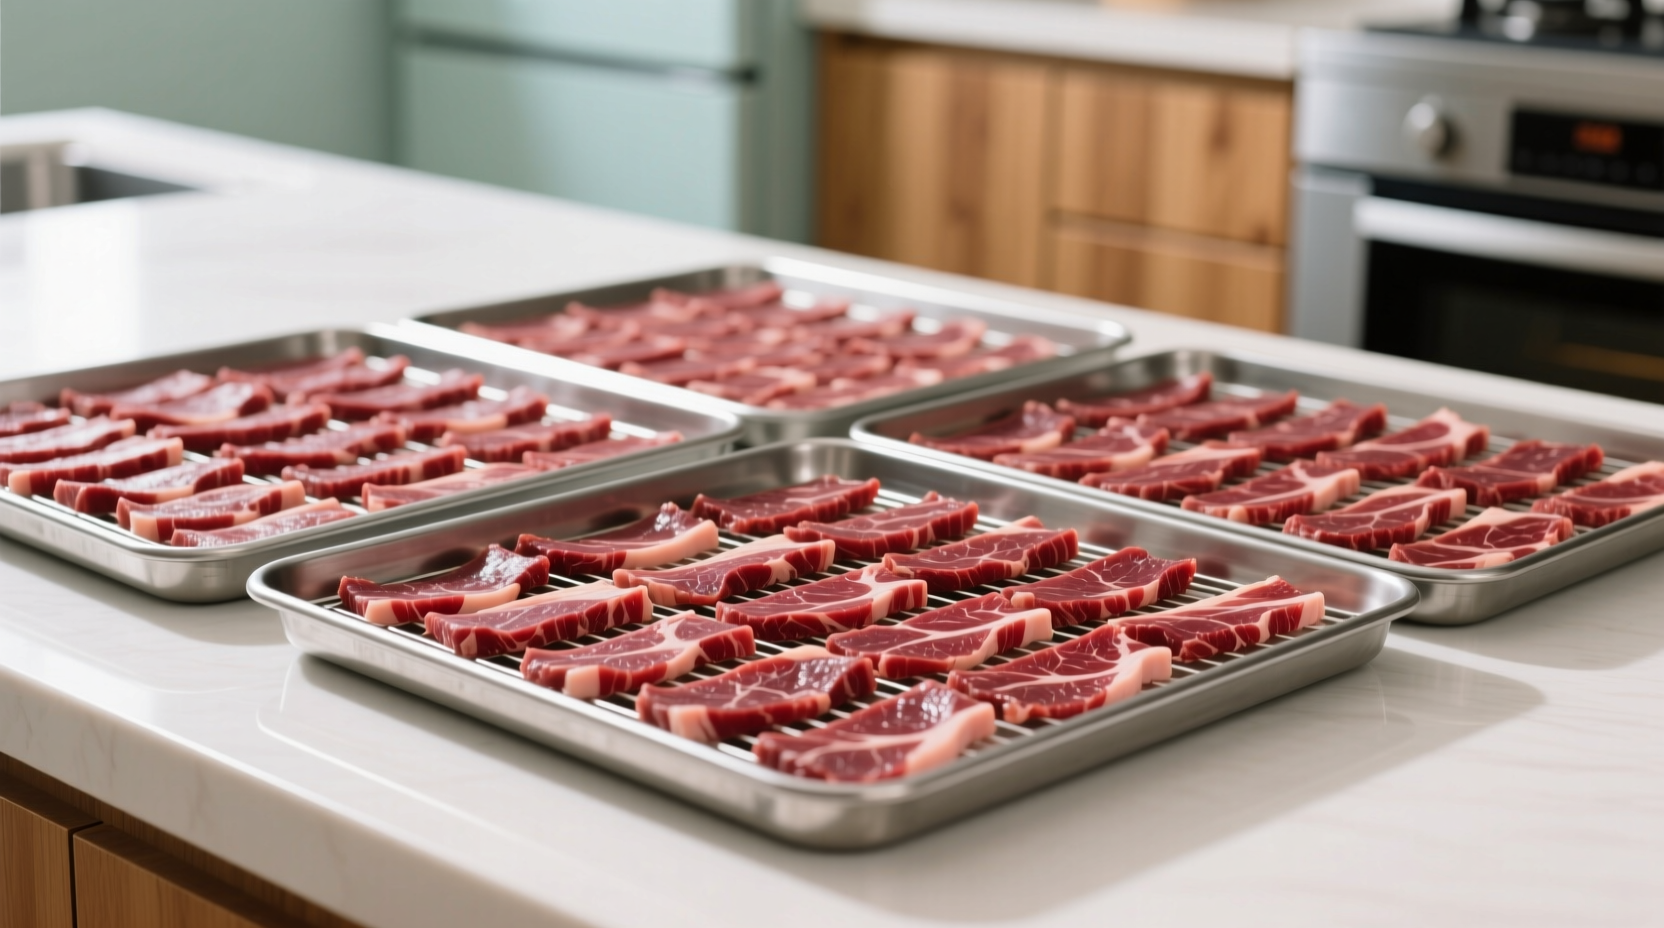
The Critical Slicing Technique Most Home Cooks Get Wrong
Slicing direction dramatically impacts texture. Always cut against the grain (perpendicular to muscle fibers) for tender jerky. Cutting with the grain creates long, tough fibers that are difficult to chew. Aim for uniform 1/8-inch thickness – use a mandoline slicer for consistency. Thicker pieces won't dry properly, while thinner ones can become overly brittle.
Marinating Science: Flavor Penetration vs. Texture Preservation
Marinating time directly affects both flavor and texture. The sweet spot is 6-12 hours – enough for flavor absorption without breaking down meat fibers too much. Acidic ingredients like vinegar or citrus juice should comprise no more than 25% of your marinade to prevent 'cooking' the meat surface. For optimal results:
- Use resealable bags to ensure full marinade contact
- Refrigerate during marination (never room temperature)
- Pat meat dry before dehydrating for faster drying
- Discard used marinade – never reuse for food safety
Dehydration Timeline: The Precise Process for Perfect Results
Follow this tested timeline for foolproof jerky every time:
- Preheat dehydrator to 160°F – this initial high heat destroys pathogens
- Arrange meat strips with space between them for air circulation
- First hour: 160°F to ensure surface bacteria elimination
- Hours 2-6: Reduce to 145°F for consistent drying
- Check at 4 hours: Bend test – should crack but not break
- Final check: Internal temperature must reach 160°F
This two-stage temperature approach follows USDA Food Safety and Inspection Service recommendations (source: fsis.usda.gov) that address both pathogen destruction and proper moisture removal.
Avoiding Common Jerky Disasters: Troubleshooting Guide
Even experienced jerky makers encounter issues. Here's how to fix them:
- Too dry/brittle: Reduce drying time by 30-60 minutes next batch
- Too moist/spongy: Increase temperature by 5°F or extend drying time
- Uneven drying: Rotate trays halfway through the process
- Off flavors: Check marinade acidity balance and storage conditions
Proper Storage: Maximizing Shelf Life Without Preservatives
Homemade jerky without commercial preservatives requires careful storage. For optimal freshness:
- Cool completely before storing (1-2 hours at room temperature)
- Use airtight containers with oxygen absorbers
- Store in dark place at room temperature for up to 2 weeks
- Refrigerate for up to 2 months or freeze for 6+ months
The key indicator of spoilage is any change in texture, color, or smell. Discard immediately if you notice oil spots (sign of fat rancidity) or moisture buildup in containers.
Advanced Tips for Jerky Mastery
Once you've mastered the basics, try these professional techniques:
- Add 1 tablespoon of liquid smoke per pound of meat for authentic campfire flavor
- Include 1/4 cup honey or maple syrup for balanced sweet-savory profiles
- Use toasted spices rather than raw for deeper flavor complexity
- Experiment with fruit juices like pineapple for natural tenderizing
Remember that jerky continues to dry slightly after removal from the dehydrator as moisture redistributes. The perfect piece should bend easily and show no moisture when torn. With practice, you'll develop an intuitive sense for the ideal texture that satisfies both your taste preferences and food safety requirements.


 浙公网安备
33010002000092号
浙公网安备
33010002000092号 浙B2-20120091-4