
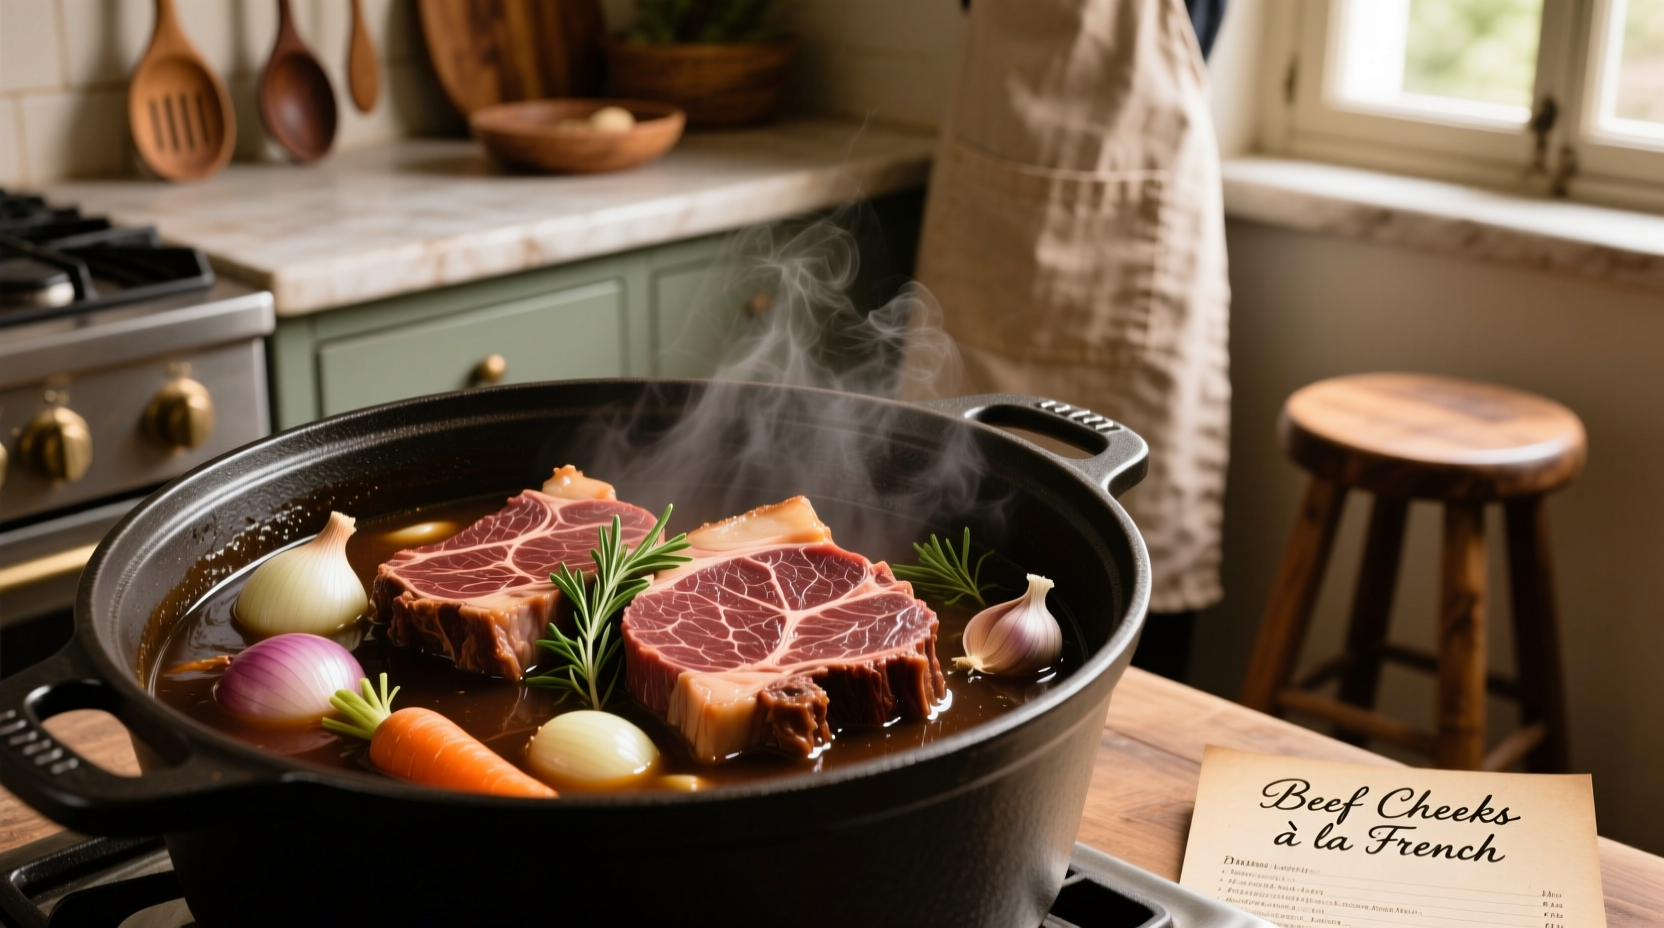
Beef cheeks deliver incredible depth of flavor when cooked properly, but their dense muscle structure requires specific techniques to transform them into melt-in-your-mouth delicacies. As a professional chef with years of experience working with offal, I've perfected methods that guarantee tender, flavorful results without guesswork.
Why Beef Cheeks Deserve a Place in Your Kitchen
Often overlooked at the butcher counter, beef cheeks come from the facial muscles of the animal, making them exceptionally rich in collagen. When cooked slowly, this collagen transforms into gelatin, creating an unctuous texture and rich mouthfeel unmatched by other cuts. They're more affordable than premium steaks yet deliver restaurant-quality results when prepared correctly.
Selecting and Preparing Beef Cheeks
Choose cheeks that are deep red with minimal fat and silverskin. Fresh cheeks should feel firm but supple. For best results, trim excess fat and connective tissue before cooking, but don't remove all membranes—they help maintain structure during long cooking.
Proper preparation includes a critical step many home cooks skip: dry brining. Sprinkle cheeks with salt (1 teaspoon per pound) and refrigerate uncovered for 12-24 hours. This draws out moisture, concentrates flavor, and improves texture through protein breakdown.
Essential Cooking Methods Compared
| Cooking Method | Time Required | Temperature | Texture Result | Best For |
|---|---|---|---|---|
| Traditional Braise | 3-4 hours | 300°F (150°C) | Fork-tender, shreds easily | Classic French & British dishes |
| Pressure Cooking | 60-75 minutes | High pressure | Uniform tenderness | Weeknight meals |
| Slow Cooker | 8-10 hours | Low setting | Extreme tenderness | Hands-off cooking |
| Oven Braising | 2.5-3.5 hours | 275°F (135°C) | Firm but tender | Dishes requiring structure |
Professional Braising Technique Step-by-Step
Braising remains the gold standard for cooking beef cheeks. Follow these steps for guaranteed success:
- Season and sear: Pat cheeks dry, season generously with salt and pepper, then sear in hot oil until deeply browned on all sides (about 3 minutes per side)
- Build flavor base: In same pot, sauté diced carrots, celery, and onions until caramelized
- Add liquid: Pour in 2 cups red wine (or beef broth), scraping up browned bits
- Infuse aromatics: Add 3 sprigs fresh thyme, 2 bay leaves, and 4 garlic cloves
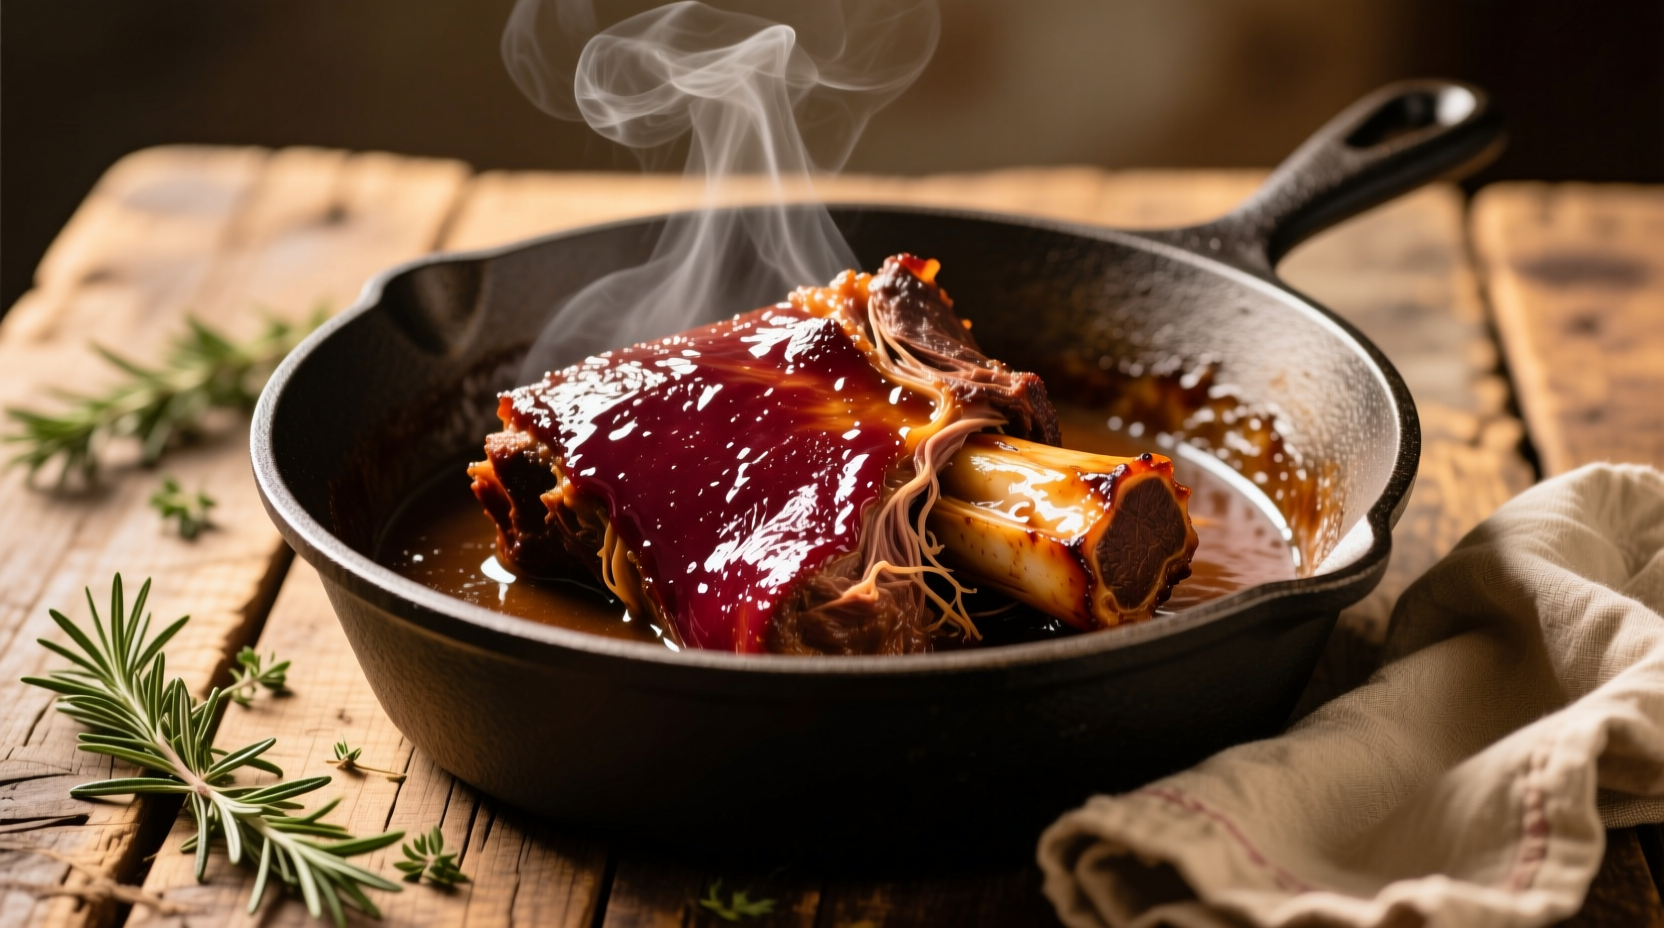
- Cook low and slow: Cover and cook at 300°F (150°C) for 3-4 hours until fork-tender
- Reduce sauce: Remove cheeks, strain liquid, and reduce by half for glossy sauce
Context Boundaries: When to Adjust Your Approach
Certain situations require technique adjustments for optimal results:
- High altitude cooking: Increase liquid by 25% and extend cooking time by 20% due to lower boiling points above 3,000 feet (900 meters)
- Frozen cheeks: Thaw completely in refrigerator for 48 hours before cooking—never cook from frozen as it creates uneven texture
- Smaller portions: Reduce cooking time by 25% for cheeks under 12 ounces (340g) to prevent overcooking
- Acidic ingredients: Add tomatoes or vinegar only after 2 hours of cooking to prevent toughening the meat
Flavor Pairings That Elevate Beef Cheeks
Beef cheeks absorb surrounding flavors beautifully. These combinations consistently deliver exceptional results:
- Classic French: Red wine, mushrooms, pearl onions, and thyme
- Mexican-style: Ancho chilies, cumin, oregano, and orange juice
- Asian fusion: Star anise, ginger, soy sauce, and rock sugar
- Mediterranean: Olives, capers, tomatoes, and rosemary
For best results, add delicate herbs like parsley or cilantro only during the final 30 minutes of cooking to preserve their fresh flavor.
Troubleshooting Common Issues
Even experienced cooks encounter these challenges:
- Tough meat: Undercooked—return to oven and cook 30-60 minutes longer, checking every 15 minutes
- Dry texture: Overcooked or insufficient liquid—next time increase liquid by 25% and check 30 minutes earlier
- Bland flavor: Not enough seasoning—always season between layers and finish sauce with salt to taste
- Cloudy sauce: Did not strain properly—pass through cheesecloth for crystal-clear results
Serving and Storage Recommendations
Rest cooked cheeks in their liquid for at least 30 minutes before serving—this allows flavors to penetrate fully. They actually taste better the next day as flavors continue to develop.
Store in airtight container with cooking liquid for up to 4 days in the refrigerator or freeze for up to 3 months. When reheating, always include some cooking liquid to maintain moisture.
Beef Cheek Cooking Timeline Evolution
The preparation of beef cheeks has evolved significantly through culinary history:
- Pre-1900s: Primarily peasant food, cooked for 8-12 hours in communal ovens with minimal seasoning
- Early 1900s: Introduction of pressure cooking reduced time to 2-3 hours while maintaining tenderness
- 1950s-1980s: Decline in popularity as consumers favored leaner cuts and faster cooking methods
- 1990s-2000s: Chef-driven revival focusing on nose-to-tail cooking and sustainable practices
- Present day: Modern precision techniques using temperature control for consistent results in less time
This evolution reflects broader culinary trends toward sustainability and appreciation of traditional cooking methods.
Final Pro Tips for Perfect Beef Cheeks
Implement these professional techniques for guaranteed success:
- Always cook cheeks submerged in liquid—they must be fully covered for even cooking
- Use a thermometer to verify internal temperature reaches 195-205°F (90-96°C) for optimal tenderness
- Chill cooked cheeks in their liquid overnight—this makes removing remaining fat and connective tissue effortless
- Add a splash of vinegar during the last hour to brighten rich flavors without overpowering


 浙公网安备
33010002000092号
浙公网安备
33010002000092号 浙B2-20120091-4