
Pressure cook dried beans in 20-45 minutes: Rinse 1 cup beans, add 2.5 cups water, 1 tsp salt, and aromatics. Cook at high pressure for 20-45 minutes (varies by bean), then natural release 15 minutes. No soaking required!
Why Pressure Cooking Beans Beats Traditional Methods
Forget overnight soaking and hours of simmering. Modern pressure cookers slash bean cooking time by 70% while delivering perfect texture every time. According to USDA Food Safety and Inspection Service guidelines, pressure cooking also destroys lectins—the natural compounds in raw beans that cause digestive issues—more effectively than boiling alone. This method works for all dried beans except lentils and split peas, which foam excessively and risk clogging valves.
| Bean Type | Pressure Cooker Time | Stovetop Time | Energy Saved |
|---|---|---|---|
| Black Beans | 22-25 min | 60-90 min | 65% |
| Pinto Beans | 20-23 min | 50-75 min | 62% |
| Chickpeas | 35-40 min | 90-120 min | 68% |
| Kidney Beans | 25-28 min | 45-60 min | 55% |
Source: USDA Food Safety and Inspection Service (fsis.usda.gov/pressure-cooking-beans)
Essential Gear Check Before You Start
Verify your pressure cooker's safety features: modern electric models (like Instant Pot) have 10+ built-in protections against over-pressurization. For stovetop cookers, ensure the rubber gasket is pliable and the pressure valve moves freely. Never fill beyond ⅔ capacity with beans and liquid—foaming requires extra headspace. Always use fresh beans under 1 year old; older beans won't soften properly regardless of cooking method.
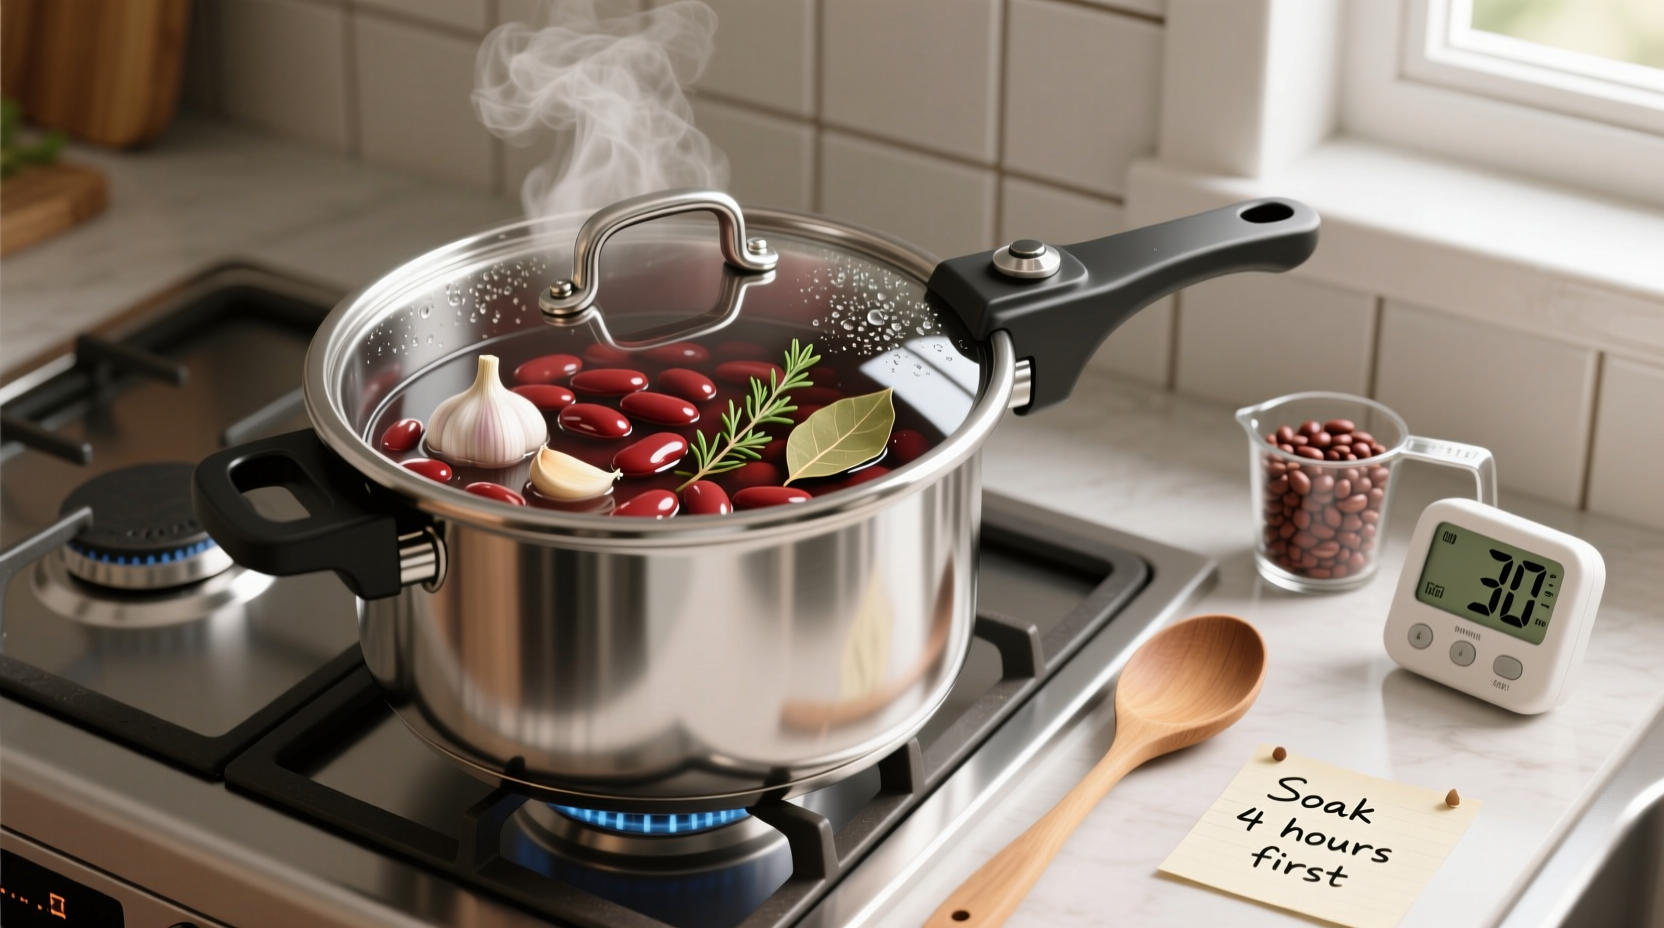
Bean Prep: The 3 Non-Negotiable Steps
1. Sort & Rinse: Spread beans on a tray to remove debris, then rinse under cold water until clear. Skipping this risks grit in your meal.
2. Water Ratio Matters: Use 2.5 cups liquid per 1 cup dried beans. Too little causes burn errors; too much dilutes flavor. Add 1 tsp salt to the cooking water—it seasons beans from within without toughening skins.
3. Avoid Acidic Ingredients Early: Tomatoes, vinegar, or wine added before cooking prevent softening. Wait until beans are tender before adding acidic elements.
Step-by-Step Cooking Process
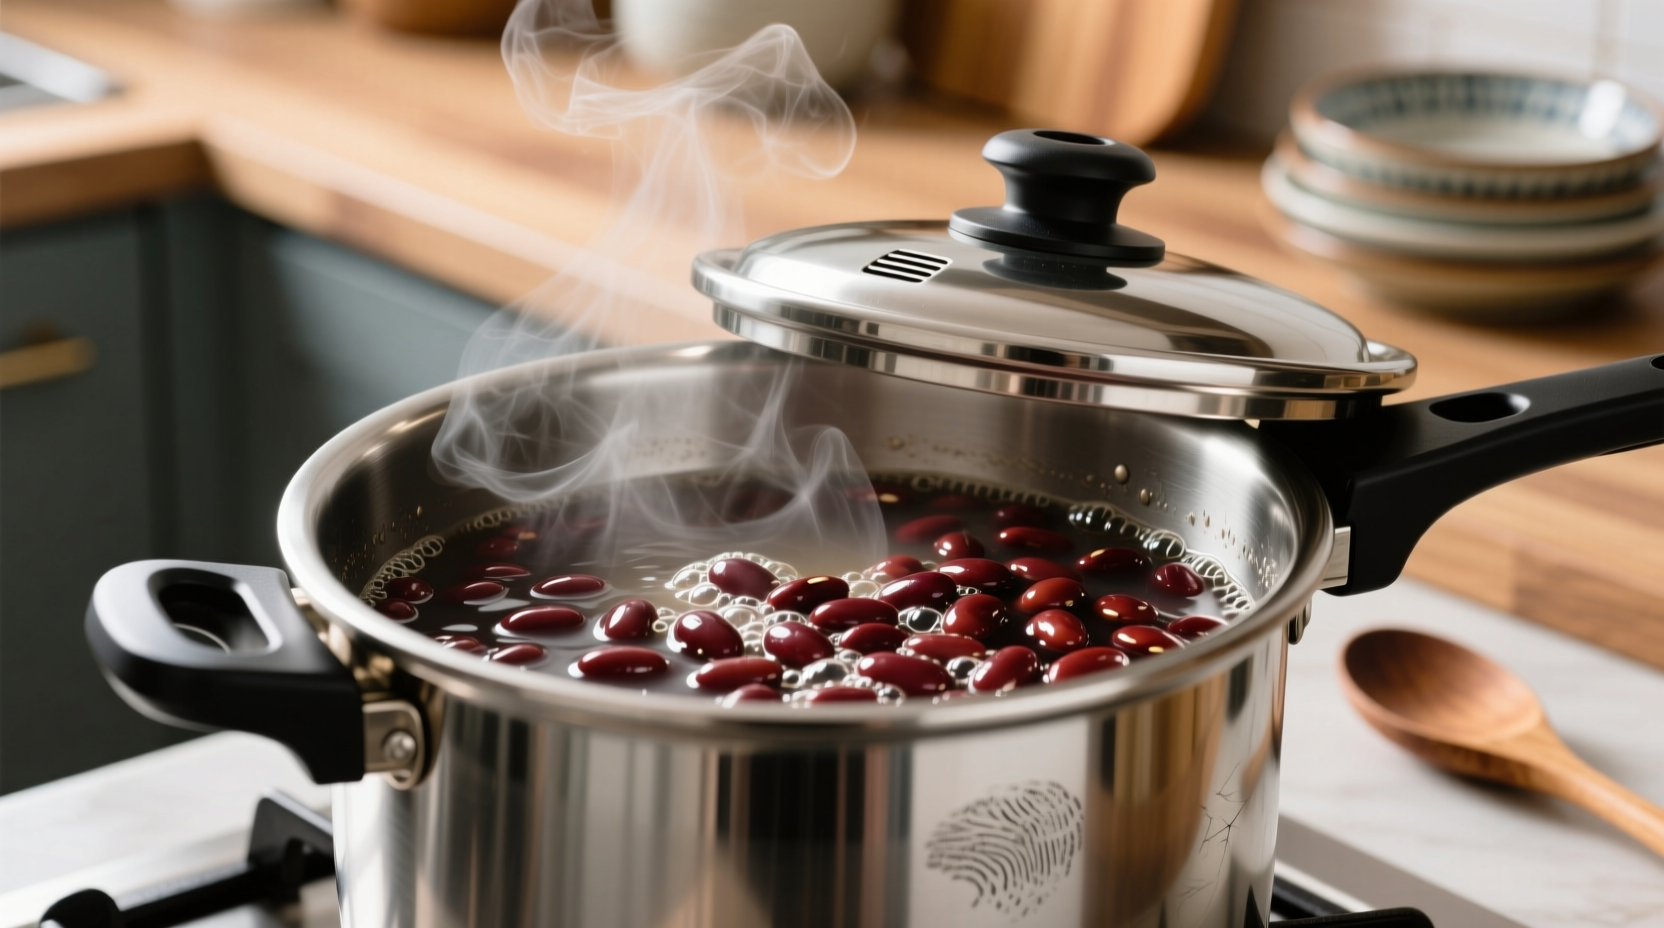
- Combine rinsed beans, water, salt, and aromatics (like garlic or bay leaves) in the pot
- Lock lid securely and set to HIGH pressure
- Cook black beans 22 min, pinto 20 min, chickpeas 35 min, kidney beans 25 min
- Allow NATURAL release for 15 minutes (critical for texture)
- Manually release remaining pressure and check tenderness
Natural Release vs Quick Release: When to Use Which
Natural release (waiting 15+ minutes before venting) prevents bean blowouts—sudden pressure drops make beans explode and turn mushy. Only use quick release for soups where you want separated beans. If beans remain firm after cooking, return to high pressure for 3-5 minute increments with natural release each time. Never force-open a pressurized cooker; wait until the float valve drops completely.
Troubleshooting Common Issues
- Undercooked beans: Add ½ cup hot water and cook 5 more minutes at high pressure
- Mushy beans: Overcooked from too-long natural release or old beans
- Burn error: Insufficient liquid or stuck-on residue; always deglaze pot after sautéing
- Excessive foaming: Avoid overfilling and don't use baking soda (alters texture)
Flavor Boosters That Actually Work
Add these AFTER cooking to preserve texture: 2 tbsp apple cider vinegar brightens earthy notes, smoked paprika adds depth without heat, and a Parmesan rind simmers for 10 minutes to create umami richness. For creamier beans, mash ¼ of the batch with a potato masher before serving. Always season with flaky sea salt just before serving—this creates flavor contrast that salt added during cooking can't match.


 浙公网安备
33010002000092号
浙公网安备
33010002000092号 浙B2-20120091-4